 by
by Here’s a clear, detailed, and beginner-friendly guide you can use as an article, blog post, or school project.
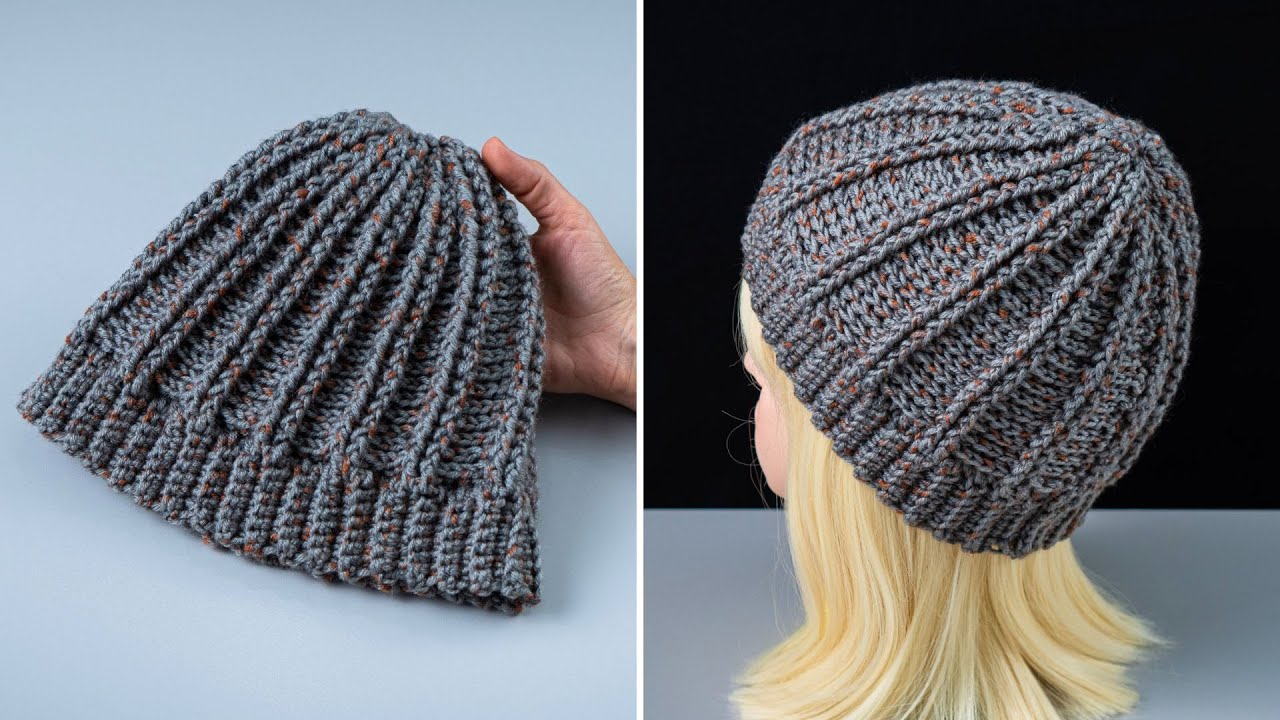
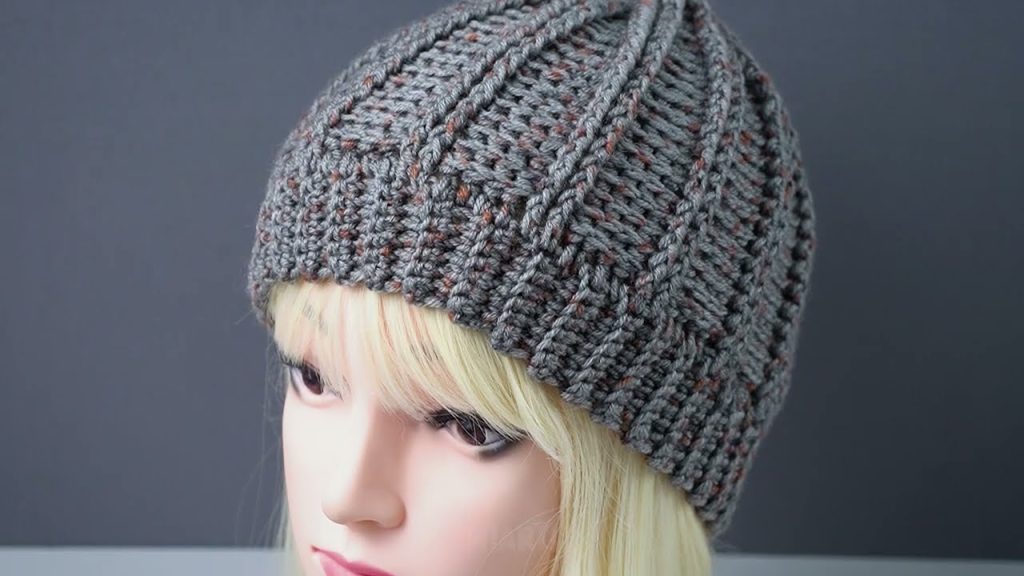
How to Crochet a Beautiful Hat in Just a Few Hours
Crocheting a hat is a fun, relaxing project that’s perfect for beginners and experienced crafters alike. With simple stitches and the right materials, you can create a stylish, warm hat in only a few hours. This guide will walk you through each step, from choosing supplies to finishing your hat.
Materials You Will Need
Before you start, gather these basic supplies:
- Yarn – Medium-weight (worsted) yarn works best for hats. Choose a soft yarn for comfort.
- Crochet hook – Usually size H (5.0 mm) or I (5.5 mm), depending on your yarn label.
- Scissors – For cutting yarn.
- Yarn needle – To weave in loose ends.
- Stitch marker (optional) – Helps keep track of rounds.
Step 1: Make a Magic Ring (or Chain Circle)
Start by creating a magic ring, which allows you to pull the center tight.
If you prefer, you can:
- Chain 4
- Slip stitch into the first chain to form a circle
This will be the top of your hat.
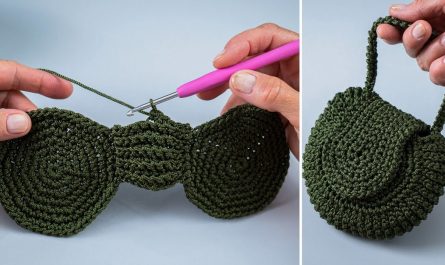
Step 2: Crochet the Crown
The crown is the flat top of the hat.
- Crochet single crochet (SC) or double crochet (DC) stitches into the ring.
- Increase stitches evenly in each round to keep the circle flat.
- Continue increasing until the circle is wide enough to cover the top of your head (usually 6–7 inches in diameter).
Tip: If your circle curls, add more stitches. If it ripples, reduce stitches.
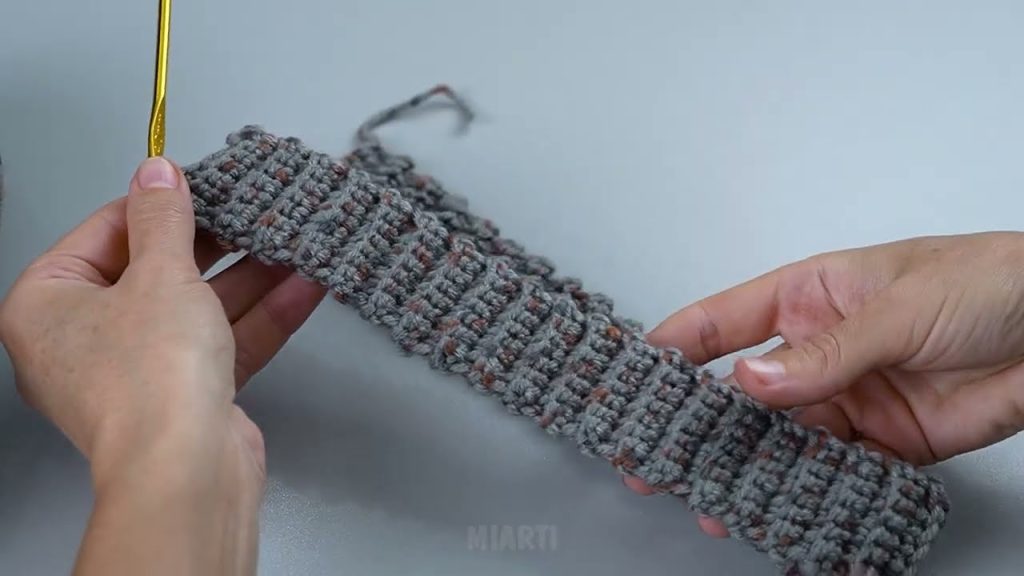
Step 3: Build the Sides
Once the crown is wide enough:
- Stop increasing stitches
- Crochet one stitch into each stitch around
This will cause the work to curve downward, forming the sides of the hat.
Continue until the hat reaches the desired length (about 7–9 inches total).
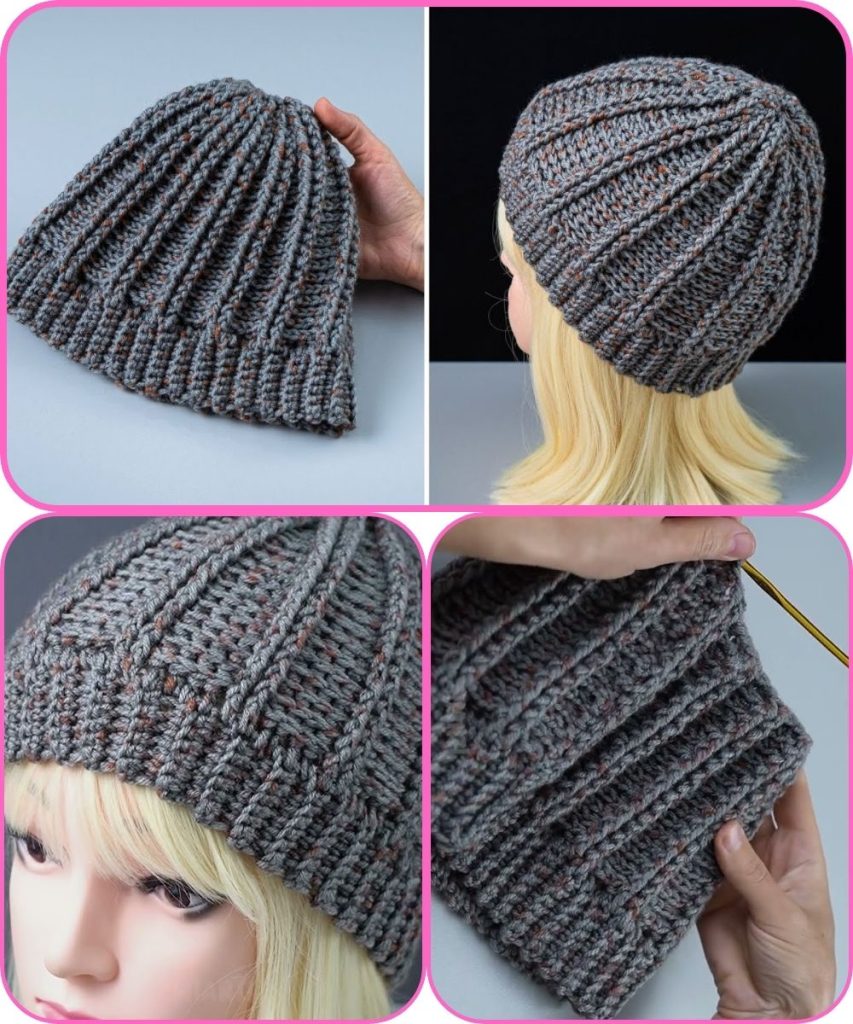
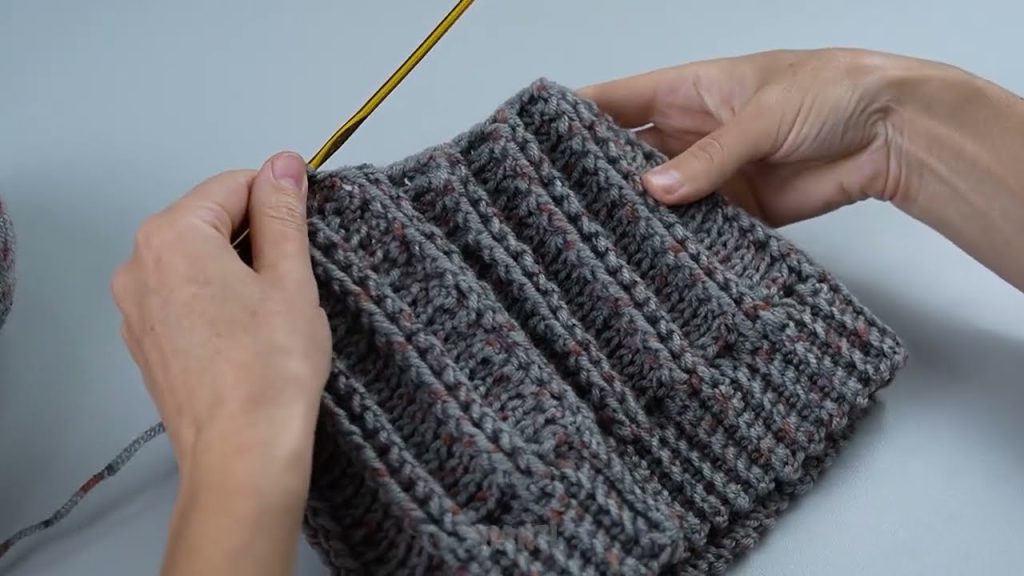
Step 4: Create the Hat Brim
For a neat finish:
- Switch to single crochet or half double crochet
- Crochet 1–2 rounds for a clean edge
You can also:
- Add ribbing using front post and back post stitches
- Change yarn color for a decorative touch
Step 5: Finish Off
- Cut the yarn, leaving a small tail
- Pull the yarn through the last loop to secure
- Use a yarn needle to weave in all loose ends
Your hat is now complete!
Tips for Faster Crocheting
- Use thicker yarn and a larger hook
- Choose simple stitches
- Avoid complicated patterns
- Crochet while relaxed and comfortable
Final Thoughts
Crocheting a hat is a rewarding project that combines creativity and practicality. In just a few hours, you can make a beautiful handmade accessory for yourself or as a thoughtful gift. With practice, you’ll be able to customize hats with colors, textures, and designs that reflect your personal style.
Happy crocheting! 🧶✨
If you want, I can also:
- Simplify this for beginners
- Turn it into a school assignment format
- Add pictures descriptions or a pattern
Watch tutorial: