 by
by Here’s a clear, detailed, and beginner-friendly guide you can use for an article, blog post, or school project.
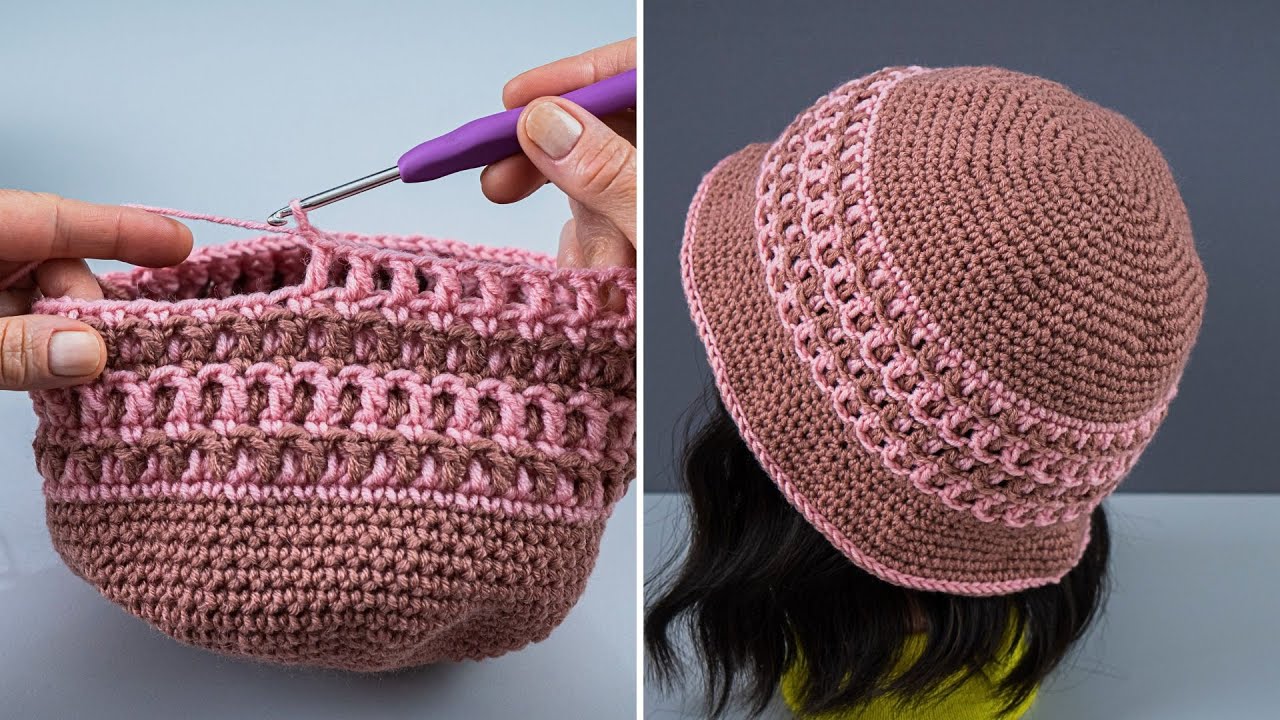
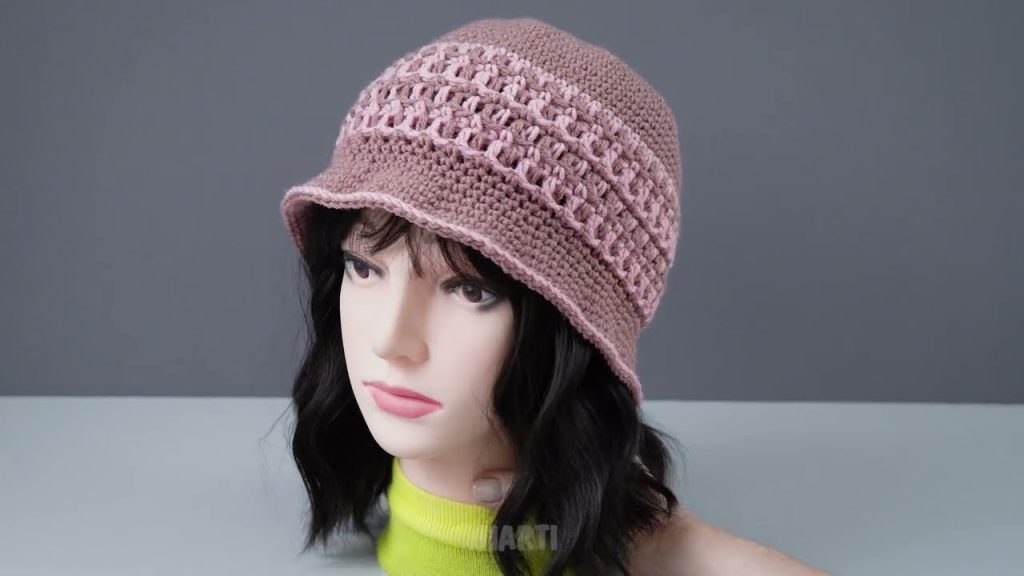
How to Crochet an Amazing Bucket Hat – Quick and Easy
Crocheting a bucket hat is a fun and rewarding project that’s perfect for beginners and experienced crocheters alike. With simple stitches and a straightforward shape, you can create a stylish hat in just a short time. This guide will walk you through the process step by step so you can make an amazing crochet bucket hat quickly and easily.
Materials You’ll Need
- Yarn: Medium-weight (worsted) cotton or acrylic yarn works best
- Crochet hook: Usually 4.5–5.5 mm (check your yarn label)
- Scissors
- Yarn needle (for weaving in ends)
- Stitch marker (optional, but helpful)
Basic Stitches Used
Before starting, make sure you’re familiar with these basic crochet stitches:
- Chain (ch)
- Slip stitch (sl st)
- Single crochet (sc)
- Increase (two single crochets in the same stitch)
These stitches are easy to learn and perfect for beginners.
Step 1: Start with the Magic Ring
Begin by making a magic ring. This creates a tight, adjustable center for the top of your hat.
- Crochet 6–8 single crochets into the ring.
- Pull the ring tight and join with a slip stitch.
This forms the very top of your bucket hat.
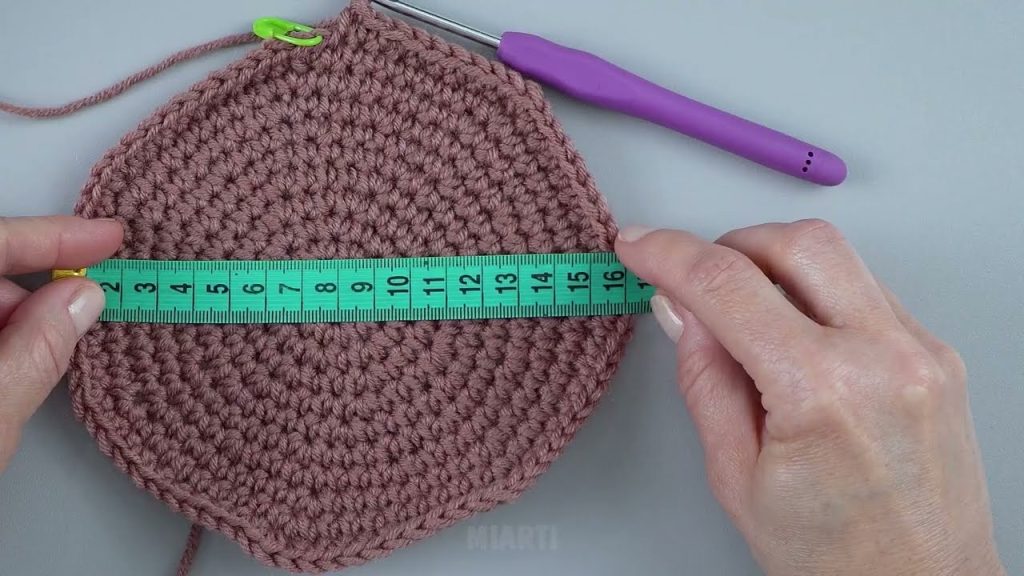
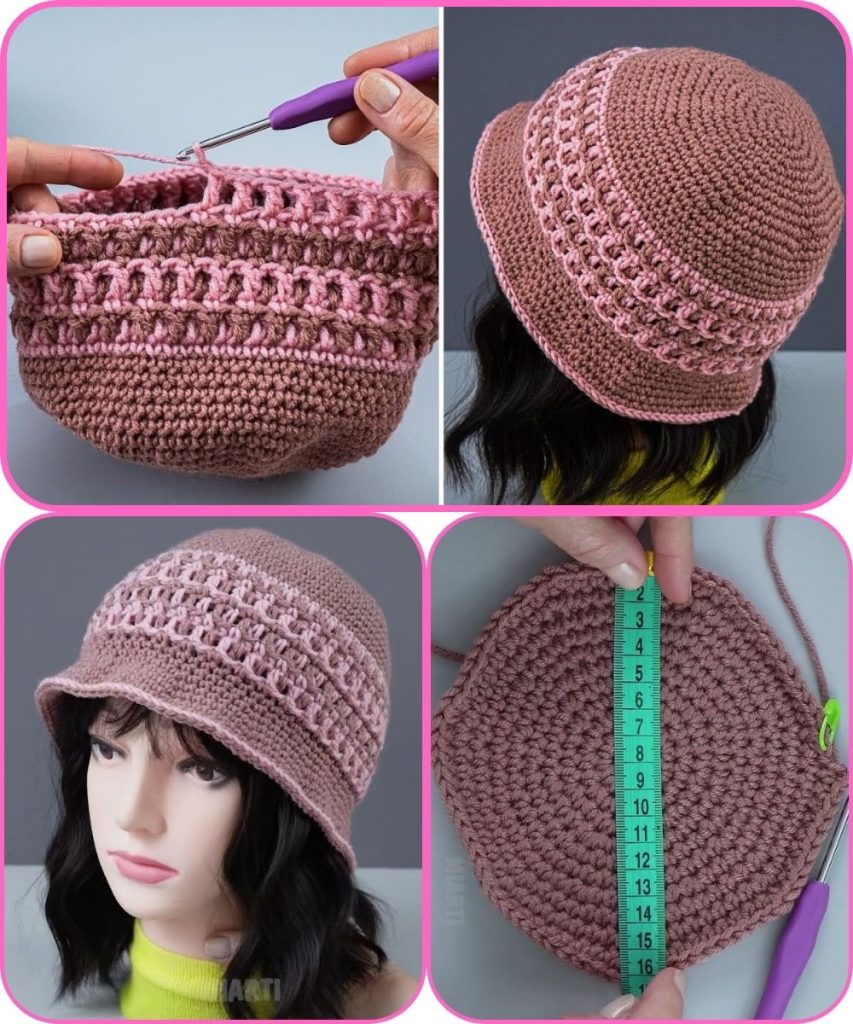
Step 2: Increase to Form the Crown
To make the hat wide enough to fit your head, you’ll need to increase evenly in each round.
- Round 1: Two single crochets in each stitch
- Round 2: One single crochet, then an increase (repeat around)
- Continue increasing until the circle matches the width of your head
Lay the circle flat as you work. If it stays flat, you’re doing it right!
Step 3: Build the Sides
Once the crown is wide enough:
- Stop increasing
- Crochet one single crochet in each stitch around
This will cause the work to curl downward, forming the sides of the hat. Keep going until the hat reaches the height you want (usually 3–4 inches).
Step 4: Create the Bucket Hat Brim
To make the classic bucket hat shape:
- Start increasing again, but more slowly than before
- For example: crochet 3–4 stitches, then increase
- Repeat for several rounds until the brim is wide enough
This gives the hat its relaxed, stylish look.
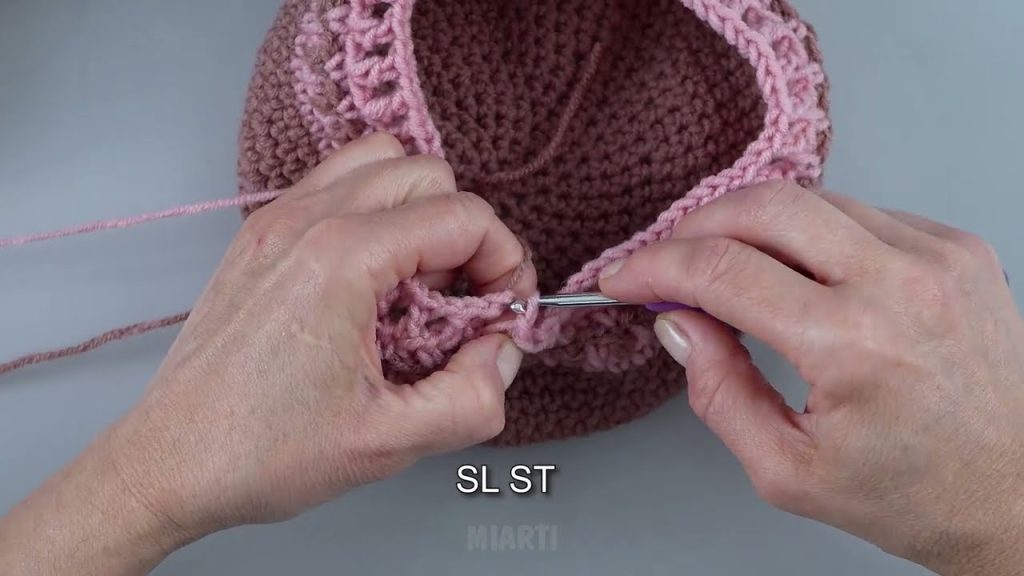
Step 5: Finish Off
- Join the last round with a slip stitch
- Cut the yarn, leaving a short tail
- Pull through and tighten
- Use a yarn needle to weave in all loose ends neatly
Tips for Success
- Try the hat on as you go to check the fit
- Use cotton yarn for a firm brim or acrylic for a softer look
- Add stripes or color changes to make your bucket hat unique
- Keep your stitches even for a clean, professional finish
Final Thoughts
Crocheting a bucket hat is quick, easy, and incredibly satisfying. With just basic stitches and a little practice, you can create a trendy accessory that’s perfect for everyday wear or as a handmade gift. Once you master the basics, you can experiment with different colors, textures, and sizes to make your bucket hat truly your own.
If you’d like, I can also:
- Rewrite this in simpler language
- Turn it into a short step-by-step version
- Help you create a video script or blog post format
Watch tutorial: