 by
by Absolutely! Let’s make this super clear, step-by-step, so even if you’re a beginner, you can create a beautiful knitted hat with a fun pattern. I’ll break it into materials, stitches, pattern, and finishing tips.
🧶 Materials You’ll Need
- Yarn: Medium weight (worsted, #4) is perfect for beginners. Choose your favorite color(s).
- Knitting needles: Circular needles 16 inches long, size 8 US (5mm) works well.
- Stitch markers: To mark the beginning of rounds.
- Tapestry needle: For weaving in ends.
- Scissors
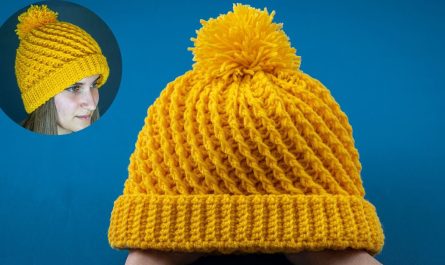
Optional: Pom-pom maker if you want a cute top finish.
🪢 Basic Stitches You Should Know
- Knit (K): The most basic stitch; creates a smooth “V” pattern.
- Purl (P): The opposite of knit; creates a bumpy texture.
- K2tog (Knit 2 Together): Decreases stitches, used for shaping the crown.
- YO (Yarn Over): Adds a decorative hole; optional if you want lace patterns.
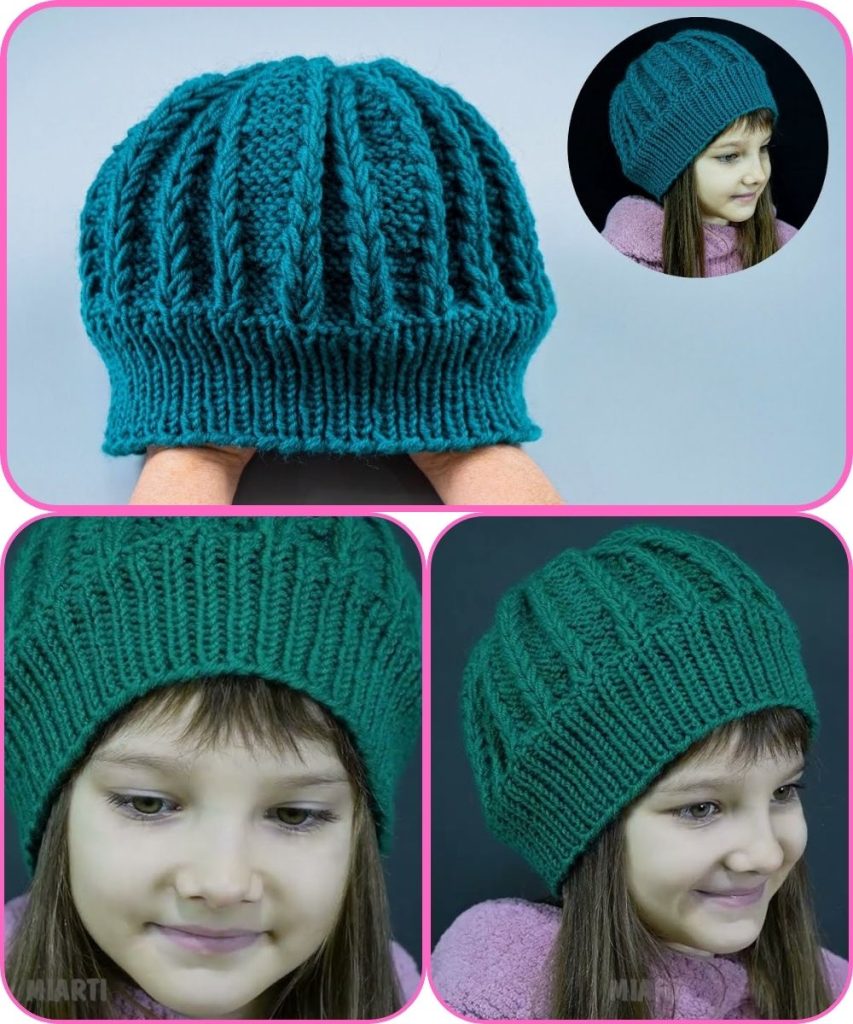
🎨 Simple Pattern Idea for Beginners
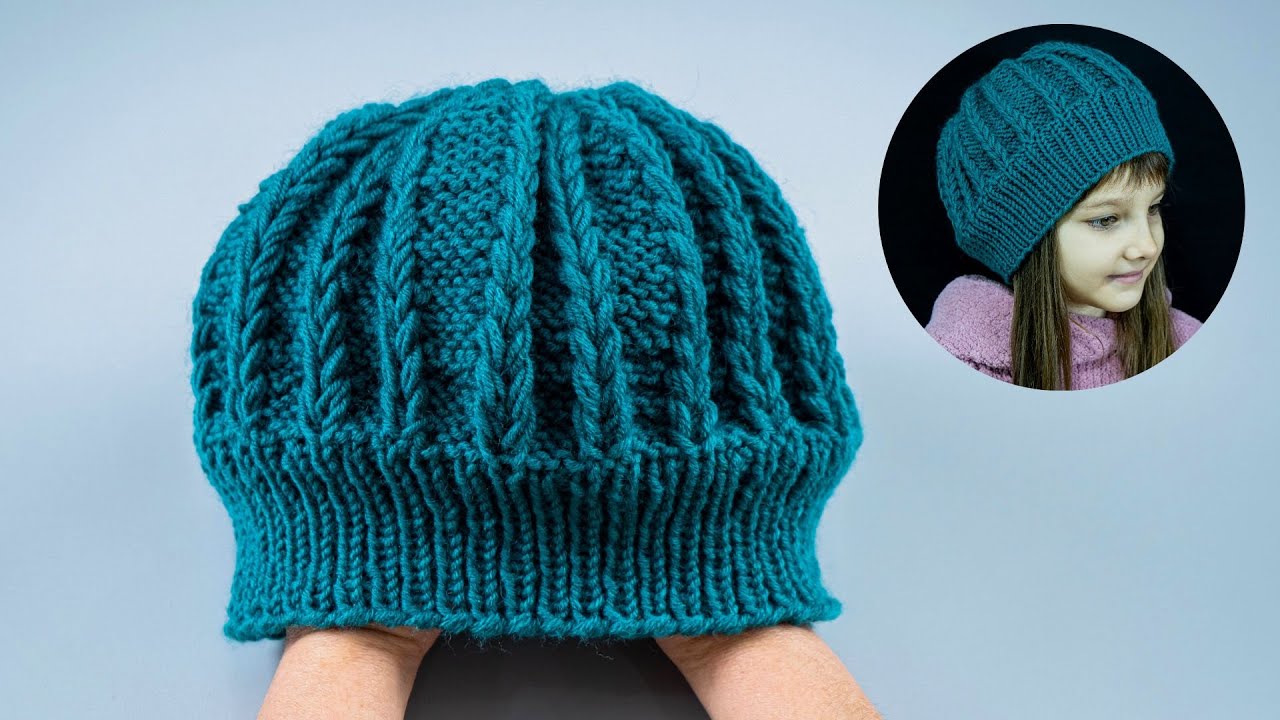
We’ll make a ribbed brim with a textured body—classic, stretchy, and fun.
Step 1: Cast On
- Cast on 80 stitches (adjust for head size).
- Join in the round carefully, make sure stitches aren’t twisted. Place a marker for the beginning of the round.
Step 2: Ribbed Brim (Stretchy Bottom)
- Round 1-10: K2, P2 all around.
- This makes the bottom stretchy so the hat fits snugly.
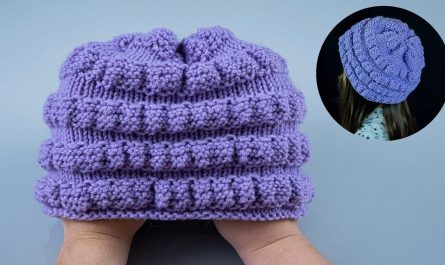
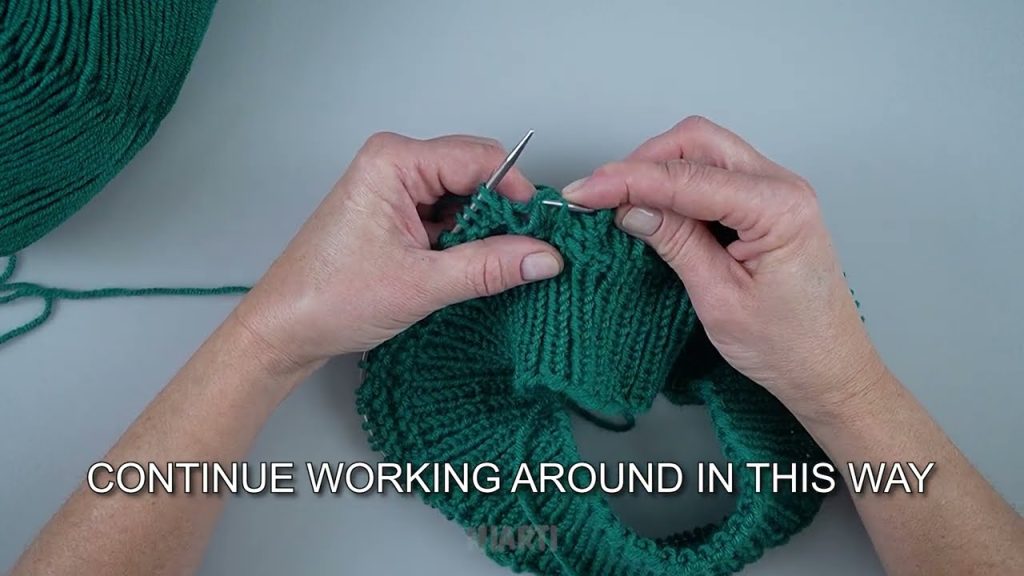
Step 3: Textured Pattern for Body
You can do a simple basketweave texture:
- Round 1-4: K4, P4 around.
- Round 5-8: P4, K4 around.
- Repeat these 8 rounds until the hat measures about 6 inches from the cast-on edge.
This gives a cool checkerboard/basket effect that looks complex but is super easy.
Step 4: Shaping the Crown
- Begin decreasing gradually:
- Round 1: K6, K2tog repeat around
- Round 2: Knit all stitches
- Round 3: K5, K2tog repeat
- Round 4: Knit all stitches
- Continue decreasing like this until about 10 stitches remain
Step 5: Finishing
- Cut yarn, leaving a 6-inch tail.
- Thread tail through remaining stitches using a tapestry needle, pull tight, and secure.
- Weave in any loose ends.
- Optional: Add a pom-pom on top for extra cuteness.
💡 Tips for Beginners
- Count your stitches often—it’s easy to add or drop stitches in circular knitting.
- Use stitch markers—especially when doing decreases or pattern repeats.
- Relax your tension—tight stitches make it hard to work; loose stitches make it baggy.
- Practice your decreases and ribbing on a small swatch first.
- Experiment with color: Try a stripe every 8 rounds for a fun, colorful look.
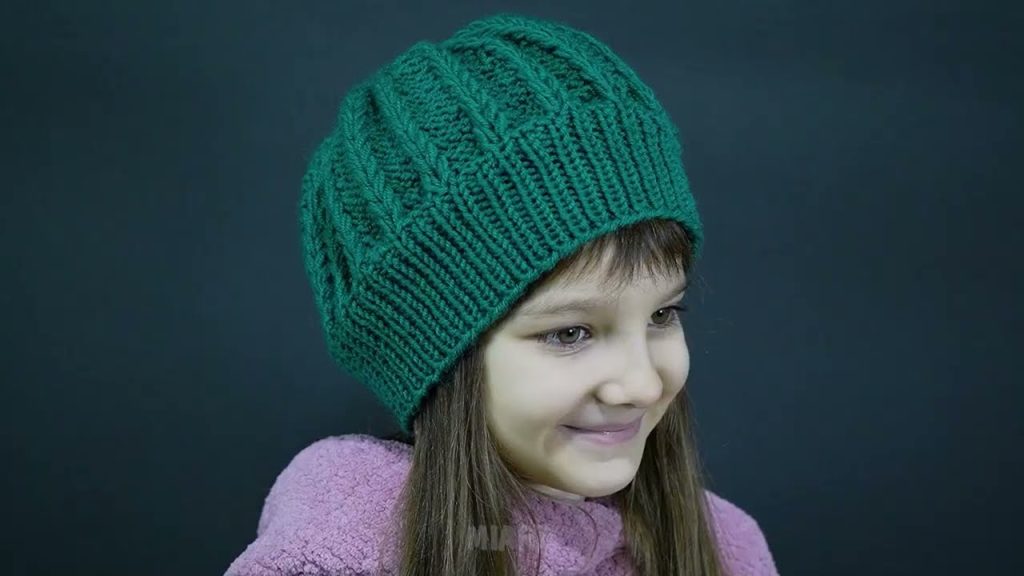
✅ This pattern is flexible: You can make it longer for a slouchy style or shorter for a classic fit. The basketweave pattern looks way more advanced than it really is!
If you want, I can also draw a visual chart of the hat pattern that shows the ribbing, basketweave, and decreases—it makes it insanely easier to follow than just words.
Watch tutorial: