 by
by Absolutely! I can give you a step-by-step, detailed guide on how to make an easy granny square crochet bag. I’ll break it down into materials, pattern, assembly, and tips so it’s beginner-friendly.
How to Make an Easy Granny Square Crochet Bag
Materials Needed
- Yarn: Worsted weight (medium #4) in 2–3 colors (or more if you want a colorful bag)
- Crochet Hook: Size H/8 (5mm) or according to yarn label
- Scissors
- Yarn needle for weaving ends
- Optional: Bag lining fabric and sewing needle/thread if you want a lining
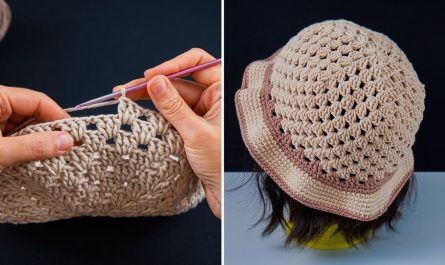
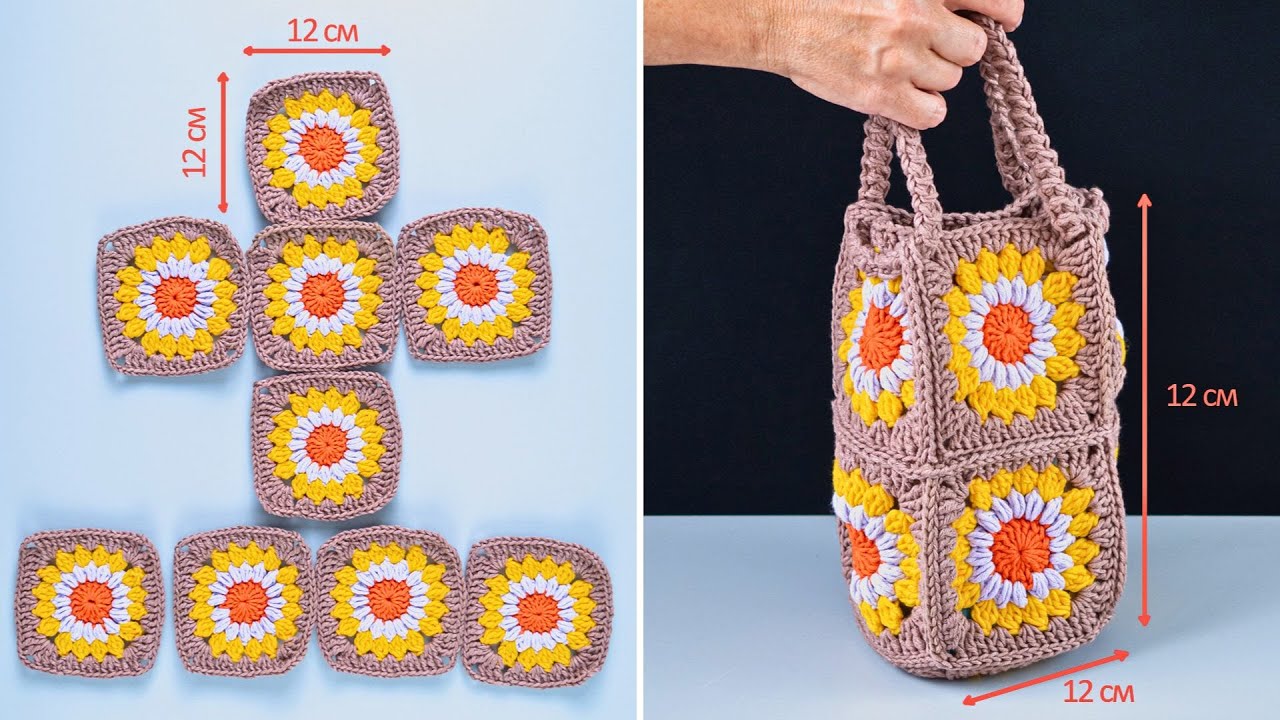
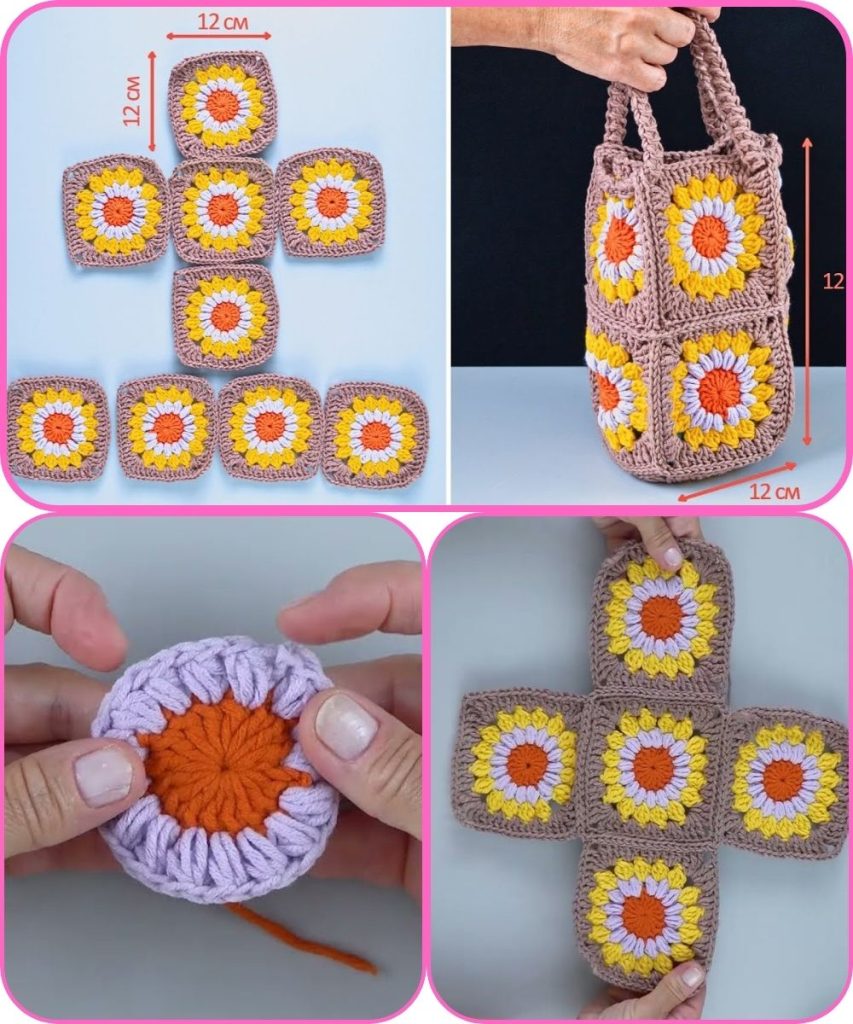
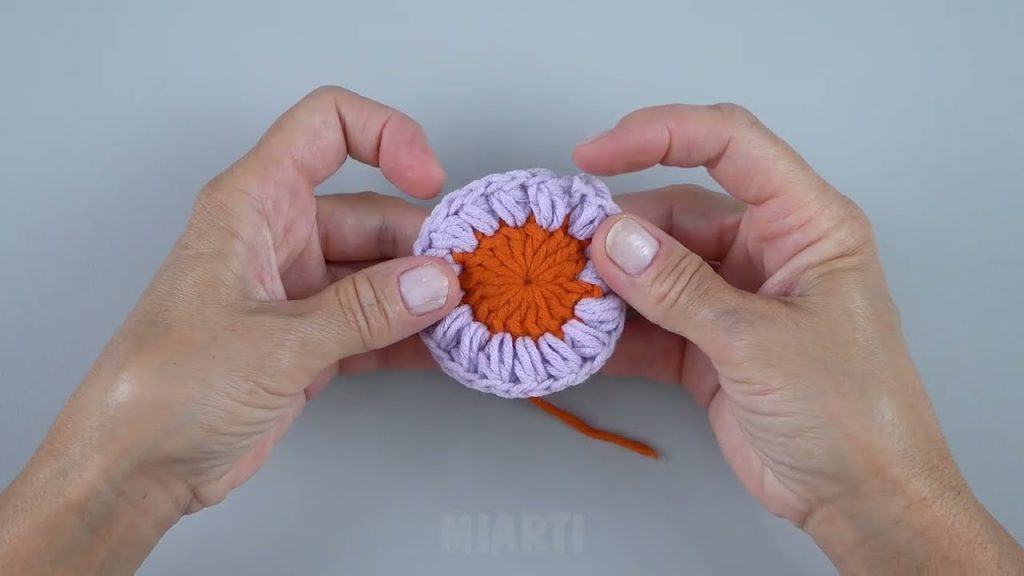
Step 1: Make Granny Squares
- Start with a magic ring (or chain 4 and join to make a ring).
- Round 1: Chain 3 (counts as first double crochet), then work 2 double crochets (dc), chain 2, 3 dc in ring, chain 2 three times. Join with slip stitch to top of chain 3.
- You now have 4 clusters of 3 dc separated by chain-2 corners.
- Round 2: Slip stitch into the first chain-2 corner, chain 3 (counts as dc), work 2 dc, chain 2, 3 dc in same corner. In next corner, 3 dc, chain 2, 3 dc. Repeat for all 4 corners, join with slip stitch.
- Round 3 (Optional for bigger square): Repeat round 2, putting 3 dc, chain 2, 3 dc in each corner and 3 dc in each side space.
Tip: Make at least 6–8 squares for a small bag or more for a bigger bag.
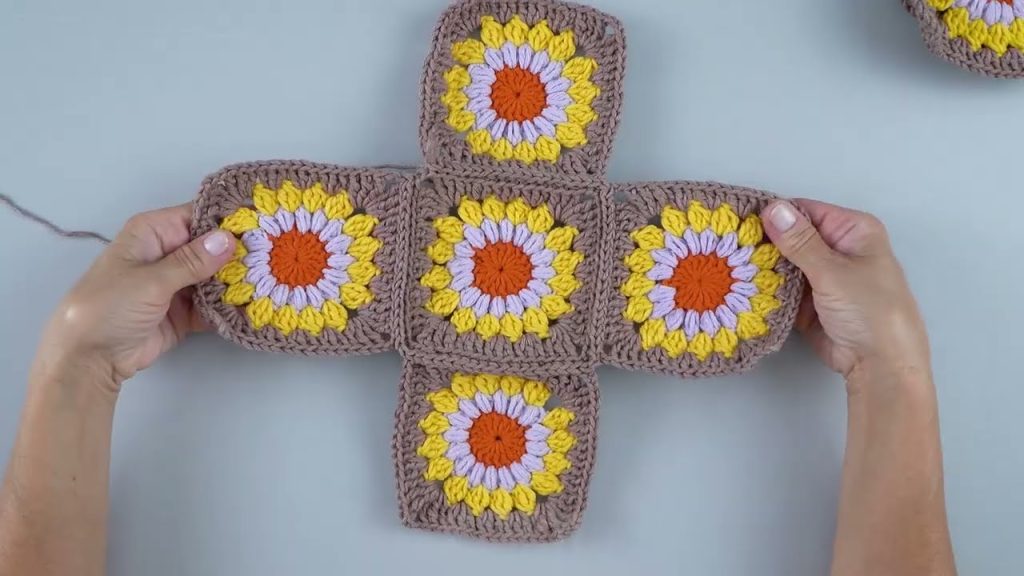
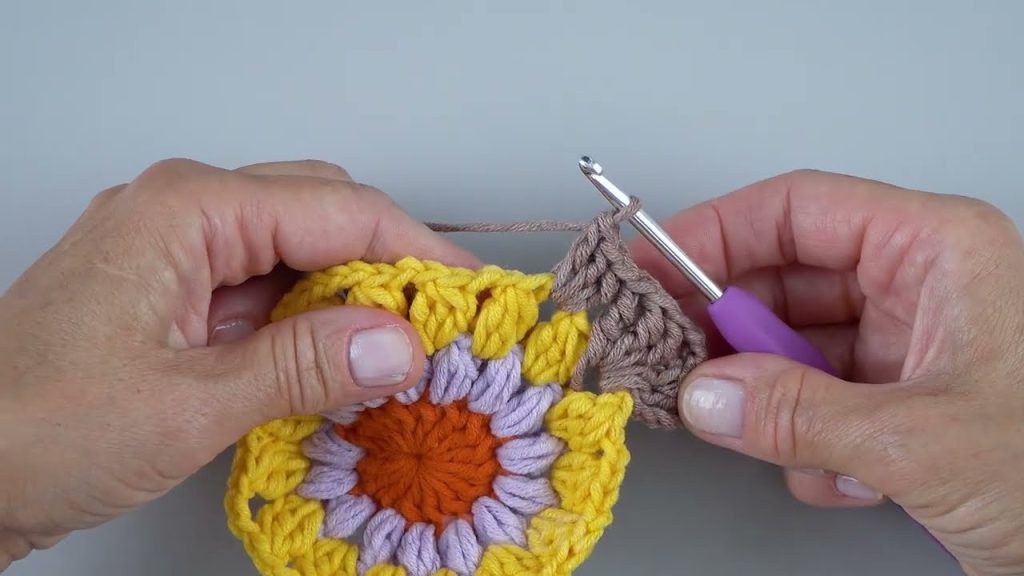
Step 2: Join Granny Squares
- Lay out your squares in the shape of a bag (for example, 2 squares for front, 2 for back, 2 for sides, 1 for bottom if you want a 3D bag).
- Joining method (choose one):
- Slip stitch join: Place squares right sides together, insert hook through both edges, slip stitch across.
- Whip stitch (sewing): Use yarn needle and same yarn, whip stitch the squares together.
Step 3: Form the Bag Shape
- Join sides and bottom squares to form a bag box shape.
- Make sure seams are secure; reinforce if needed.
- Check that the bag stands properly.
Step 4: Add the Handles
- Option 1: Crochet handles directly
- Attach yarn to top edge, chain a length for your handle, skip a few stitches, attach with slip stitch, repeat on other side for symmetry.
- Reinforce by working 2–3 rows of single crochet along the handle.
- Option 2: Use store-bought handles
- Sew handles directly to the top edges of the bag using yarn or thread.
Step 5: Optional Lining
- Cut fabric to the bag size, sew sides and bottom.
- Slip the lining into the bag and sew the top edge.
- Lining helps hold smaller items and strengthens the bag.
Step 6: Weave in Ends & Finish
- Weave in all loose yarn ends with a yarn needle.
- Trim any extra yarn.
- Turn bag right side out.
Tips for Beginners
- Use contrasting colors for a fun, classic granny square look.
- Make more squares than needed in case of mistakes.
- If bag feels flimsy, add a lining or use thicker yarn.
- Experiment with different shapes of squares (e.g., bigger or smaller) to create unique patterns.
✅ Result: You’ll have a cute, colorful granny square bag perfect for casual outings, gifting, or personal use.
If you want, I can also draw a simple diagram showing the granny square layout for the bag, which makes assembly much easier to visualize.
Watch tutorial: