 by
by Sure! Here’s a detailed, step-by-step guide on how to make an easy crochet balaclava (or snood) that’s perfect for beginners. This pattern is simple, cozy, and customizable — ideal for chilly weather or a stylish accessory.
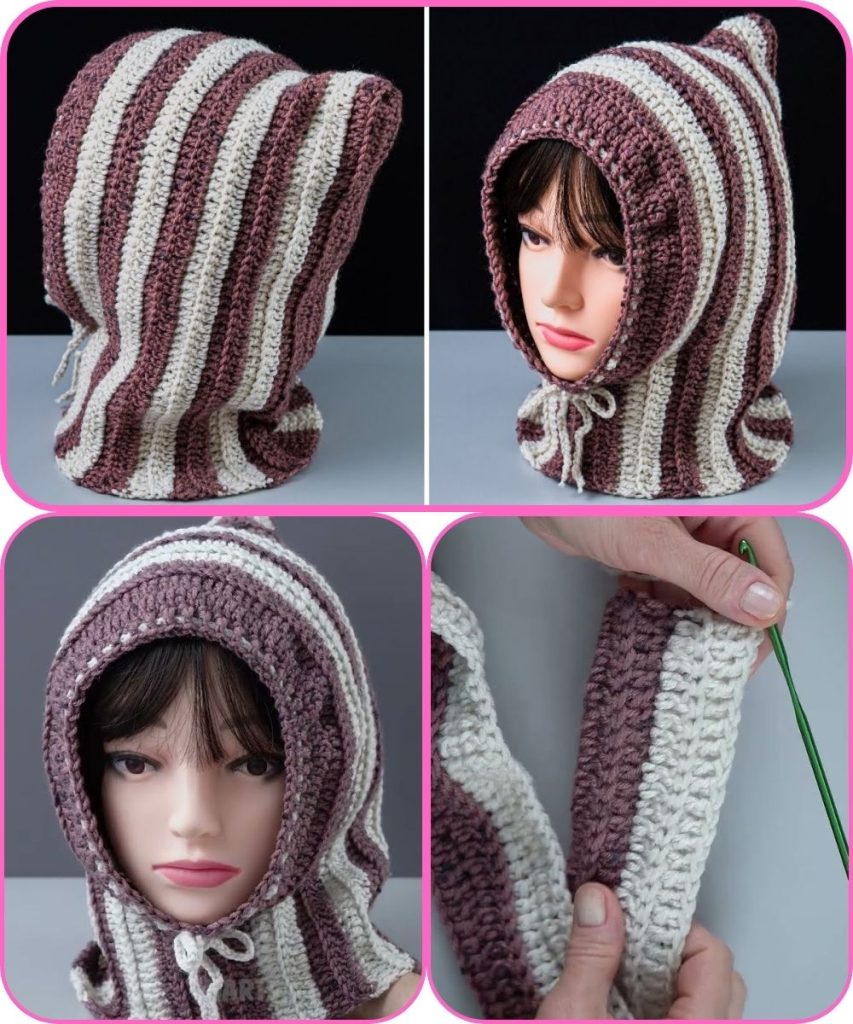
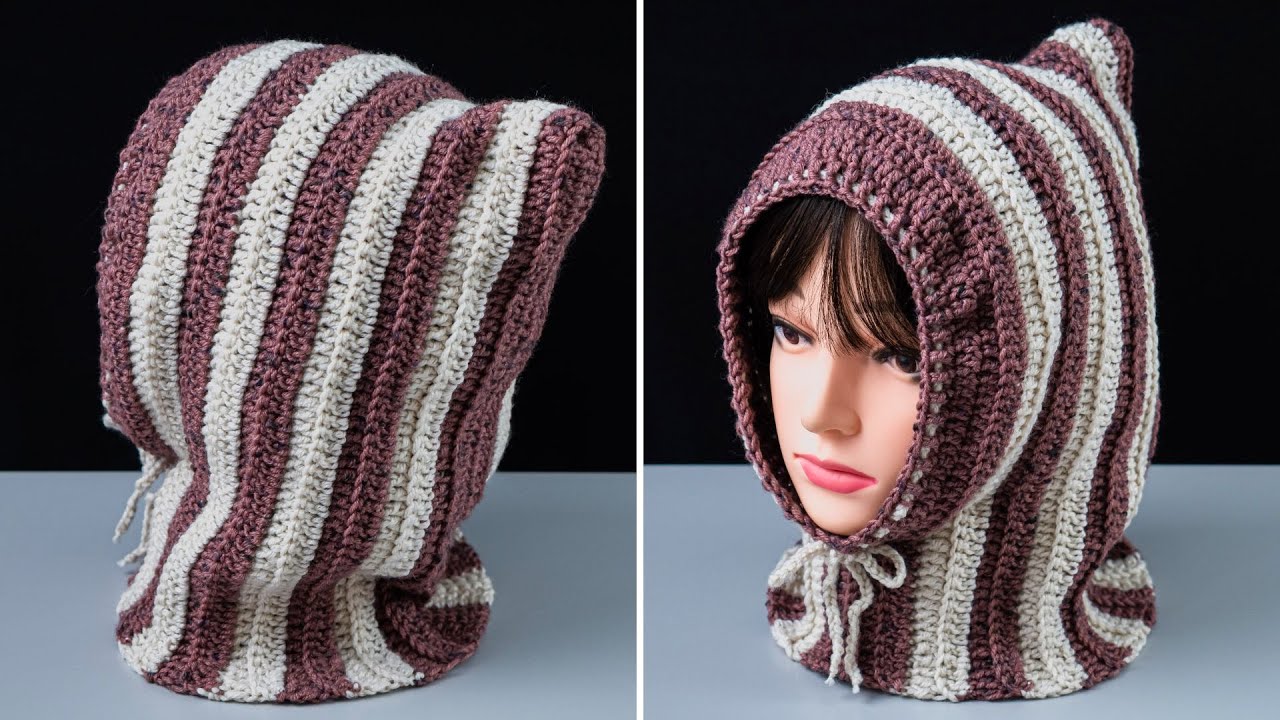
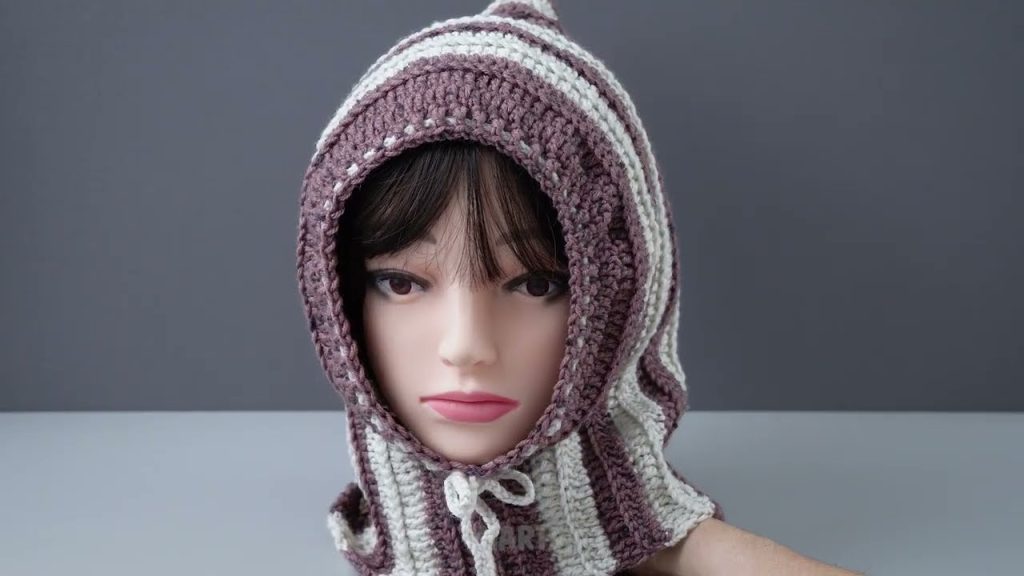
🧶 EASY CROCHET BALACLAVA / SNOOD FOR BEGINNERS
🌟 Skill Level:
Beginner (you only need to know a few basic stitches!)
🧵 Materials You’ll Need:
- Yarn:
- Bulky or chunky weight yarn (Category 5) – about 200–250 grams
- Acrylic or wool blend yarns work great (like Lion Brand Thick & Quick or Paintbox Simply Chunky)
- Crochet hook:
- Size 6 mm (J) or 6.5 mm (K) — check your yarn label for the best match
- Scissors
- Yarn needle (for weaving in ends)
- Stitch markers (optional but helpful)
✨ Stitches & Abbreviations:
(US Terms)
- ch – chain
- sl st – slip stitch
- sc – single crochet
- hdc – half double crochet
- dc – double crochet
- st(s) – stitch(es)
- rnd(s) – round(s)
📏 Size:
Fits most teens/adults (you can easily adjust by adding or removing stitches or rows).
🪡 Step-by-Step Instructions
🧣 PART 1: The Neck Tube (Snood Base)
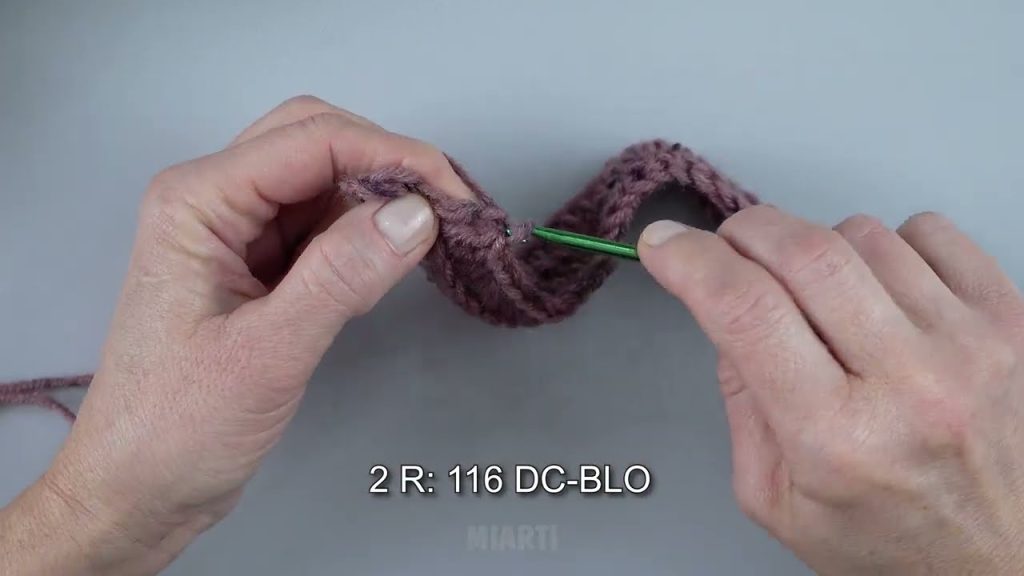
- Foundation Chain:
Chain 60 (or enough chains to fit comfortably around your head/neck).- Make sure the chain is not twisted when you join.
- Join to Work in the Round:
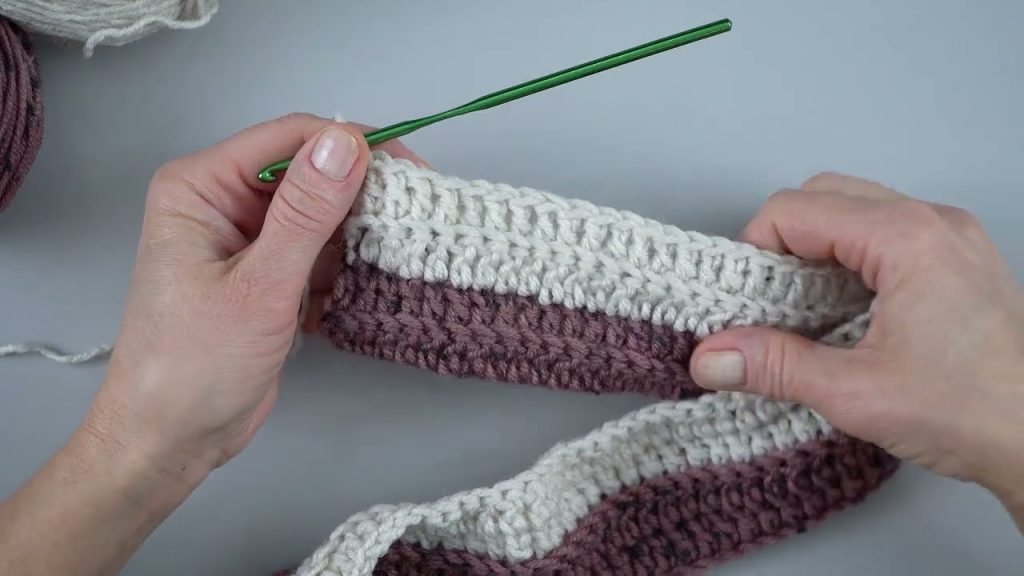
Slip stitch into the first chain to form a circle. - Round 1:
Chain 1, work 1 hdc in each stitch around.
Join with a sl st to the first hdc.
(60 sts) - Round 2–12 (or desired height):
Chain 1, hdc in each stitch around.
Join each round with a sl st.
This creates a cozy, stretchy tube for your neck.
🧢 PART 2: The Head Section
Now we’ll build height to cover the head and form the balaclava shape.
- Stop Joining:
When the neck part is tall enough, stop joining and start working back and forth in rows. - Row 1:
Chain 1, hdc in each stitch halfway around the tube (this is the back half).
Turn your work. - Rows 2–14:
Repeat Row 1 until your piece measures about 8–9 inches (20–23 cm) from where you started this section.
This will be the back and top of your head.
🧶 PART 3: Joining the Top
- Fold the piece flat with right sides together and slip stitch or whip stitch across the top edge to close the head portion.
Now you have a hood-like shape!
🧤 PART 4: Face Opening (Optional Ribbed Edge)
- Attach yarn at the base of the face opening.
- Round 1:
Chain 1, sc evenly around the face opening. Join with sl st. - Round 2–4:
Chain 1, work front post hdc (fphdc) and back post hdc (bphdc) alternately to make a stretchy ribbed border. - Finish Off:
Fasten off and weave in all ends.
🪄 Optional Add-Ons:
- Add drawstrings by chaining a long cord and weaving it through the neck edge.
- Use contrasting colors for the ribbing.
- Add earflaps or pom-poms for a fun touch.
🧼 Care Tips:
- If you used acrylic yarn: machine wash on gentle, lay flat to dry.
- If wool: hand wash cold, lay flat to dry.
🎁 Summary:
✅ Perfect first crochet clothing project
✅ Beginner stitches only (hdc + sc)
✅ Easily adjustable for size or style
✅ Takes about 3–4 hours
Watch tutorial: