 by
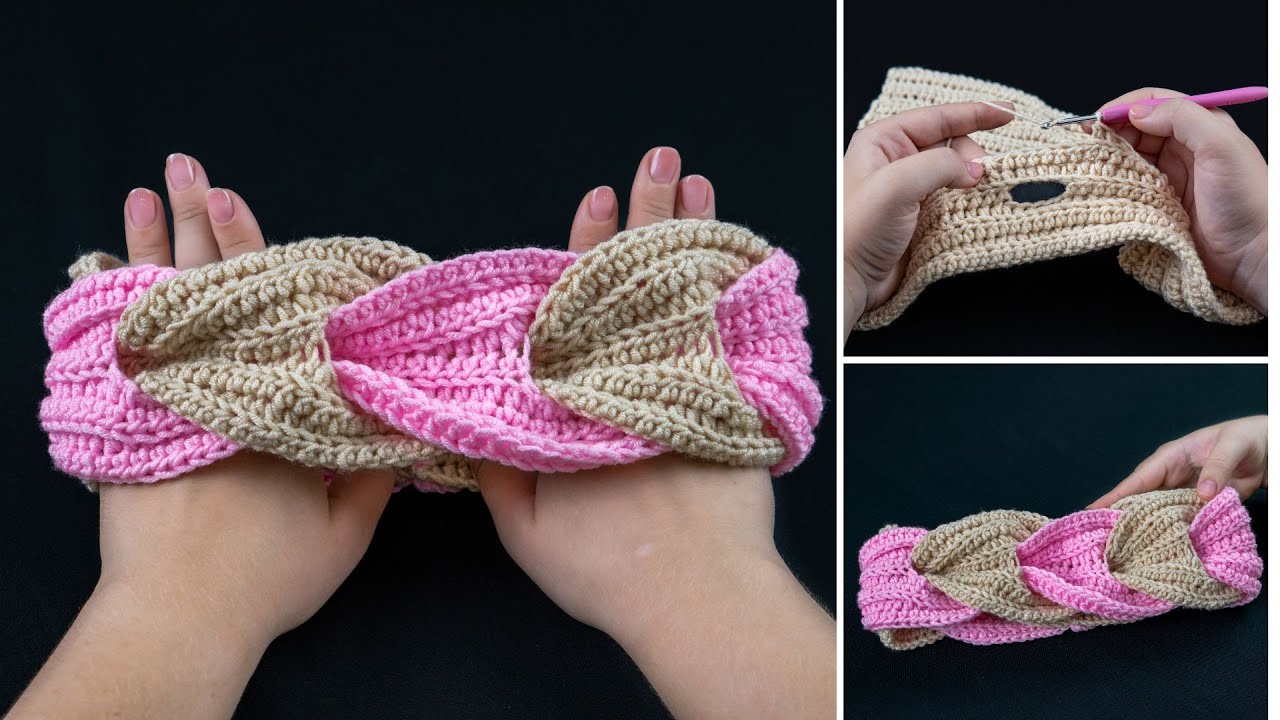
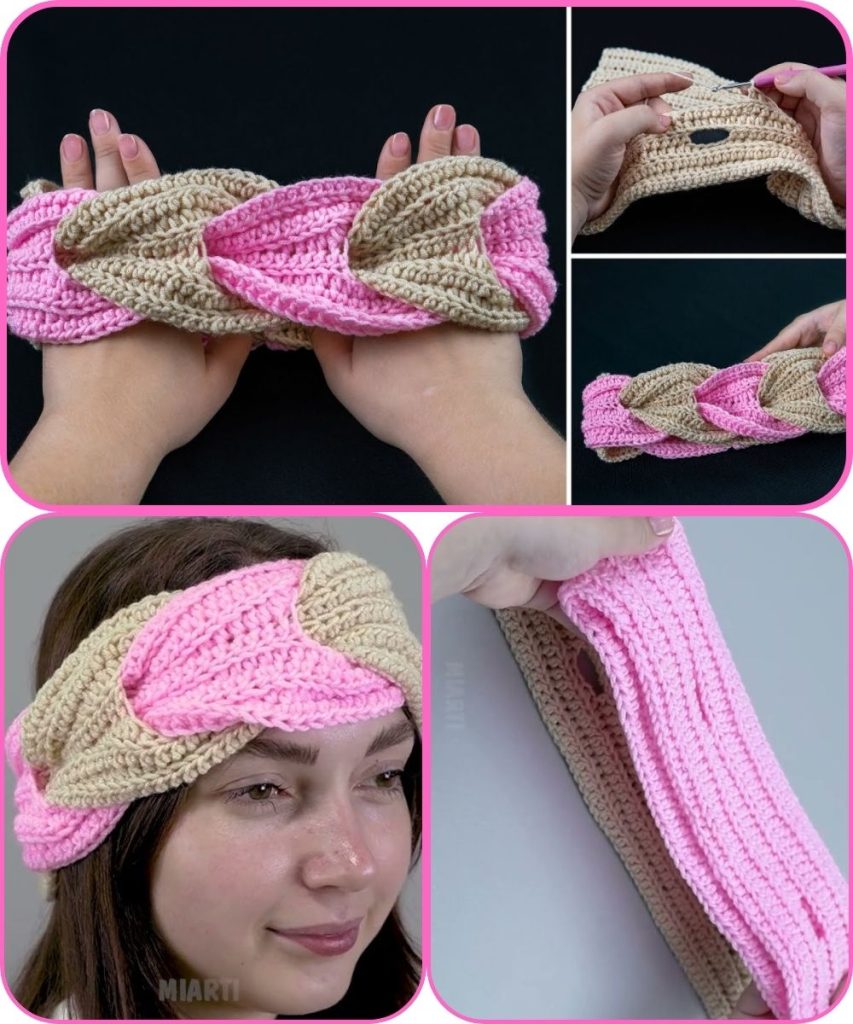
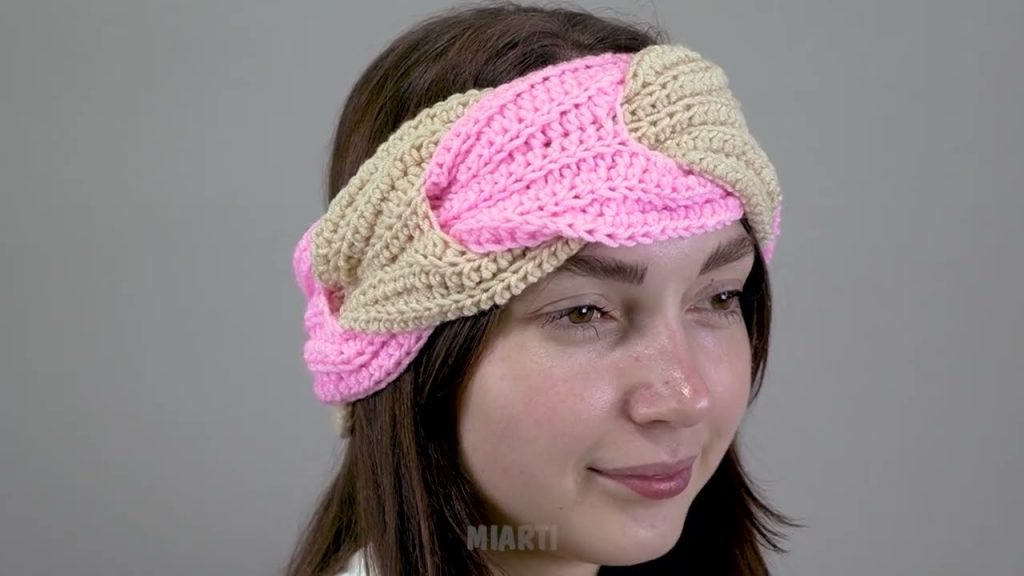
by Absolutely! I can guide you step by step on how to make a beautiful crochet headband called “Spikelet” in an easy way. I’ll make it beginner-friendly but still stylish. Let’s break it down clearly.
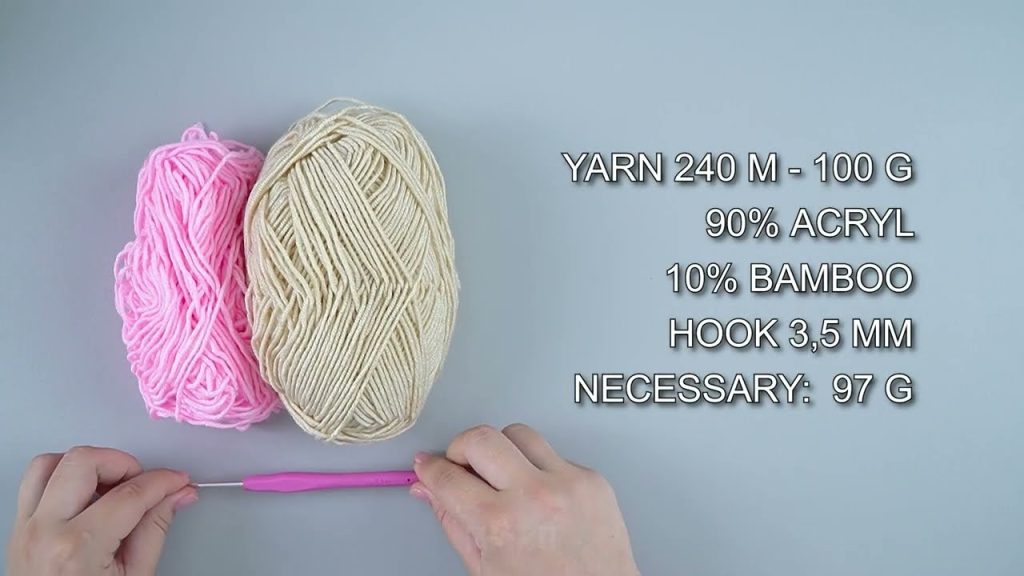
Materials You’ll Need
- Yarn: Medium-weight cotton or acrylic yarn works best (soft and comfortable).
- Crochet Hook: Use a hook size recommended on your yarn label (usually 4mm–5mm).
- Scissors
- Tapestry Needle (for weaving in ends)
- Measuring Tape
Step 1: Measure & Chain Foundation
- Measure around your head where you want the headband to sit.
- Example: 50–55 cm for teens/adults.
- Make a foundation chain that fits your measurement.
- Keep it slightly loose because crochet can stretch.
- Make an even number of chains (helps with the Spikelet pattern).
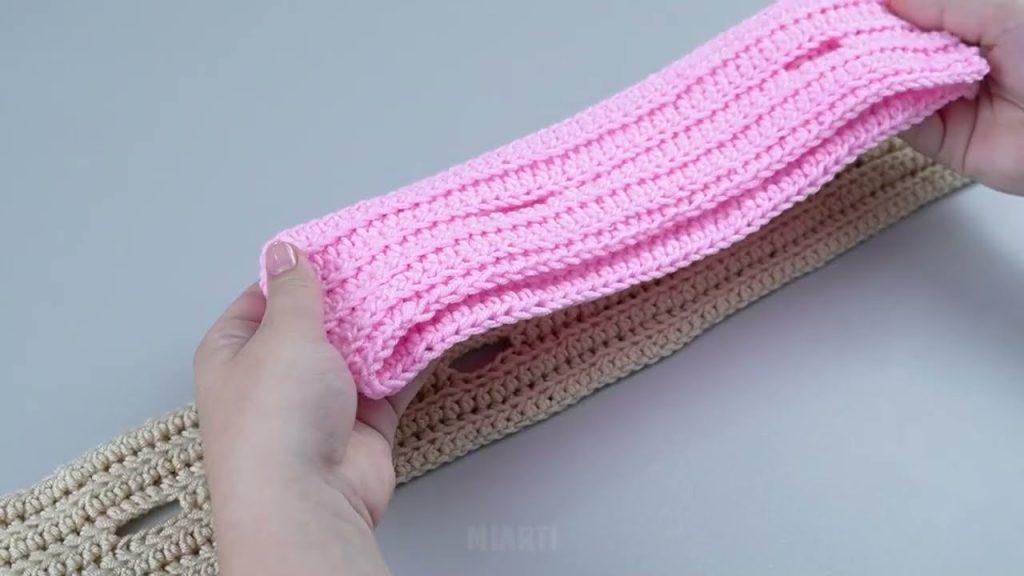
Step 2: Learn the Spikelet Stitch
The Spikelet stitch is basically a series of little spikes that look like small leaves or wheat spikes. It’s formed by double crochets worked into alternating chains with spaces.
Here’s an easy version:
- Row 1 (Base): Single crochet (SC) into each chain across. Turn.
- Row 2 (Spikelet Row):
- Chain 3 (counts as first double crochet).
- Skip one stitch, then make 1 double crochet (DC) in next stitch.
- Chain 1, skip 1 stitch, DC in next stitch.
- Repeat across the row. Turn.
- Row 3 (Filling Row):
- SC in each DC and chain space from the previous row.
- Turn.
Tip: The spikes will start forming after 3–4 rows. You can repeat Row 2 & Row 3 until your headband reaches the desired width (usually 6–7 cm for teens/adults).
Step 3: Shape the Headband
- Once the length is enough to cover your head, fasten off the yarn.
- Use the tapestry needle to sew the two ends together.
- You can make it twisted in the center for a stylish knot effect, or keep it flat.
Step 4: Finishing Touches
- Weave in all loose ends with a tapestry needle.
- Optionally, add a small crochet flower or button on the center twist for extra charm.
- Block your headband gently (spray lightly with water and let dry flat) to make spikes stand out.
Tips to Make It Beautiful
- Use multicolored yarn for a gradient spike effect.
- Try softer yarn for comfort if it touches hair directly.
- Tighten your tension slightly to make the spikes more defined.
- Add a elastic band inside if you want it stretchier for active wear.
If you want, I can draw a simple step-by-step diagram of the Spikelet stitch and the headband layout. That makes it way easier to follow than just written instructions.
Watch tutorial: