 by
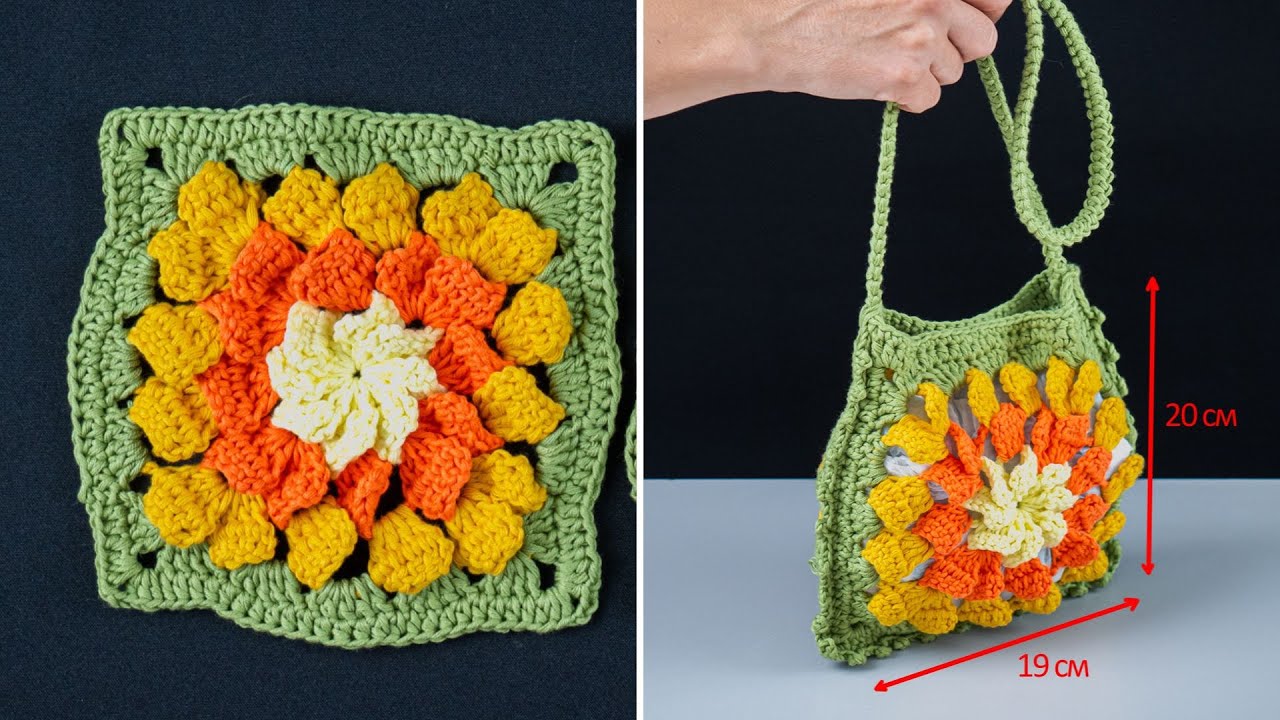
by Absolutely! I can guide you step by step on how to make an easy granny square crochet mini bag. I’ll break it down in a way that’s beginner-friendly but still detailed. 🧶

Materials You’ll Need
- Yarn: Any medium-weight (worsted) yarn works well. You can mix colors for the granny squares.
- Crochet hook: Usually a 4mm (G) hook works for worsted weight yarn. Check your yarn label.
- Tapestry needle: For weaving in ends and sewing squares together.
- Scissors
- Optional: Small button or magnetic snap for closure, or chain strap for carrying.
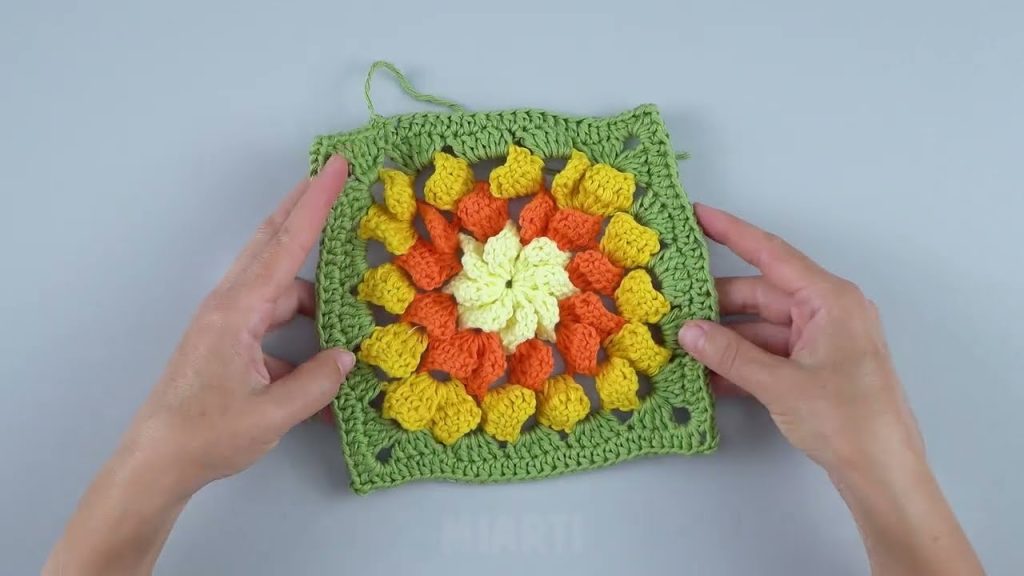
Step 1: Make the Granny Squares
Granny squares are the building blocks of this mini bag. Here’s a simple 3-round version:
Abbreviations:
- ch = chain
- dc = double crochet
- sl st = slip stitch
Instructions for One Granny Square:
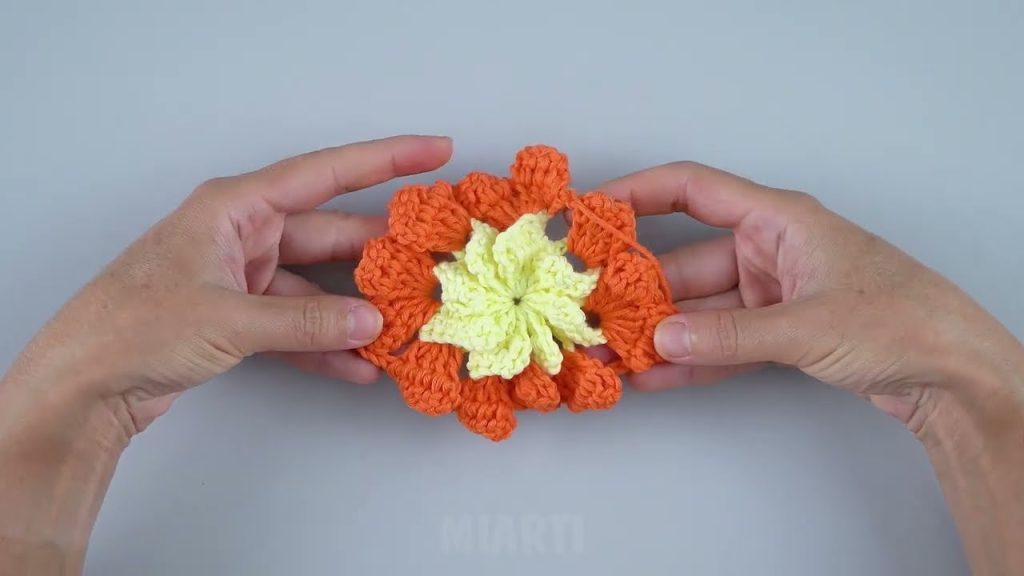
- Start with a magic ring (or ch 4 and join to make a loop).
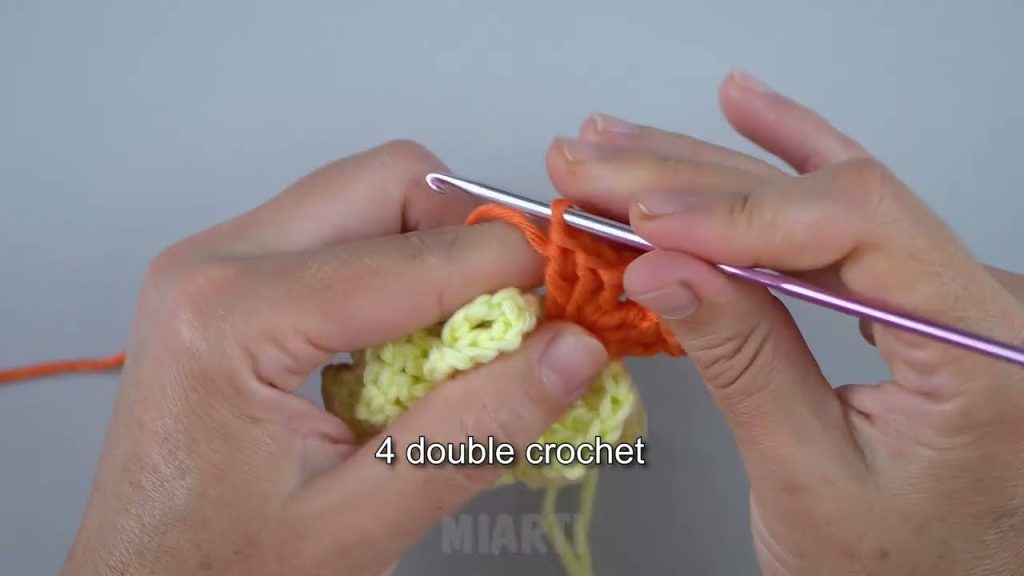
- Round 1: Ch 3 (counts as first dc), 2 dc into ring, ch 2, 3 dc into ring, repeat * 2 more times. Ch 2 and sl st to top of ch 3. You now have 4 sets of 3 dc clusters.
- Round 2: Sl st into next 2 dc and into the corner space. In corner space: (3 dc, ch 2, 3 dc). In each next corner space, repeat (3 dc, ch 2, 3 dc). Sl st to join.
- Round 3: For a slightly bigger square: In corner spaces: (3 dc, ch 2, 3 dc). In side spaces (between corners): 3 dc. Sl st to join.
- Fasten off and weave in ends.
Tip: Make 6–8 squares depending on your desired bag size.
Step 2: Assemble the Bag
- Lay out your squares in a rectangle: 2 squares wide and 3–4 squares tall works for a mini bag.
- Join the squares:
- You can sew them together with a yarn needle using a whip stitch, or
- Crochet them together by slip stitching through the edges for a neat look.
Step 3: Form the Bag Shape
- Create the sides: Fold the rectangle so the squares form the front and back of the bag.
- Join sides and bottom: Use whip stitch or slip stitch to join the sides and bottom edges, leaving the top open.
Step 4: Add Strap
- Simple crochet strap: Ch a chain the desired length of your strap, attach to each top corner, and reinforce with a row of sc (single crochet) along the chain.
- Optional: You can also attach a pre-made strap or ribbon.
Step 5: Optional Finishing Touches
- Closure: Add a button and loop, or a small magnetic snap.
- Lining: If you want, sew a fabric lining inside to prevent small items from falling through the holes.
Tips
- Use contrasting colors for a fun retro look.
- Keep your squares the same tension for even sides.
- Don’t overcomplicate; the charm of granny squares is their simple, colorful pattern.
If you want, I can draw a quick diagram showing how the squares are laid out and joined, which makes it way easier to visualize for beginners. It’ll be like a mini blueprint for your bag.
Watch tutorial: