 by
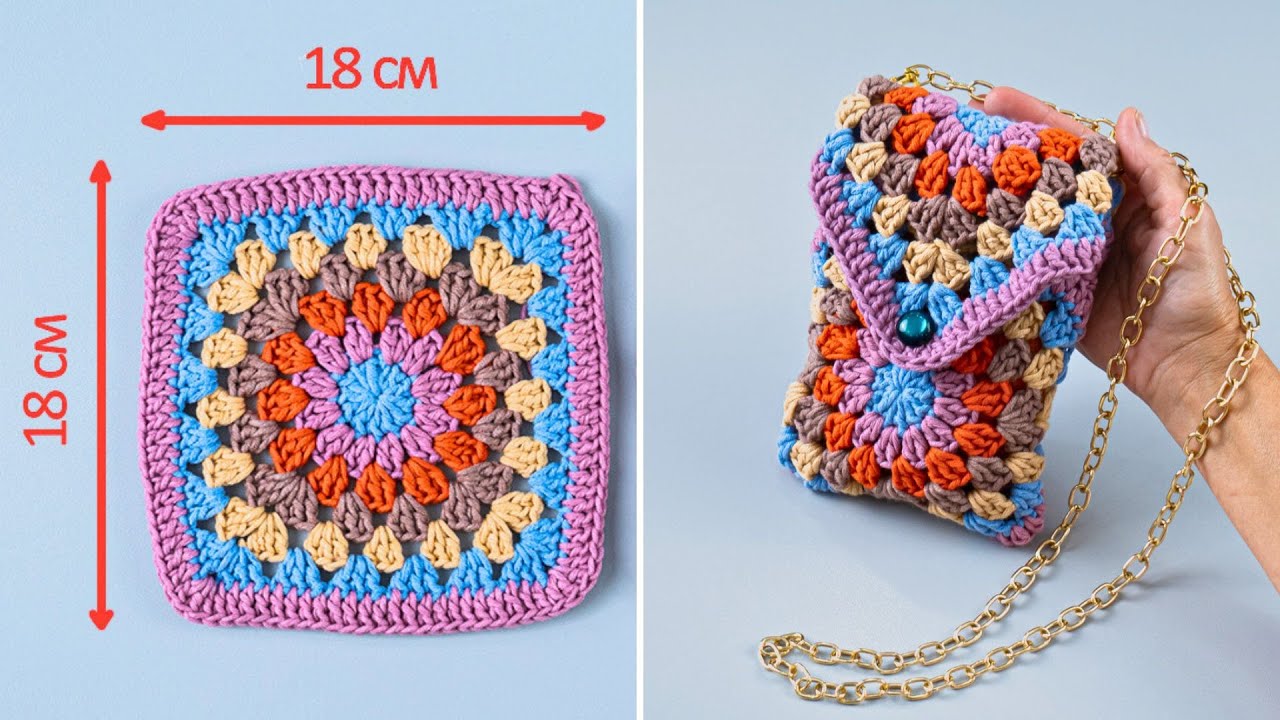
by Absolutely! Let’s make this detailed, step-by-step, and beginner-friendly. I’ll guide you through making a crochet granny square phone bag that’s cute, functional, and not too tricky. I’ll also include tips to make it easier if you’re new to crochet.
Materials You’ll Need
- Yarn – Choose medium-weight cotton or acrylic yarn. Pick 2–3 colors for a classic granny square look.
- Crochet Hook – Size suitable for your yarn (usually 4mm–5mm for medium yarn).
- Scissors
- Yarn Needle – For weaving in ends.
- Optional – Buttons, strap (you can crochet a chain strap or use a leather one).
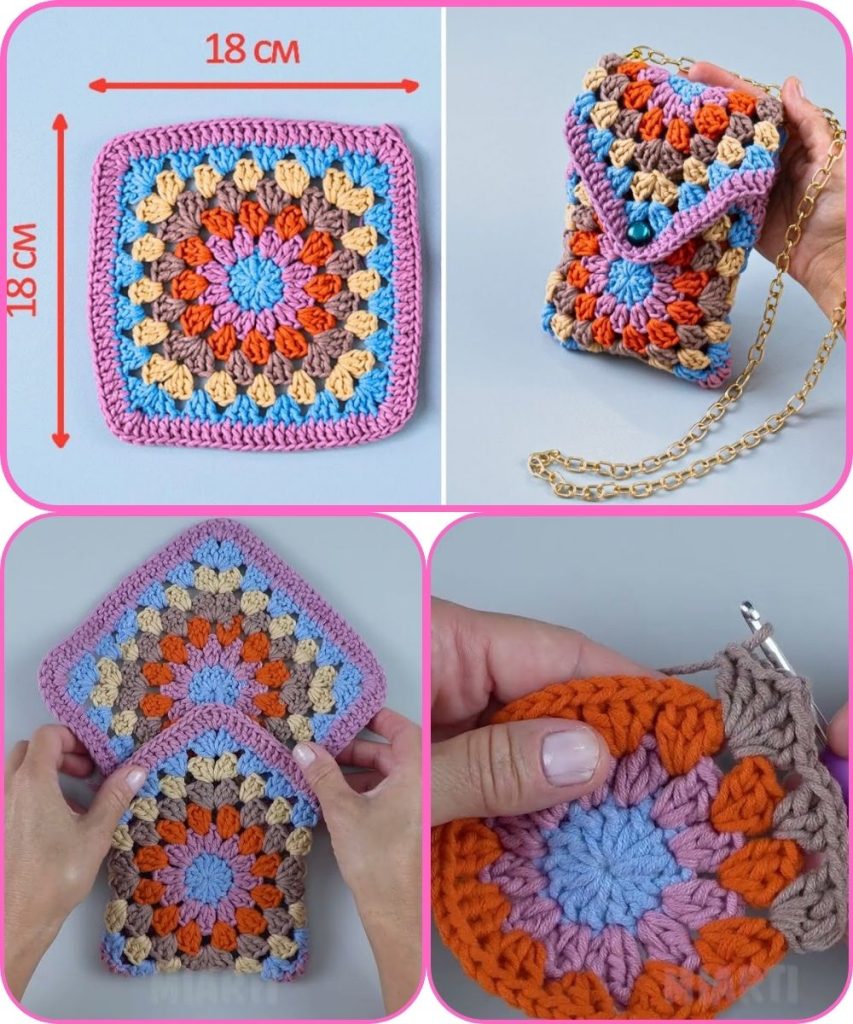
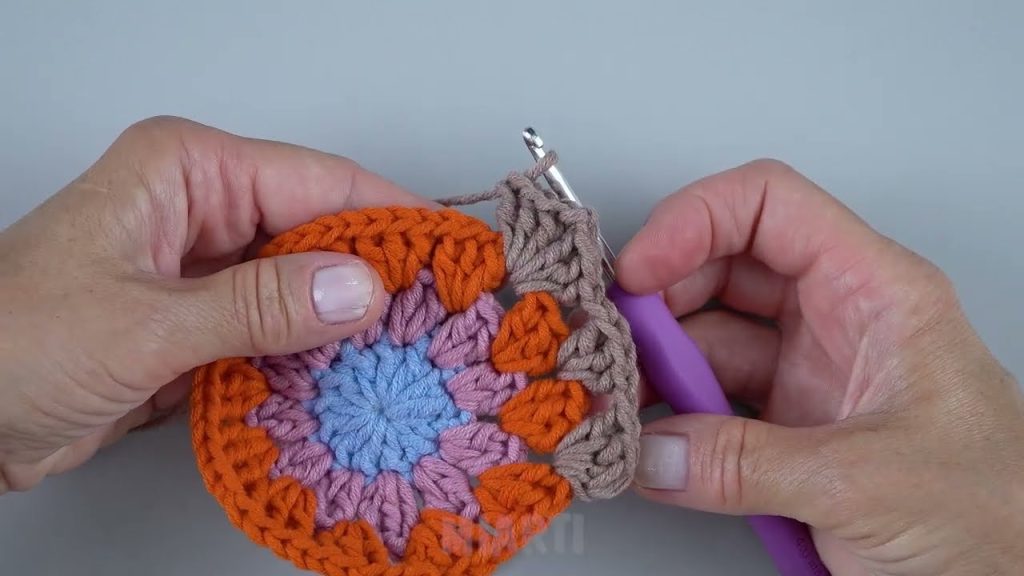
Step 1: Make a Granny Square
A granny square is the basic building block. Here’s a simple way:
- Start with a Magic Ring (or chain 4 and join with a slip stitch to form a ring).
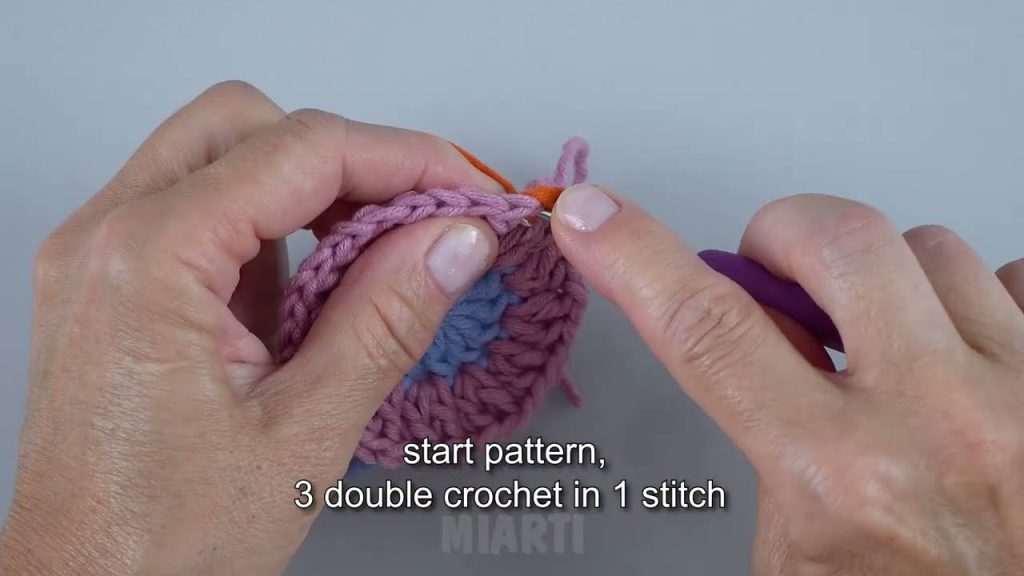
- Round 1: Chain 3 (counts as first double crochet), then make 2 double crochets into the ring, chain 2, 3 double crochets into the ring, chain 2 – repeat 4 times. Join with a slip stitch to the top of the first chain 3.
- Round 2: Slip stitch into the first chain-2 space, chain 3, 2 double crochets, chain 2, 3 double crochets (this forms a corner). 3 double crochets, chain 2, 3 double crochets into each corner space – repeat around. Join with slip stitch.
- Round 3+: Repeat Round 2 until your square is the size you want for your phone bag. Usually, 3–4 rounds make a small bag.
Tip: Use contrasting colors for each round to make your bag more stylish.
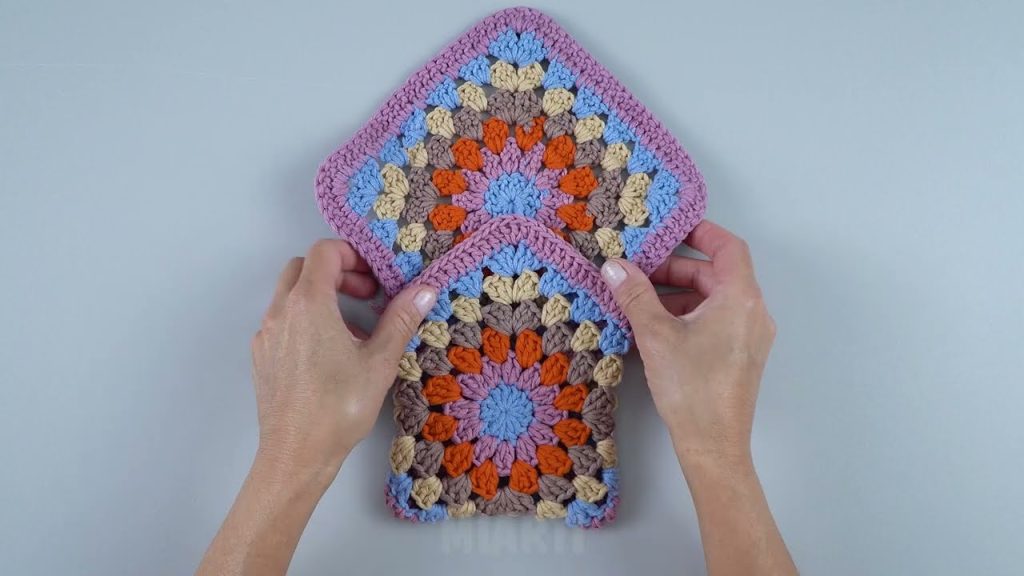
Step 2: Make Two Squares
You’ll need two granny squares of the same size for the front and back of the bag.
Step 3: Join the Squares
There are two ways to join:
- Single Crochet Join
- Place the squares wrong sides together.
- Insert your hook through both edges and single crochet along the sides.
- Whip Stitch Join (simpler for beginners)
- Use a yarn needle to stitch through the edges of both squares.
- Sew 3 sides of the squares together. The open side will be the top of your bag.
Step 4: Make the Strap
You have a few options:
- Crochet Chain Strap
- Chain until the strap is your desired length.
- Attach both ends to the top corners of the bag.
- Optional: reinforce by single crocheting back along the chain.
- Use a Leather Strap
- Simply sew or crochet the ends of the strap to the top corners.
Step 5: Add a Closure (Optional)
- You can add a button and loop:
- Sew a button on the front top center.
- Make a small chain loop from the back to go over the button.
- Or leave it open for easy access.
Step 6: Finishing Touches
- Weave in all loose ends with a yarn needle.
- Adjust the shape by gently stretching or blocking the bag.
Tips for an Easy Version
- Use bigger yarn and hook – it makes the granny squares faster to crochet.
- Keep it simple with 2 rounds per square if you want a tiny phone bag.
- Stick to one or two colors to reduce weaving in ends.
If you want, I can draw a super clear step-by-step diagram showing the granny square phone bag construction so you can follow visually. It’ll make this way easier than reading instructions.
Watch tutorial: