 by
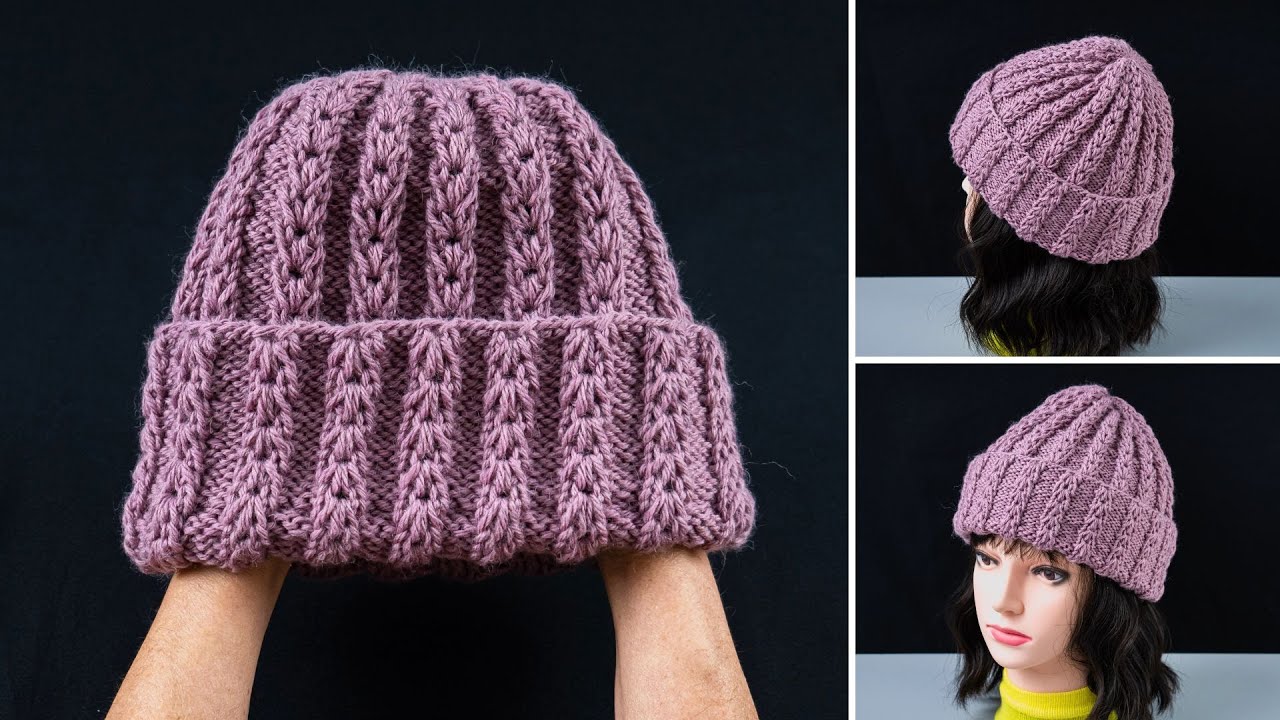
by Absolutely! Let’s dive into a step-by-step guide to making a beautiful hat with a chic stitch pattern, keeping it simple but elegant. I’ll focus on a knitted or crocheted style hat since those are easiest to customize with stitch patterns.

Materials You’ll Need
- Yarn: Medium-weight yarn (worsted weight is perfect for beginners; choose a color you love).
- Needles/Hook:
- Knitting: Circular needles (16”/40 cm) size 6–8 US (4–5 mm)
- Crochet: Hook size H–I (5–5.5 mm)
- Scissors
- Tapestry needle (for weaving in ends)
- Stitch markers (optional, but helpful)
Step 1: Choose Your Hat Style
- Beanie: Classic, snug, or slouchy
- Beret: Flatter and chic
- Bucket Hat: Trendy and fun
For beginners, a basic beanie is easiest to start with.
Step 2: Pick a Chic Stitch Pattern
Here are simple but stylish options:
Knitting Patterns
- Ribbed Chic (elastic, fits snugly)
- Pattern: K2, P2 (knit 2, purl 2)
- Repeat around for 2 inches for the brim.
- Basket Weave
- Pattern: K4, P4 for 4 rows, then P4, K4 for 4 rows
- Creates a textured, woven look.
- Chevron Lace (lightweight, stylish)
- Alternate knit 2 together, yarn over to form a subtle zig-zag pattern.
Crochet Patterns
- Simple Shell
- Pattern: 5 double crochets in one stitch, skip 2 stitches, repeat
- Gives a wavy, chic effect.
- Half-Double Crochet Ribbing
- Use front post/back post stitches for a stretchy brim.
- Popcorn Stitch
- Creates cute little “bumps” for texture and style.
Step 3: Measure and Cast On
- Measure your head circumference.
- Cast on enough stitches to fit snugly but comfortably.
- Example: For average teen head, ~80 stitches on size 7 US needles (adjust depending on yarn and gauge).
Tip: Check your gauge with a small swatch in your chosen stitch pattern.
Step 4: Work the Brim
- Ribbed Brim: Knit 1×1 or 2×2 for 1–2 inches.
- Crochet Brim: Single crochet in rounds or use ribbing with front/back post stitches.
This gives elasticity so the hat stays put.
Step 5: Work the Body of the Hat
- Switch to your chic stitch pattern (basket weave, shell stitch, etc.)
- Continue in rounds until the hat reaches the desired height (usually 7–9 inches for a beanie).
Step 6: Shape the Crown
Knitting:
- Start decreasing gradually:
- K6, K2tog repeat around
- K5, K2tog next round
- Keep decreasing until 8–10 stitches remain, then pull through yarn and secure.
Crochet:
- Switch to decreasing rounds using single crochet decreases until closing.

Step 7: Finishing Touches
- Weave in ends neatly with tapestry needle.
- Optional: Add a pom-pom or small bow for extra chic factor.
- Block gently if needed to even out stitches.
Tips for a Chic Look
- Choose yarn in neutral shades (cream, beige, gray) or jewel tones for elegance.
- Mix textures: soft, fluffy yarn for body + smooth yarn for brim.
- Keep stitch patterns consistent; subtle textures look more sophisticated.
- Use even decreases to maintain the stitch pattern all the way to the crown.
If you want, I can draw a simple diagram showing exactly how to do a chic stitch pattern beanie step by step, so it’s easier to follow visually.
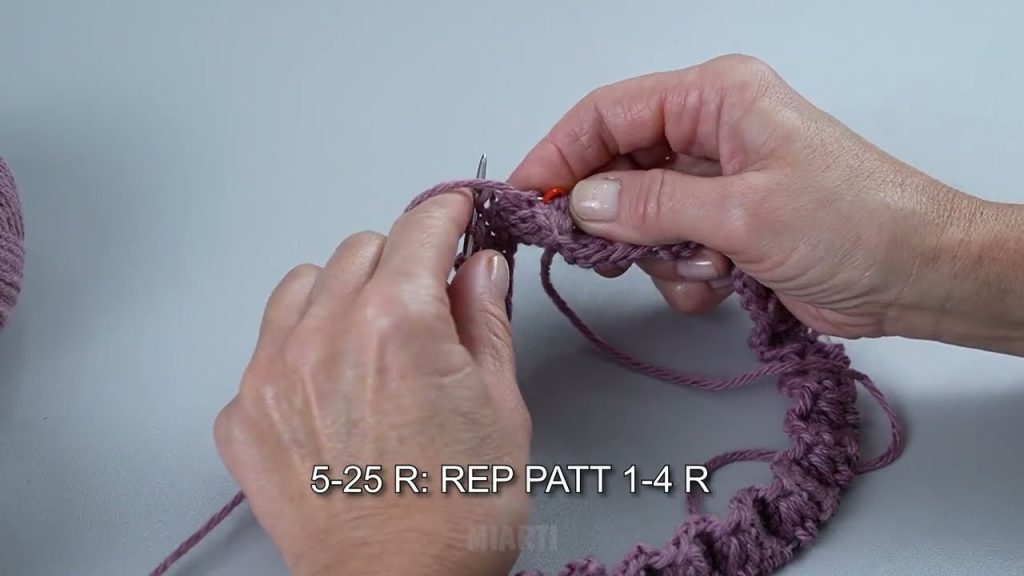
Watch tutorial: