by
by Here’s a detailed, beginner-friendly guide on how to crochet a net bag quickly and easily. This bag is lightweight, stretchy, and perfect for groceries, beach trips, or everyday use 🧶👜
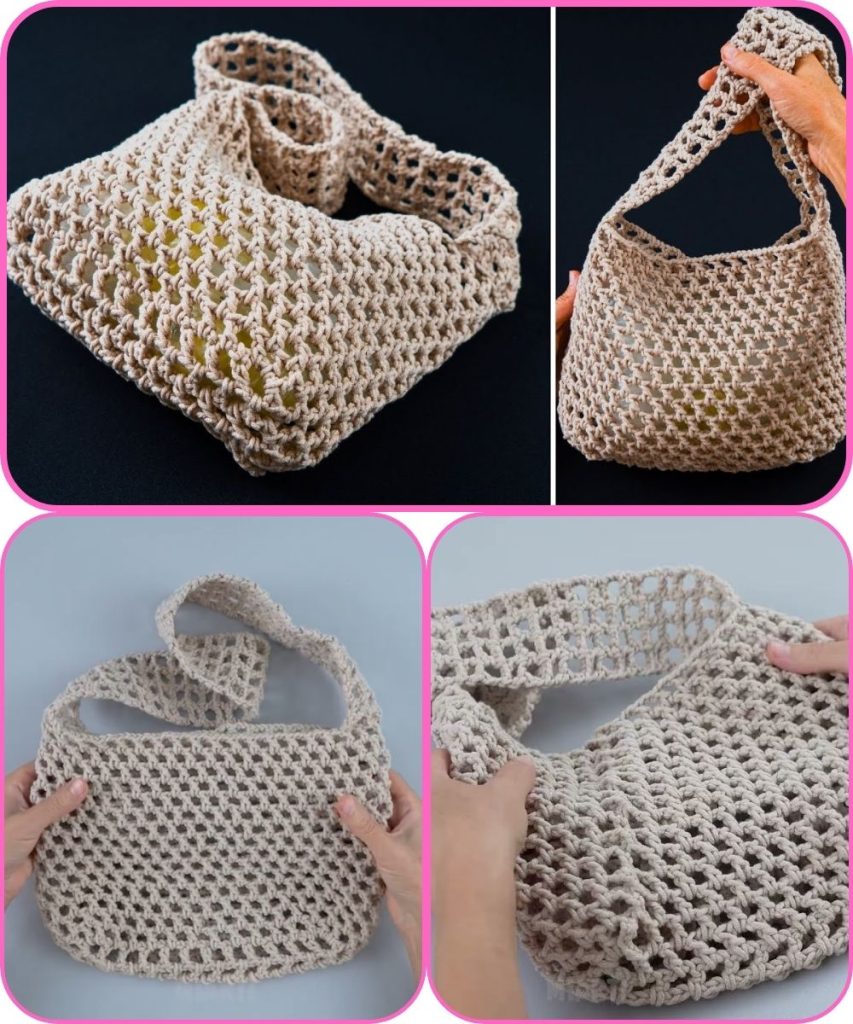
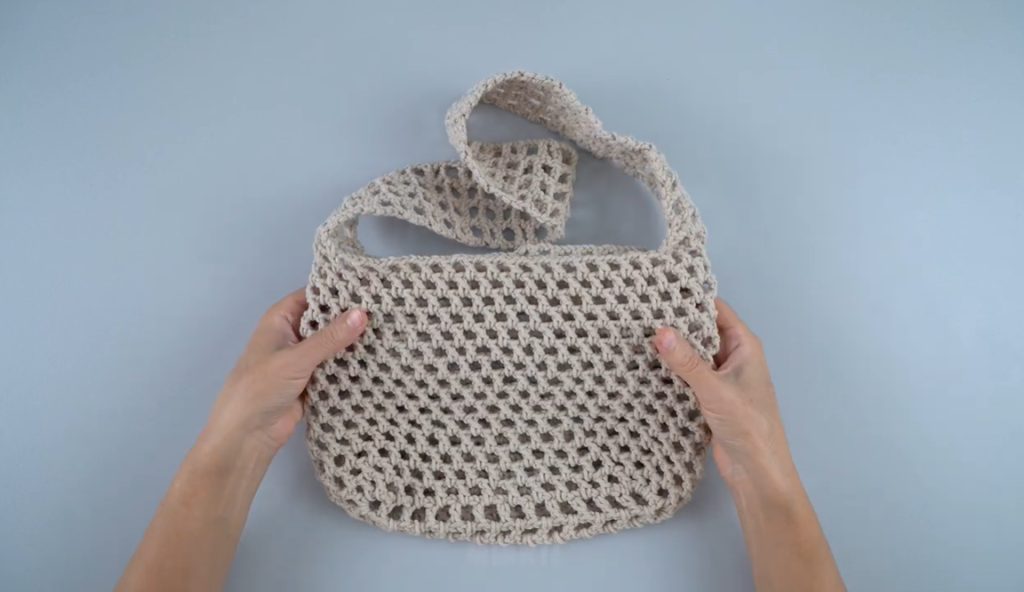
How to Crochet a Net Bag Quickly and Easily
Skill Level
Beginner (basic crochet stitches only)
Finished Size
- Approx. 12–14 inches wide × 16–18 inches tall
- Can stretch to hold more items due to the net design
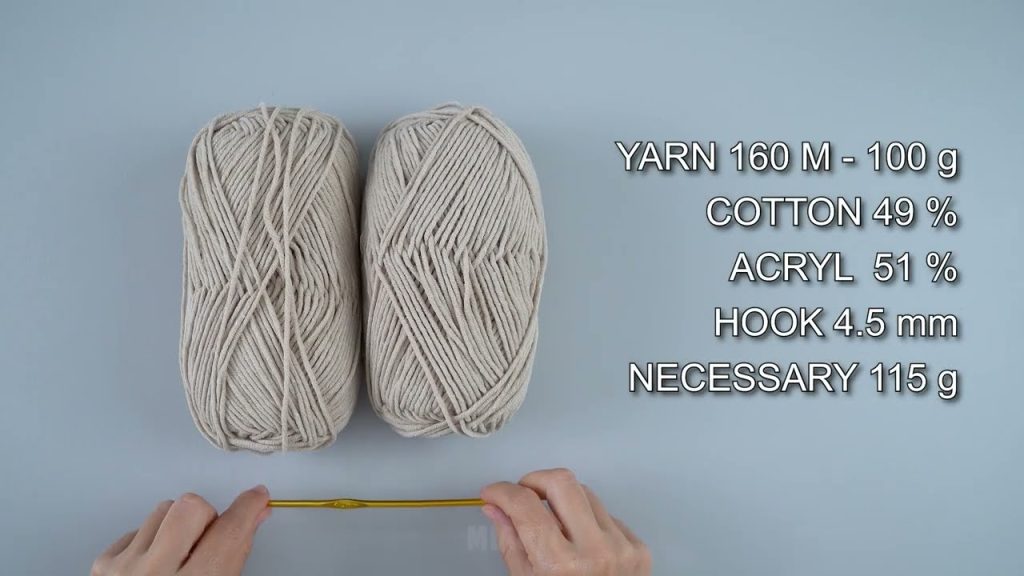
Materials Needed
- Yarn: Medium weight cotton yarn (Category 4 / worsted weight)
- Cotton is recommended because it’s strong and washable
- Crochet hook: 5 mm (H/8)
- Scissors
- Yarn needle for weaving in ends
Basic Crochet Stitches Used
- ch – chain
- sc – single crochet
- dc – double crochet
- st(s) – stitch(es)
The bag uses chain spaces and double crochets to create the net pattern.
Step 1: Make the Bottom of the Bag
- Chain 6
- Join with a slip stitch to form a ring
- Round 1: Ch 3 (counts as 1 dc), 11 dc into ring → 12 dc total
- Join with a slip stitch to the top of the first dc
Optional: Make a slightly larger base by adding a few more chains in the ring.
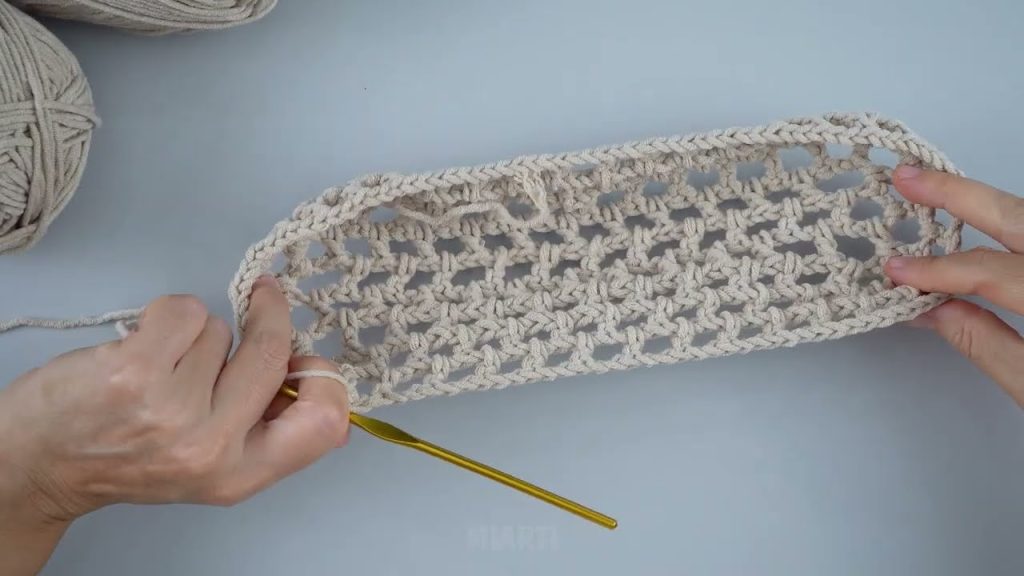
Step 2: Start the Net Pattern
- Round 2: Ch 2, skip 1 dc, dc in next dc around
- Join with slip stitch
This creates the first set of open net spaces.
Step 3: Build the Bag
- Round 3: Ch 2, dc in next dc around
- Repeat round 3 until the bag reaches desired height (~16–18 inches)
The chain spaces make the bag stretchy, giving it a net-like appearance.
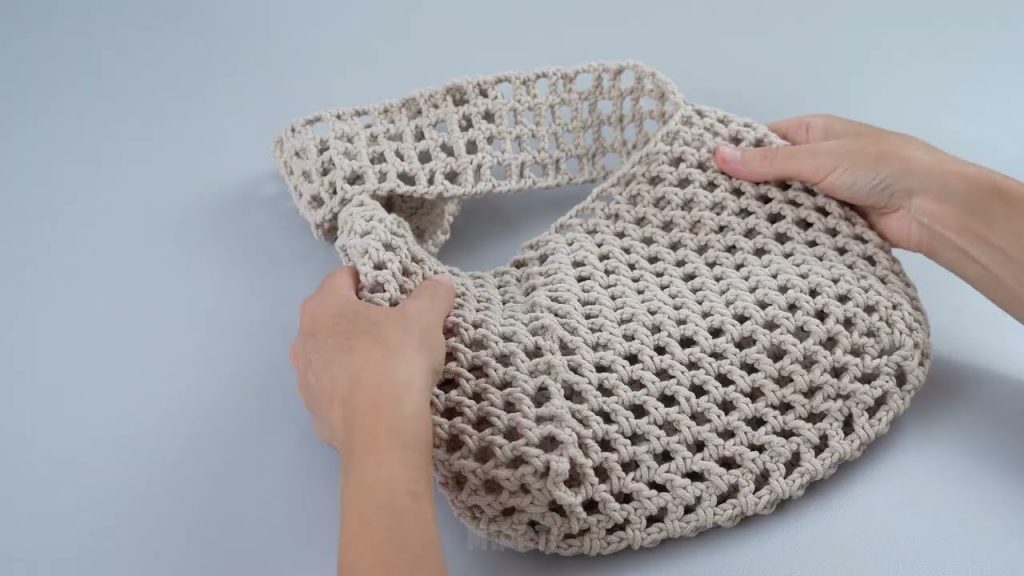
Step 4: Add the Handles
- Decide handle placement (usually opposite sides)
- Ch 30–40 (or desired handle length)
- Skip a few stitches on the bag body and attach with a slip stitch
- Repeat for the second handle
Optional: Work 1–2 rounds of sc along the top edge and over the handles for extra strength.
Step 5: Finish the Bag
- Cut yarn and pull through the last loop
- Weave in all ends with a yarn needle
Customization Ideas
- Use bright or multicolor yarn for a fun look
- Make a longer bag for extra capacity
- Add a small fabric lining if you want to carry smaller items without them slipping through
- Crochet a matching coin pouch to attach inside
Beginner Tips
- Keep your chain spaces even for a neat net
- Use cotton yarn for strength and durability
- Adjust bag height or width by adding more rounds or chains
- Work loosely for a stretchy, flexible bag
🎉 Congratulations! You’ve made a simple, stylish net bag that’s quick, easy, and versatile. Perfect for shopping, beach trips, or gifting.
I can also make a super-simple one-page pattern with chain counts, rounds, and handle placement, so it’s even easier to follow.
Watch tutorial: