 by
by Below is a detailed, easy-to-follow guide on how to make a simple crochet cap with a voluminous pattern. This is suitable for beginners and can be used for a blog, tutorial, or craft project explanation.
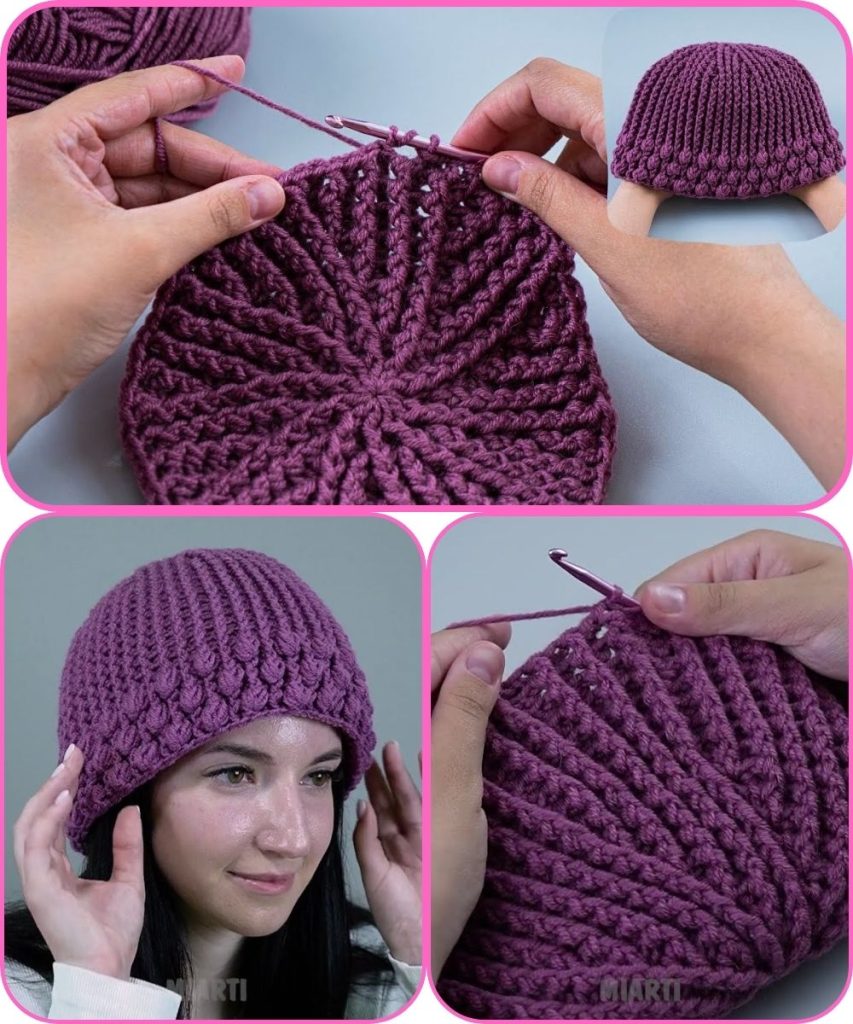
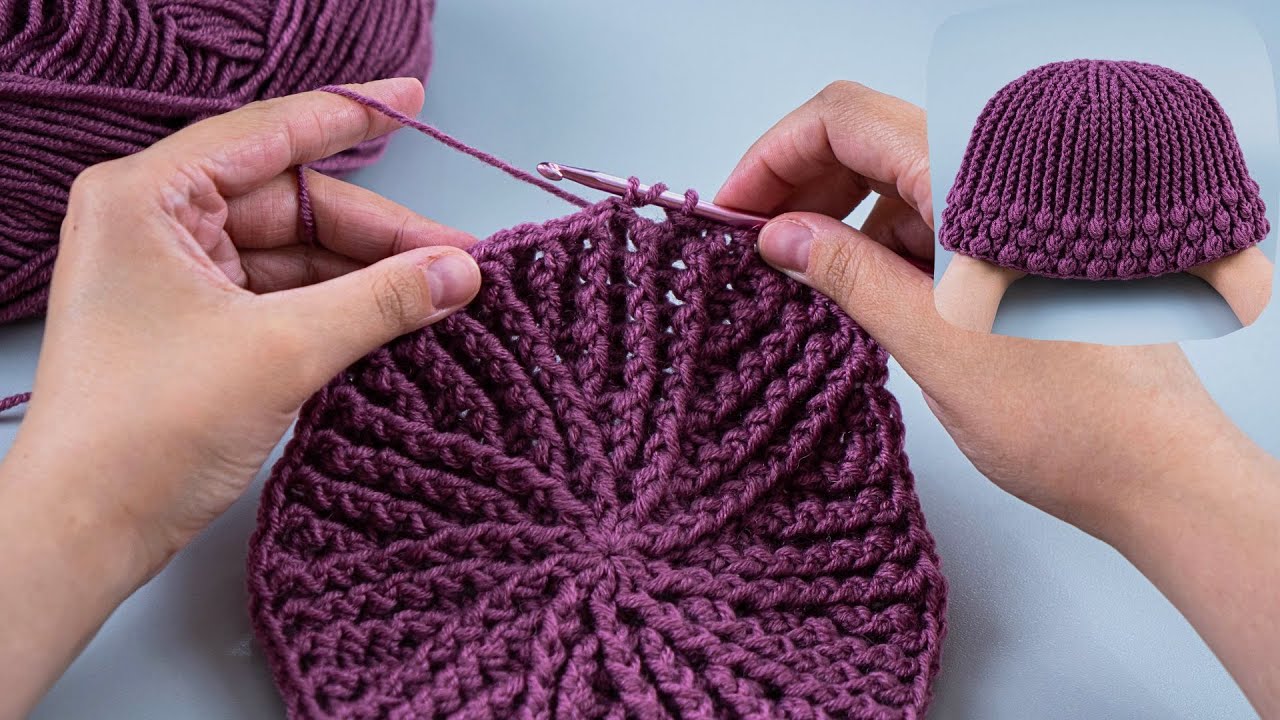
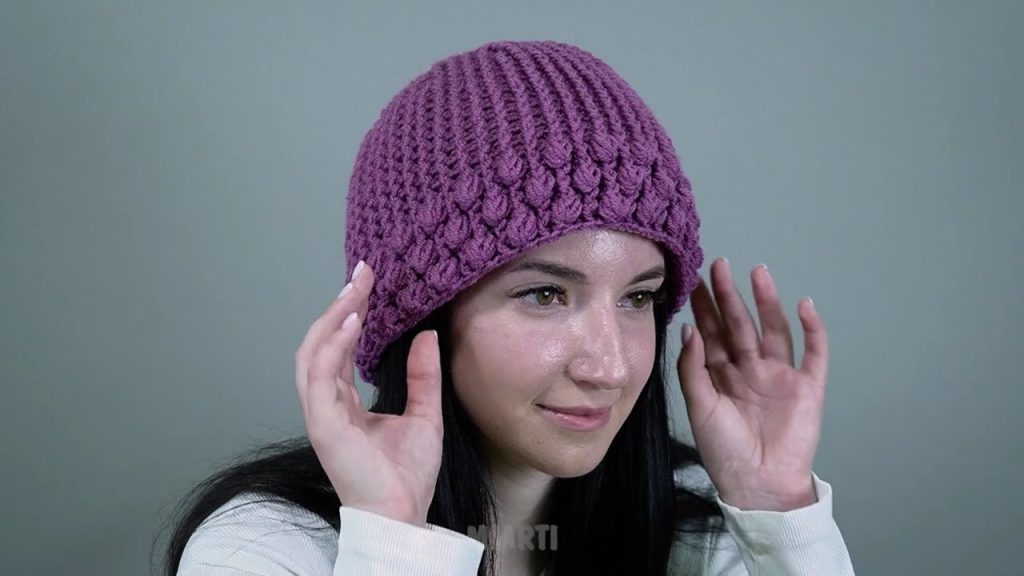
How to Make a Simple Crochet Cap with a Voluminous Pattern
A crochet cap with a voluminous pattern is stylish, warm, and perfect for cold weather. The raised texture gives the cap a soft, fluffy appearance while remaining simple to make. This guide explains the materials, stitches, and step-by-step process to crochet a comfortable, voluminous cap.
Materials Needed
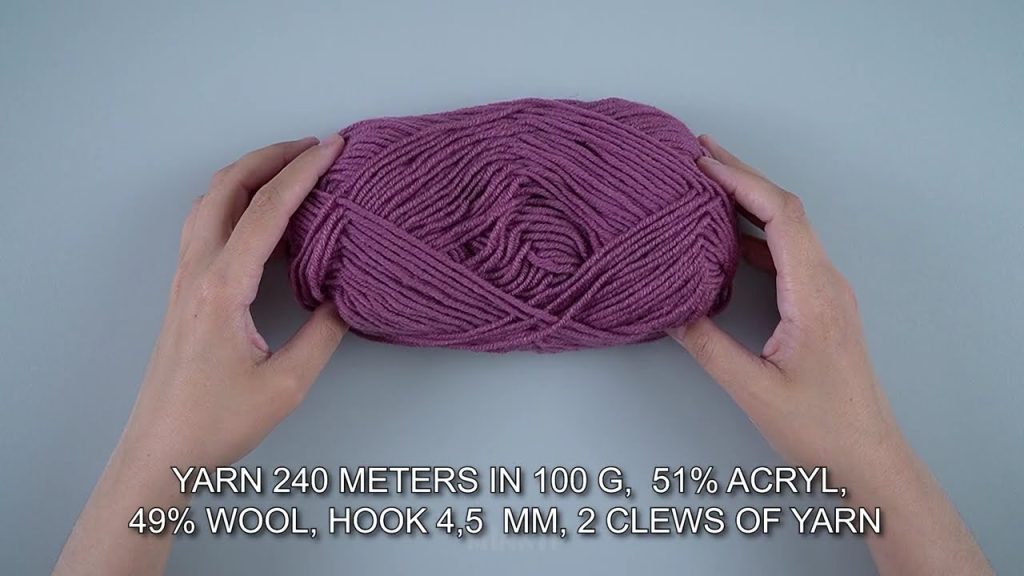
To get started, prepare the following:
- Yarn: Bulky or medium-weight yarn (wool or acrylic yarn works well for volume)
- Crochet Hook: 5 mm – 6 mm (choose according to yarn label)
- Scissors
- Yarn Needle: For weaving in ends
- Stitch Marker (optional)
Basic Crochet Stitches Used
This cap uses basic stitches that create texture and volume:
- Chain (ch): Forms the foundation
- Slip Stitch (sl st): Joins rounds
- Single Crochet (sc): Provides structure
- Half Double Crochet (hdc): Adds height and softness
- Front Post Double Crochet (fpdc): Creates a raised, voluminous pattern (optional)
Crochet Cap Pattern (Voluminous Style)
Step 1: Create the Crown of the Cap
- Make a magic ring.
- Chain 2.
- Work 10 half double crochets (hdc) into the ring.
- Join with a slip stitch.
- Increase by adding 2 hdc in each stitch in the next round (20 stitches).
This forms the top of the cap.
Step 2: Increase for Size
Continue increasing to shape the cap:
- Round 3: 1 hdc, 2 hdc in next stitch — repeat around.
- Round 4: 2 hdc, 2 hdc in next stitch — repeat around.
- Continue this pattern until the cap diameter fits the top of your head (about 6.5–7 inches for adults).
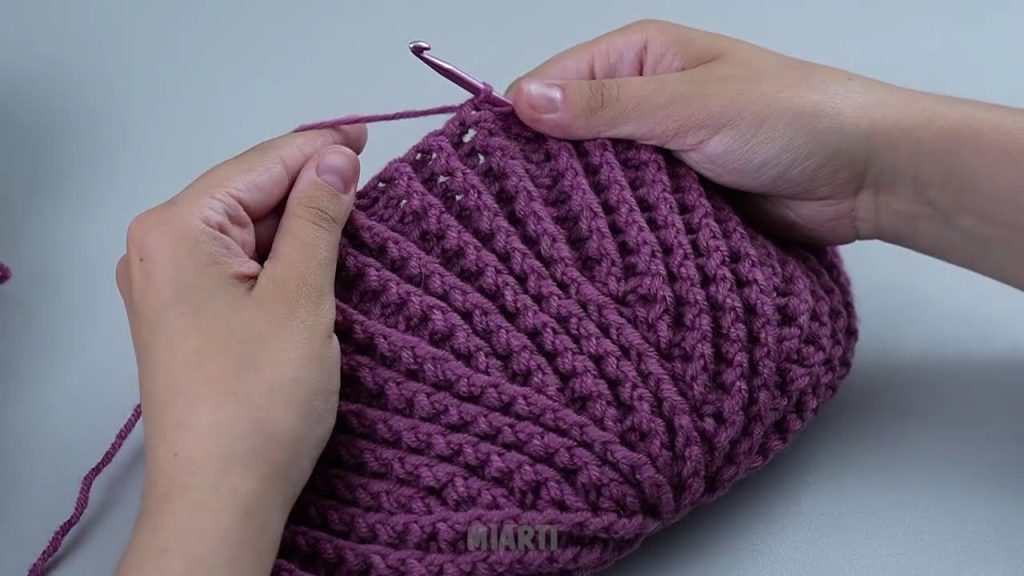
Step 3: Create the Voluminous Pattern
To add texture and volume:
- Chain 2.
- Alternate between front post double crochet (fpdc) and half double crochet (hdc) around.
- Work the fpdc around the post of the stitch from the previous round.
- Repeat this textured round for 8–12 rows, depending on desired cap length.
👉 Tip: Front post stitches push the fabric forward, creating a puffy, voluminous look.
Step 4: Shape the Sides
- Stop increasing.
- Crochet each stitch evenly around.
- Maintain the same textured pattern to keep the volume consistent.
This allows the cap to naturally curve downward.
Step 5: Make the Brim
For a snug and neat finish:
- Switch to single crochet (sc).
- Crochet 3–5 rounds evenly.
- For extra stretch, work single crochet in the back loop only.
Step 6: Finish the Cap
- Fasten off the yarn.
- Weave in loose ends using a yarn needle.
- Optional decorations:
- Pom-pom on top
- Crochet flower or button
- Folded brim for extra warmth
Size Adjustment Tips
- For a child’s cap, stop increasing earlier.
- For a slouchy cap, add extra rounds to the body.
- Use thicker yarn for more volume and warmth.
Final Thoughts
A simple crochet cap with a voluminous pattern is a rewarding project that combines comfort and style. With basic stitches and textured techniques, you can create a warm, fashionable accessory suitable for everyday wear. Once you master this pattern, experiment with colors, stitch variations, and embellishments to make unique designs.
If you’d like, I can:
- Simplify this for absolute beginners
- Create a step-by-step pattern with stitch counts
- Write it in short notes or paragraph form
- Turn it into a printable PDF
Watch tutorial: