 by
by Here’s a clear, detailed, beginner-friendly tutorial you can use for a blog post, pattern guide, or learning resource.
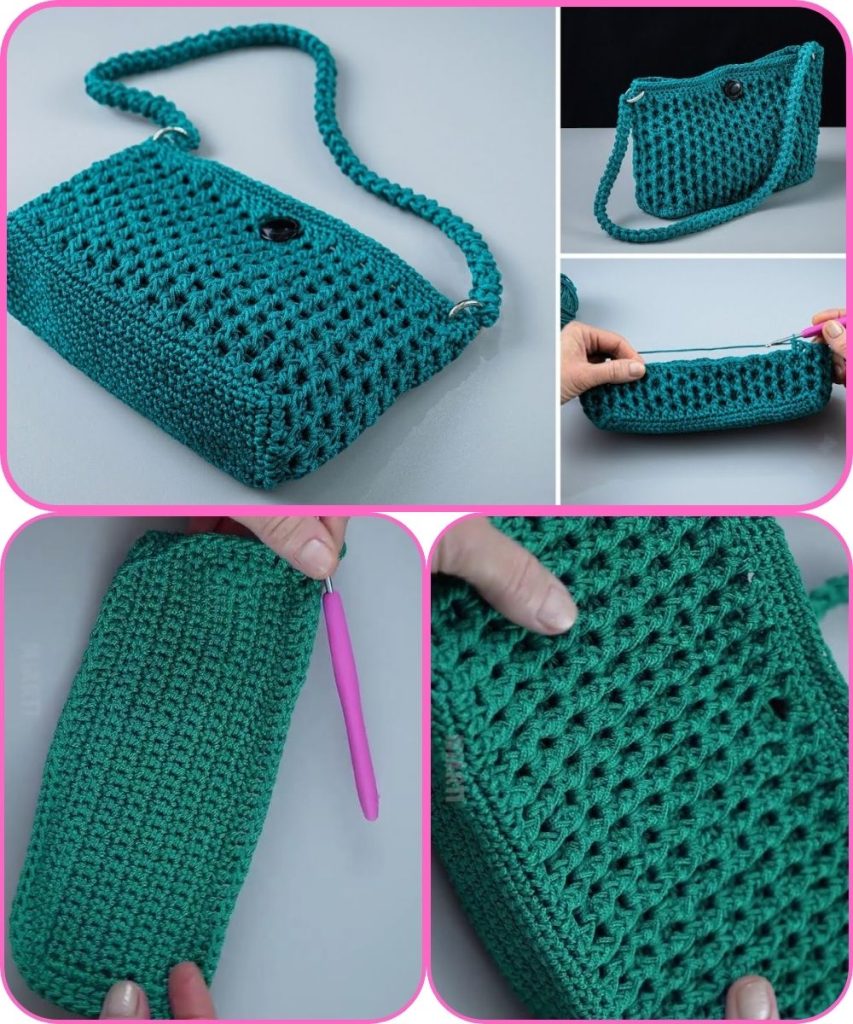
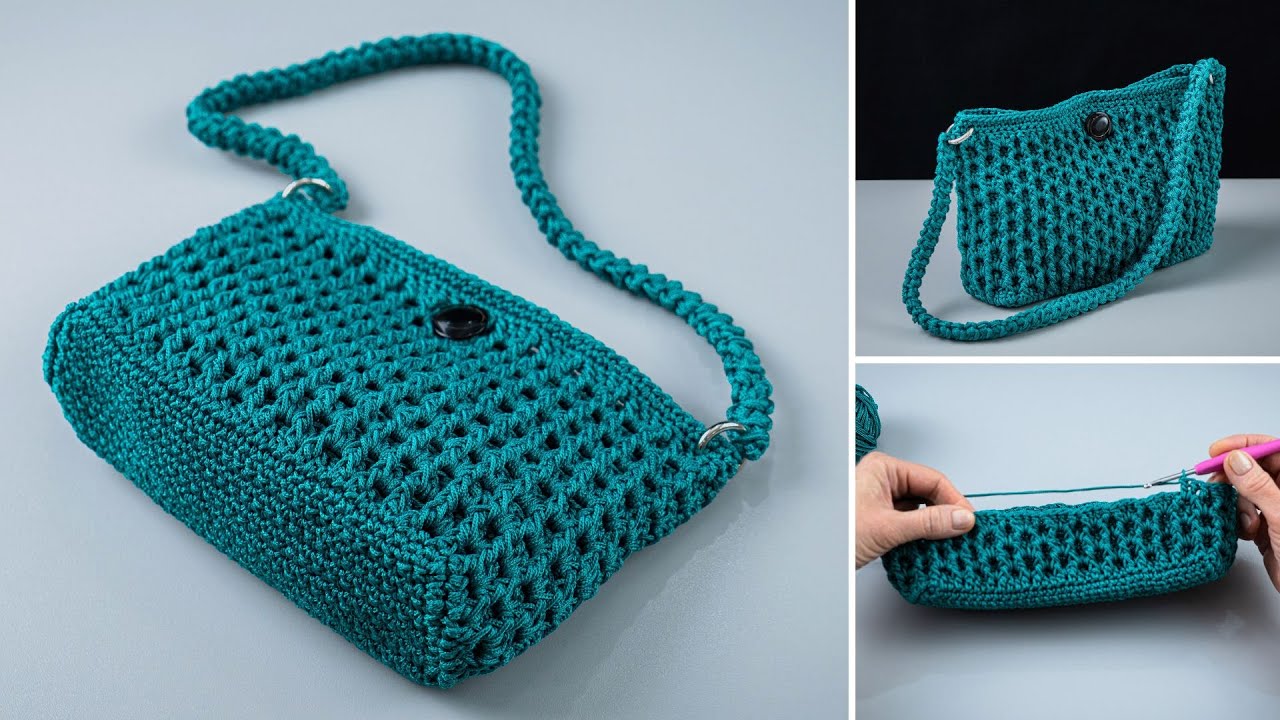
How to Make an Easy Crochet Bag
Step-by-Step Tutorial for Beginners
Crocheting a bag is a fun and practical project, perfect for beginners. It doesn’t require complex shaping, and you can finish it in just a few hours. This easy crochet bag tutorial uses basic stitches and simple construction, making it ideal even if you’re new to crochet.
Materials You’ll Need
Before you start, gather the following supplies:
- Yarn: Medium-weight (Category 4) cotton or acrylic yarn
(Cotton is best for bags because it’s strong and holds shape well) - Crochet Hook: Size H (5.0 mm) or I (5.5 mm)
- Scissors
- Yarn Needle
- Stitch Marker (optional)
Basic Stitches Used
This easy crochet bag only uses beginner stitches:
- Chain (ch)
- Single Crochet (sc)
- Slip Stitch (sl st)
If you can chain and single crochet, you’re ready to begin!
Step-by-Step Easy Crochet Bag Tutorial
This bag is worked from the bottom up in simple rounds.
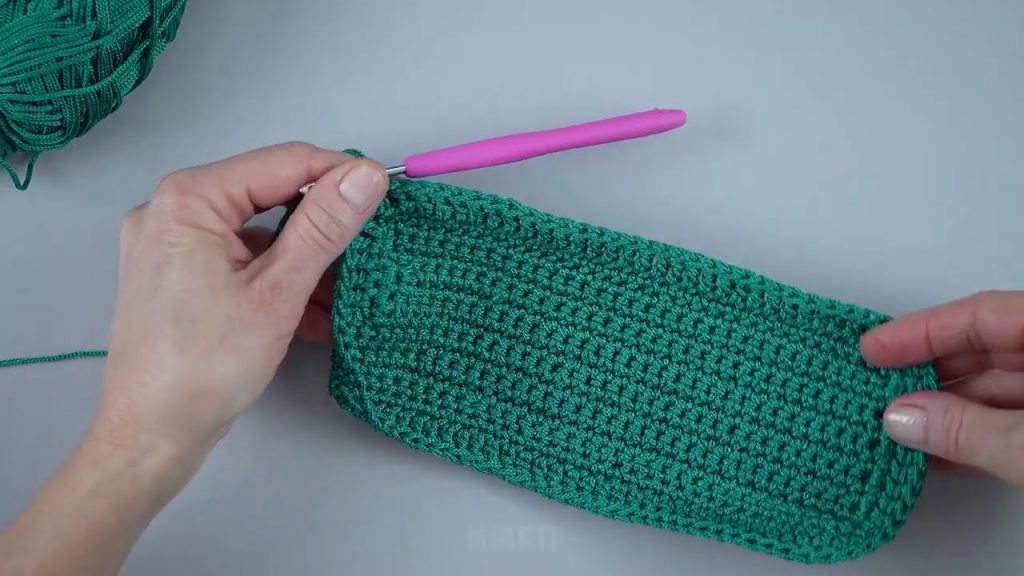
Step 1: Create the Base of the Bag
- Chain 21 stitches (you can add more chains for a wider bag).
- Single crochet in the second chain from the hook.
- Single crochet across the chain.
- Crochet 3 single crochets in the last chain.
- Continue crocheting along the opposite side of the chain.
- Add 2 single crochets in the final stitch.
- Join with a slip stitch.
This creates an oval base for the bag.
Step 2: Build the Base Width
- Chain 1.
- Single crochet around the entire base.
- Add extra stitches at the curved ends to keep the base flat.
- Join with a slip stitch.
Repeat this round 2–3 times, depending on how wide you want the bag.

Step 3: Start the Bag Sides
- Chain 1.
- Single crochet in back loops only around the bag.
- Join with a slip stitch.
👉 This creates a clean edge and helps the sides stand up.
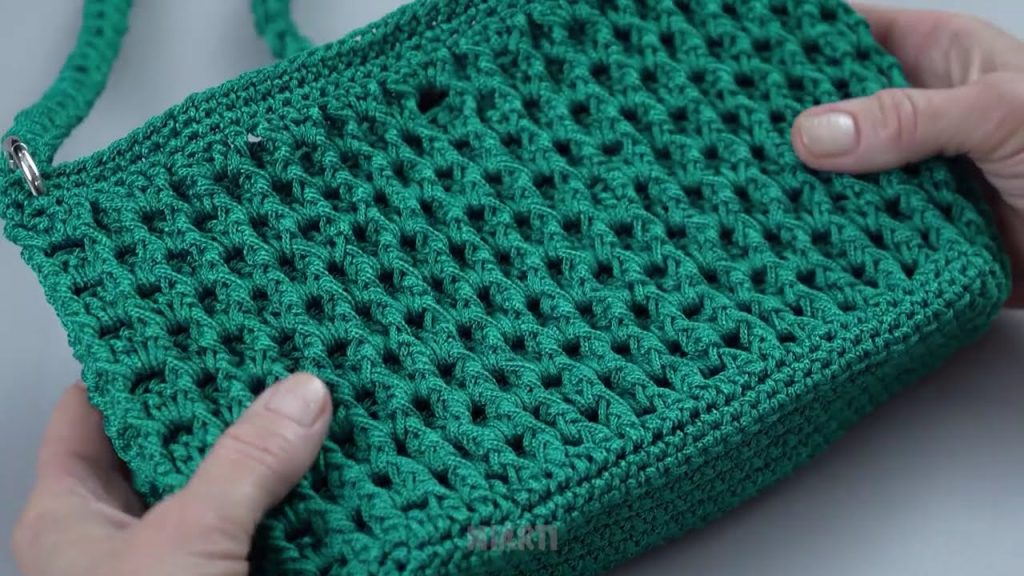
Step 4: Crochet the Body of the Bag
- Chain 1.
- Single crochet in each stitch around.
- Join with a slip stitch.
Repeat this round until the bag reaches your desired height:
- Small bag: 6–7 inches
- Medium tote: 9–11 inches
Step 5: Finish the Top Edge
For a neat finish:
- Single crochet one last round
or - Slip stitch around the top
Fasten off and weave in all loose ends.
Step 6: Make the Handles
Option 1: Built-In Handles
- Attach yarn at one side of the bag.
- Chain 30–40 stitches (depending on handle length).
- Skip the same number of stitches on the bag.
- Single crochet into the next stitch.
- Continue single crocheting around the bag.
- Repeat for the second handle.
- Single crochet one full round to strengthen the handles.
Option 2: Separate Strap
- Chain 6 stitches.
- Single crochet across.
- Turn and repeat until the strap is long enough.
- Sew the strap securely to both sides of the bag.
Step 7: Final Touches
- Weave in all ends with a yarn needle.
- Optional: Add a lining, button, tassel, or crochet flower.
🎉 Your easy crochet bag is complete!
Beginner Tips for Success
- Use tight, even stitches so items don’t fall through
- Cotton yarn works best for durability
- Count stitches to keep the shape even
- Use a stitch marker to mark the start of each round
Easy Customization Ideas
Once you’re comfortable, try:
- Changing colors for stripes
- Using half double crochet for a faster project
- Adding a drawstring or zipper
- Making a mini version for kids
Why This Crochet Bag Is Perfect for Beginners
✔ Simple stitches
✔ No complicated shaping
✔ Customizable size
✔ Practical and stylish
With practice, you’ll be able to create beautiful crochet bags for everyday use, gifts, or even selling.
If you want, I can also:
- Turn this into a printable pattern
- Rewrite it for a blog or Etsy listing
- Create a video script or photo guide
Watch tutorial: