 by
by Below is a clear, beginner-friendly, and detailed tutorial on How to Make a Crochet Bucket Hat for Beginners. This guide uses simple stitches and step-by-step instructions, making it easy to follow even if you’re new to crochet.
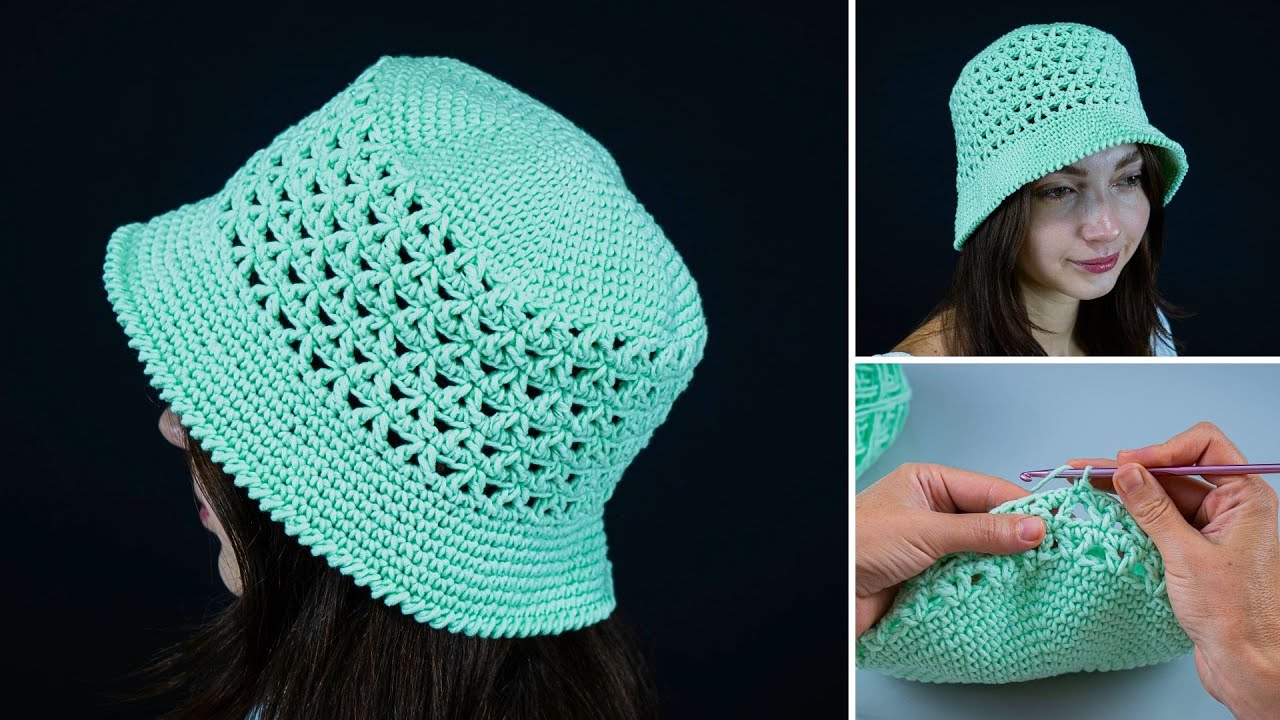
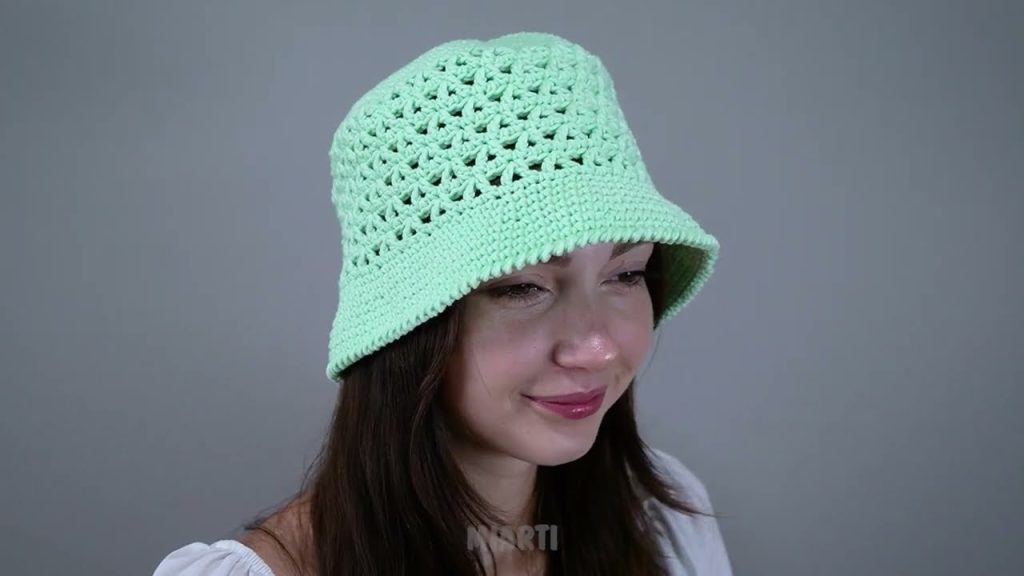
How to Make a Crochet Bucket Hat for Beginners
A Detailed Step-by-Step Tutorial
A crochet bucket hat is a trendy and practical accessory that beginners can easily make. It uses basic stitches and simple shaping, and it’s a great way to practice crocheting in the round. This tutorial will guide you from the top of the hat to the brim.
Materials Needed
Prepare the following materials before starting:
- Yarn: Medium-weight (worsted) cotton or acrylic yarn
(Cotton is best for bucket hats because it holds shape well.) - Crochet Hook: 4.5 mm or 5 mm
- Scissors
- Yarn Needle: For weaving in ends
- Stitch Marker (recommended)
Basic Crochet Stitches Used
This beginner-friendly bucket hat uses simple stitches:
- Magic Ring (or chain 4 and join)
- Chain (ch)
- Single Crochet (sc)
- Slip Stitch (sl st)
- Increase (2 sc in one stitch)
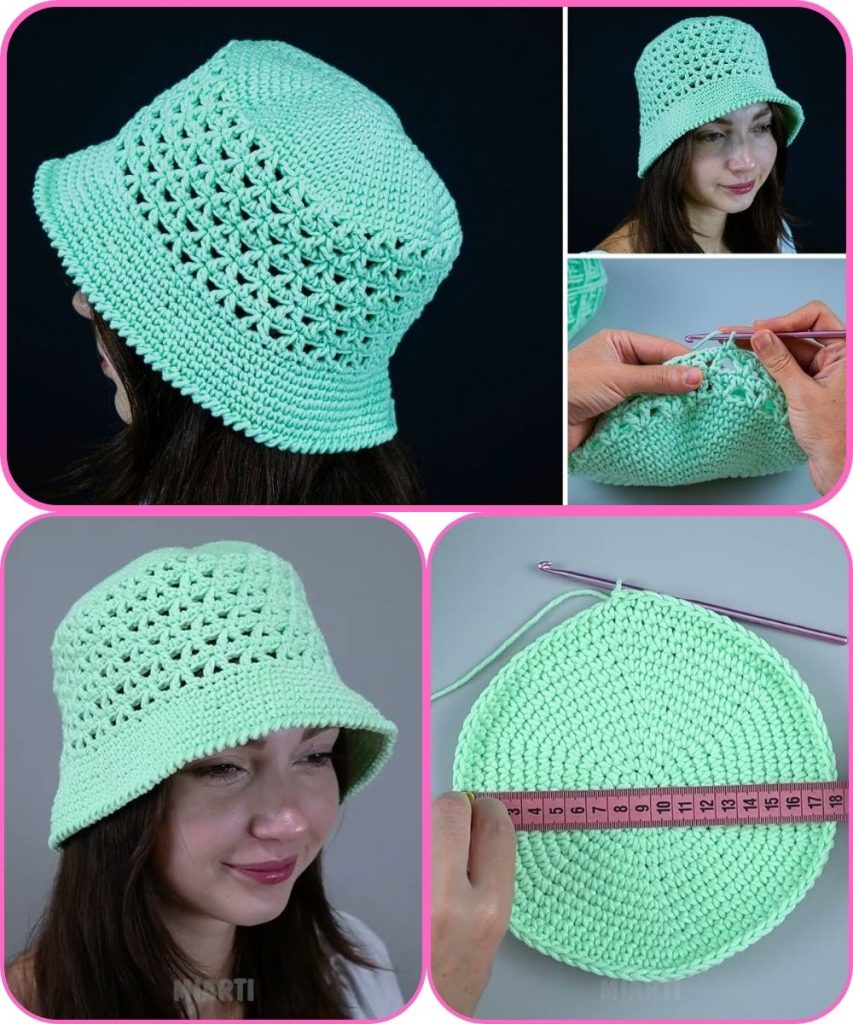
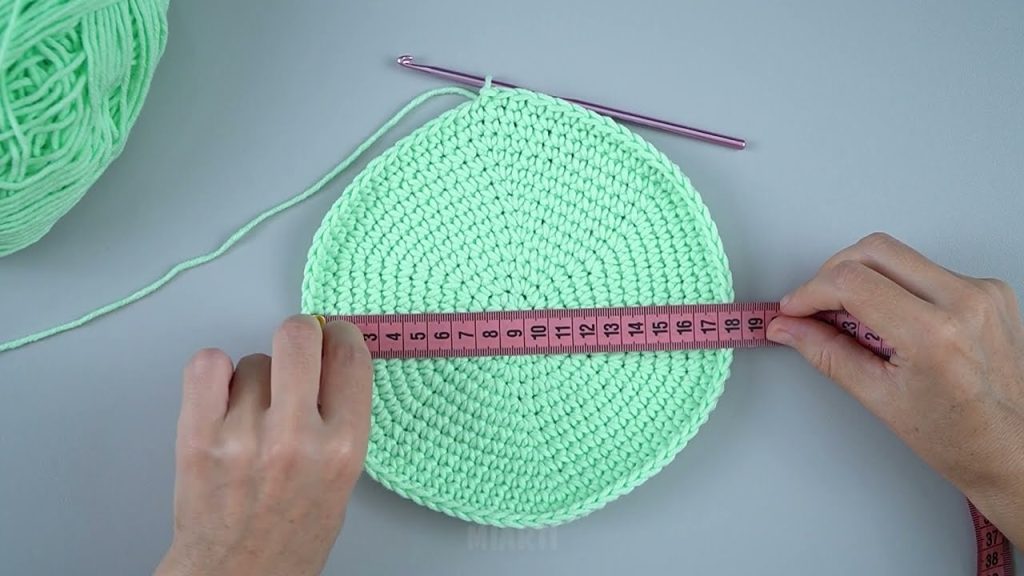
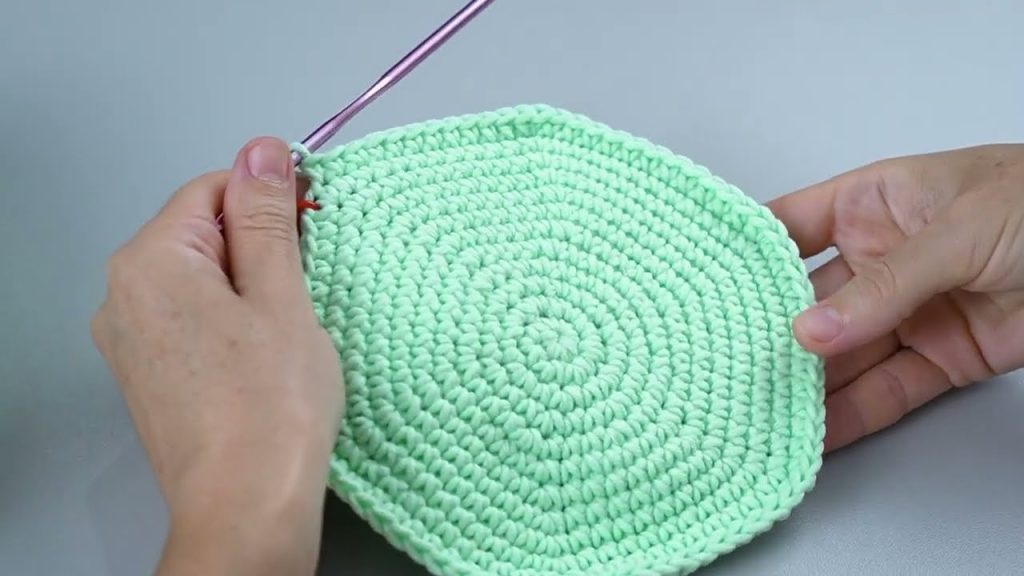
Step 1: Crochet the Top (Crown)
- Make a magic ring.
- Work 6 single crochets into the ring.
- Pull tight and place a stitch marker.
Increase Rounds (to form a flat circle)
- Round 2: 2 sc in each stitch (12 sc)
- Round 3: 1 sc, 2 sc in next stitch — repeat (18 sc)
- Round 4: 2 sc, 2 sc in next stitch — repeat (24 sc)
- Round 5: 3 sc, 2 sc in next stitch — repeat (30 sc)
- Continue increasing until the circle fits the top of your head
(about 16–18 cm for adults)
👉 Tip: If the circle curls, add more increases. If it ripples, stop increasing.
Step 2: Crochet the Sides of the Hat
- Stop increasing.
- Crochet 1 sc in each stitch around.
- Continue for 8–10 rounds.
The hat will naturally start forming downward, creating the sides.
Step 3: Shape the Bucket Hat
To give the bucket hat its classic shape:
- Continue working even rounds of single crochet
- Crochet through the back loop only (optional) to create a clean edge
This adds structure and definition to the hat.
Step 4: Crochet the Brim
- Begin increasing again for the brim:
- 4 sc, 2 sc in next stitch — repeat around
- Next round: Crochet evenly.
- Repeat these two rounds 2–4 times, depending on how wide you want the brim.
👉 Tip: For a firmer brim, use tighter stitches or switch to half-double crochet.
Step 5: Finish the Hat
- Join with a slip stitch.
- Fasten off the yarn.
- Weave in all loose ends neatly.
Optional finishing touches:
- Add a decorative edge (crab stitch)
- Add stripes or color changes
- Attach a label or small embellishment
Size Adjustment Tips
- Smaller hat: Stop increasing earlier.
- Larger hat: Add extra increase rounds.
- Stiffer hat: Use cotton yarn and a smaller hook.
- Softer hat: Use acrylic yarn and a larger hook.
Beginner Tips
✔ Use a stitch marker to keep track of rounds
✔ Count stitches after each round
✔ Keep tension even
✔ Don’t worry if it’s not perfect—practice makes progress!
Final Thoughts
A crochet bucket hat is a perfect beginner project that combines style and simplicity. With basic stitches and clear steps, even new crocheters can confidently complete this project. Once you master this hat, you can experiment with colors, textures, and stitch patterns to make unique designs.
If you’d like, I can:
- Simplify this into short beginner notes
- Create a stitch-count chart
- Write a kids’ or men’s size version
- Turn it into a printable PDF pattern
Watch tutorial: