 by
by Here’s a detailed, beginner-friendly guide on how to make an easy seamless crochet wallet. This tutorial focuses on simple stitches, no complicated seams, and a functional, stylish design perfect for beginners.
How to Make an Easy Seamless Crochet Wallet for Beginners – Step by Step
A seamless crochet wallet is a compact, practical, and beginner-friendly project. By working in one piece, you can avoid sewing or complicated assembly while creating a neat, professional-looking wallet.
Materials Needed
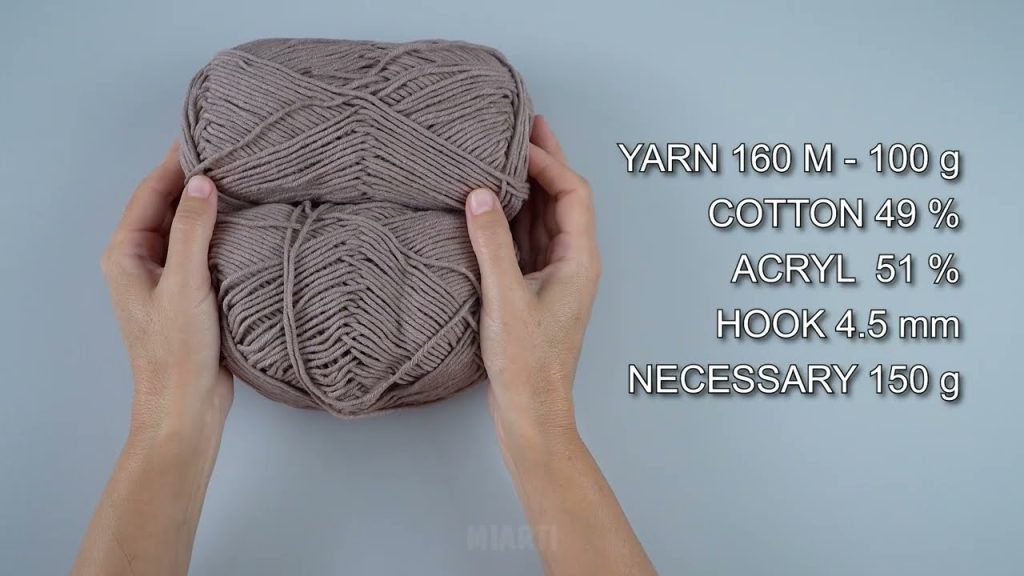
- Yarn: Medium-weight cotton or acrylic yarn (cotton is ideal for durability)
- Crochet Hook: 4–4.5 mm
- Scissors
- Yarn Needle: For weaving in ends
- Button, Snap, or Velcro: For wallet closure
- Stitch Marker (optional)
Basic Crochet Stitches Used
- Chain (ch) – foundation stitch
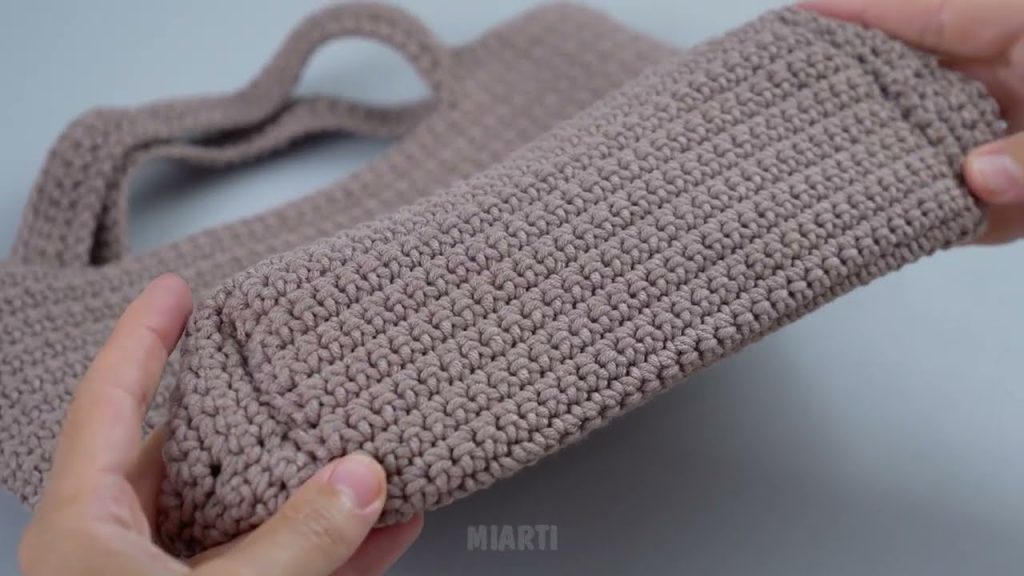
- Single Crochet (sc) – sturdy stitch for the wallet body
- Half Double Crochet (hdc) – optional for texture
- Slip Stitch (sl st) – to join rounds
- Increase (2 sc in 1 stitch) – optional for shaping
All stitches are basic and beginner-friendly.
Step 1: Start the Wallet Base
- Chain 31 stitches (or adjust for the desired wallet width).
- Single crochet in the second chain from the hook.
- Continue single crocheting across the chain.
- Chain 1 and turn.
- Work single crochet in each stitch for 20 rows (or until the base reaches desired height).
This creates the bottom of the wallet and will later be folded to form the body.
Step 2: Create Card Slot Sections (Optional)
- Decide how many card slots you want (usually 2–3).
- Chain 12 stitches for the first card slot.
- Single crochet across the chain.
- Attach the chain to the base row by single crocheting along the bottom edge.
- Repeat for additional slots.
This step adds functionality while keeping the wallet seamless.
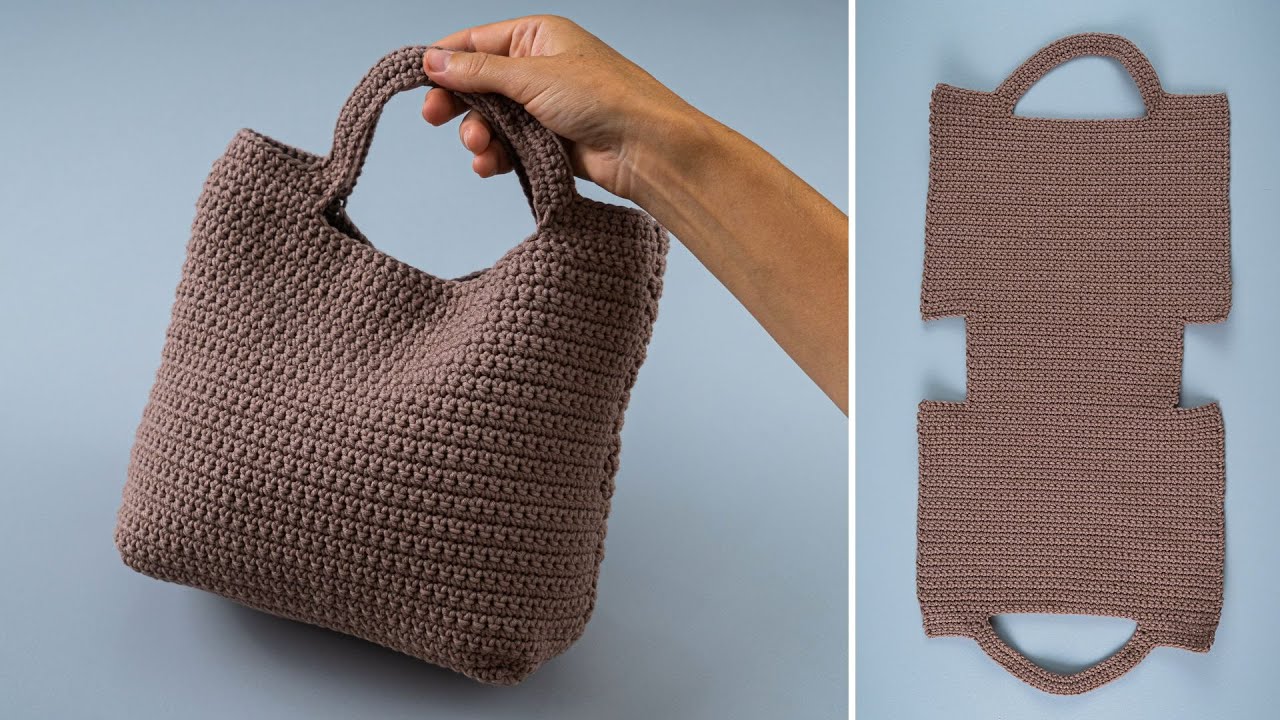
Step 3: Fold and Seamlessly Work the Body
- Fold the rectangle in thirds to form the trifold wallet shape.
- Without cutting the yarn, continue crocheting around the sides of the folded wallet:
- Work single crochet evenly around the edges, including the sides of the card slots if added.
- This closes the wallet edges in a seamless manner.
Working in the round here avoids sewing seams later.
Step 4: Add Closure
- Button closure: Sew a button on the front flap and make a small chain loop on the opposite side.
- Snap closure: Attach a small snap for convenience.
- Velcro: Sew a small piece of Velcro to keep the wallet closed.
Step 5: Finish the Wallet
- Fasten off the yarn.
- Weave in all loose ends neatly using a yarn needle.
- Optional: Add decorative elements like a small tassel or embroidered initials.
Beginner Tips
- Use cotton yarn for sturdiness and minimal stretching.
- Keep tight, even stitches for a professional look.
- Count stitches carefully when making card slots to keep the wallet balanced.
- Start small; you can make larger wallets once you master the technique.
Why This Wallet Is Perfect for Beginners
- Seamless design – no sewing required
- Uses only basic stitches
- Functional and customizable
- Quick to complete, rewarding to make
Final Thoughts
A seamless crochet wallet is a perfect beginner project because it combines simplicity with functionality. With just basic stitches and a little folding, you can create a neat, practical wallet without complicated seams. Once you’re comfortable with this pattern, you can experiment with colors, textures, and decorative touches to make your wallet uniquely yours.
I can also make for you:
- A step-by-step diagram for seamless wallet construction
- A beginner-friendly trifold version with exact stitch counts
- Suggestions for mini, standard, and large wallet sizes
Watch tutorial: