 by
by Here’s a detailed, beginner-friendly guide on how to crochet a simple tote bag, perfect for beginners who want a functional and stylish bag without complicated stitches.
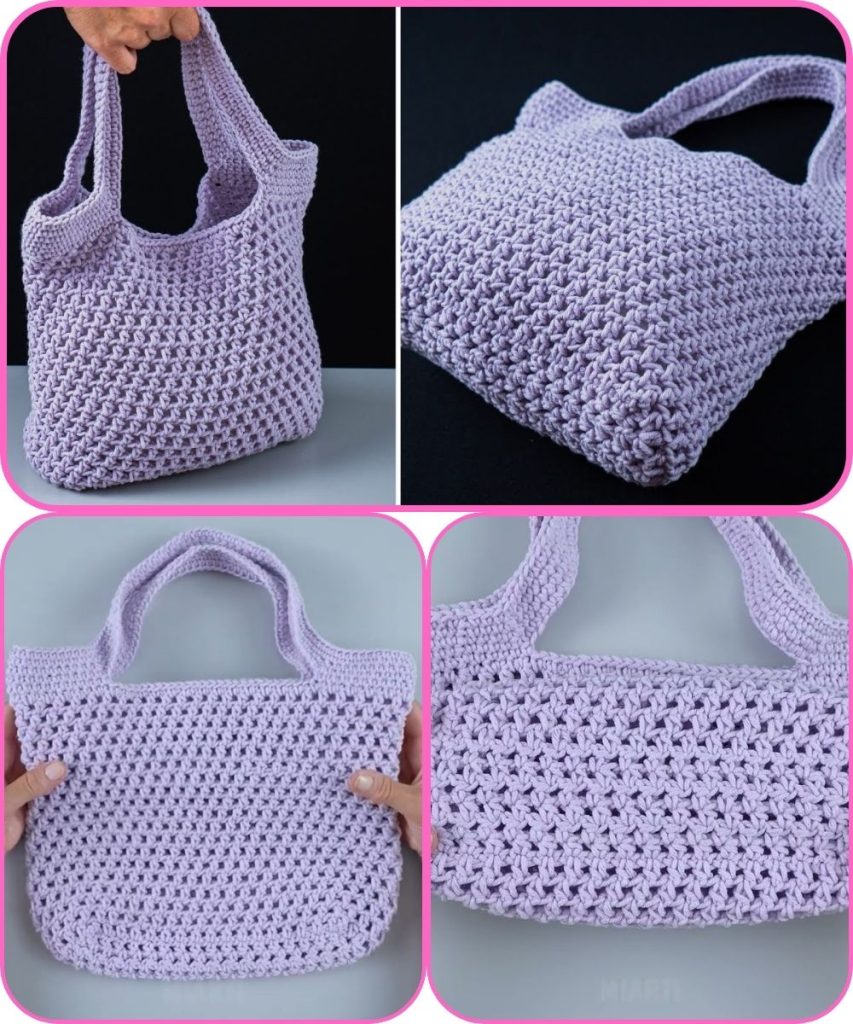
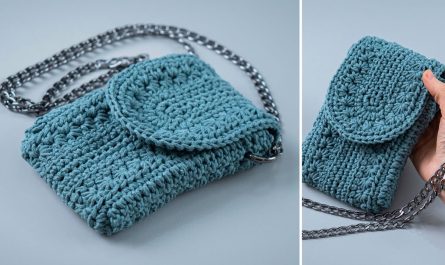
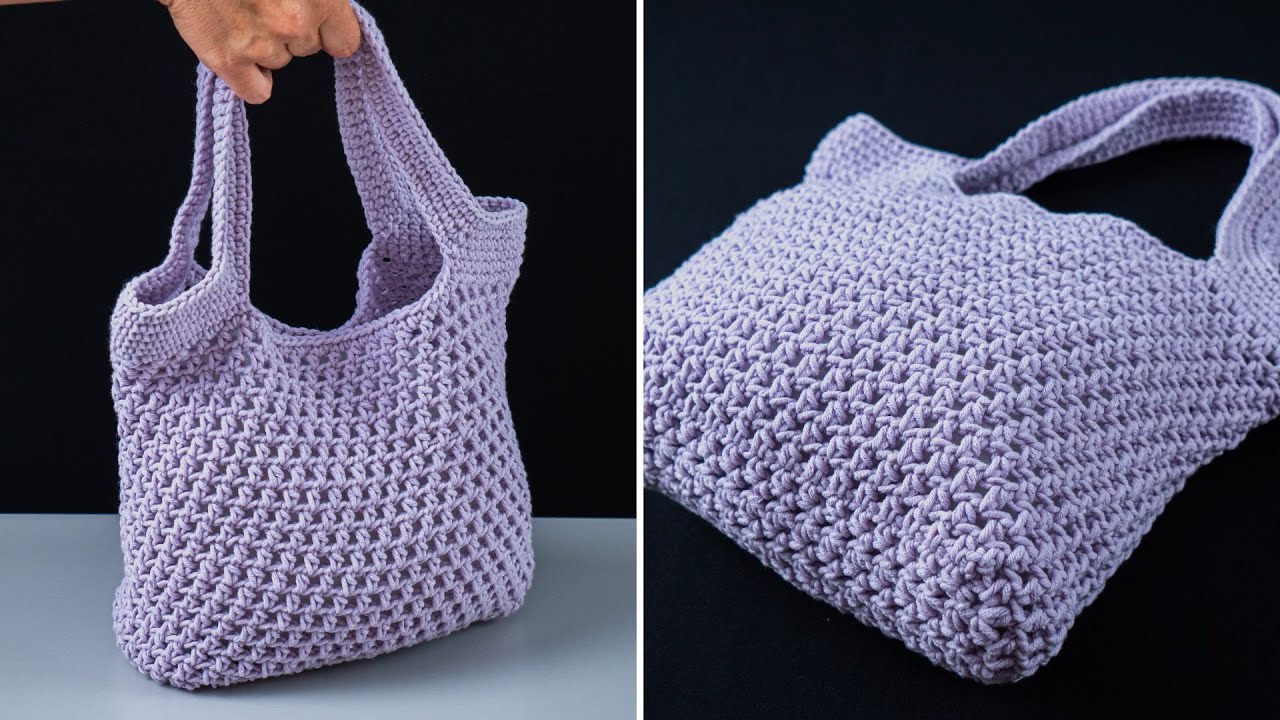
How to Crochet a Simple Tote Bag – Tutorial for Beginners
Crochet tote bags are practical, easy to make, and a fun project for beginners. This tutorial uses basic stitches and simple construction so anyone can create a stylish, sturdy tote bag.
Materials Needed
- Yarn: Medium-weight cotton or acrylic yarn (cotton is best for durability)
- Crochet Hook: 4.5 mm – 5 mm
- Scissors
- Yarn Needle: For weaving in ends
- Stitch Marker (optional)
- Handles (optional): Wooden, leather, or crocheted
Basic Crochet Stitches Used
- Chain (ch) – foundation stitch
- Single Crochet (sc) – strong, simple stitch
- Slip Stitch (sl st) – for joining and finishing
- Optional: Half Double Crochet (hdc) for texture
Step 1: Make the Base of the Tote Bag
- Chain 31 stitches (or adjust for your desired bag width).
- Single crochet in the second chain from the hook and continue across the row.
- Chain 1 and turn.
- Single crochet back across.
This creates the base foundation of the bag.
Step 2: Form the Bottom Oval (Optional for Shape)
- At the end of the row, work 3 single crochets in the last stitch to turn the corner.
- Continue along the opposite side of the foundation chain.
- In the final stitch, work 2 single crochets.
- Join with a slip stitch.
This forms a sturdy oval base, helping the bag hold its shape.
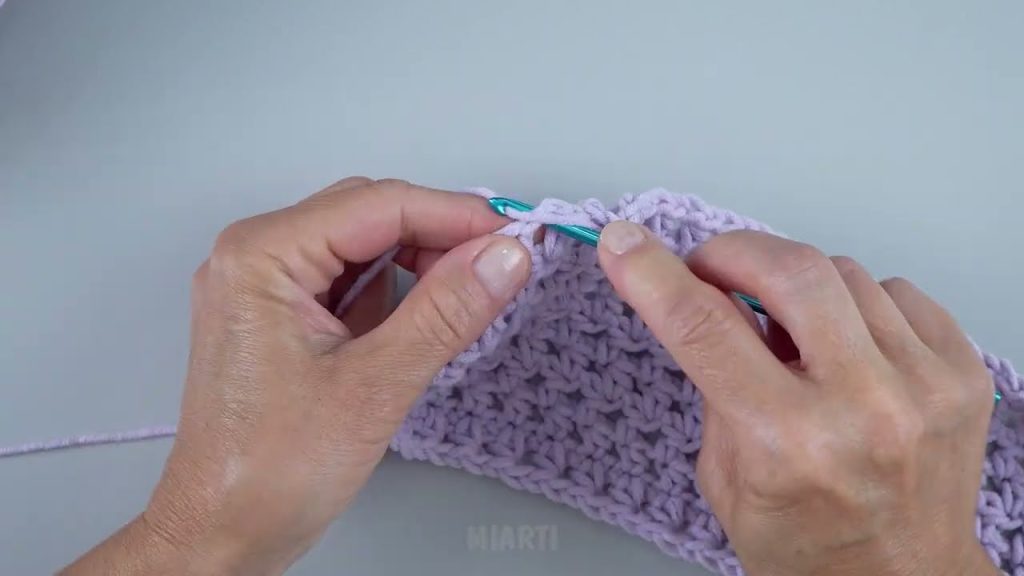
Step 3: Crochet the Body of the Bag
- Chain 1.
- Single crochet evenly in each stitch around.
- Join with a slip stitch at the end of each round.
- Repeat for 15–20 rounds, or until your bag reaches the desired height.
Tip: Keep stitches tight to give your tote structure.
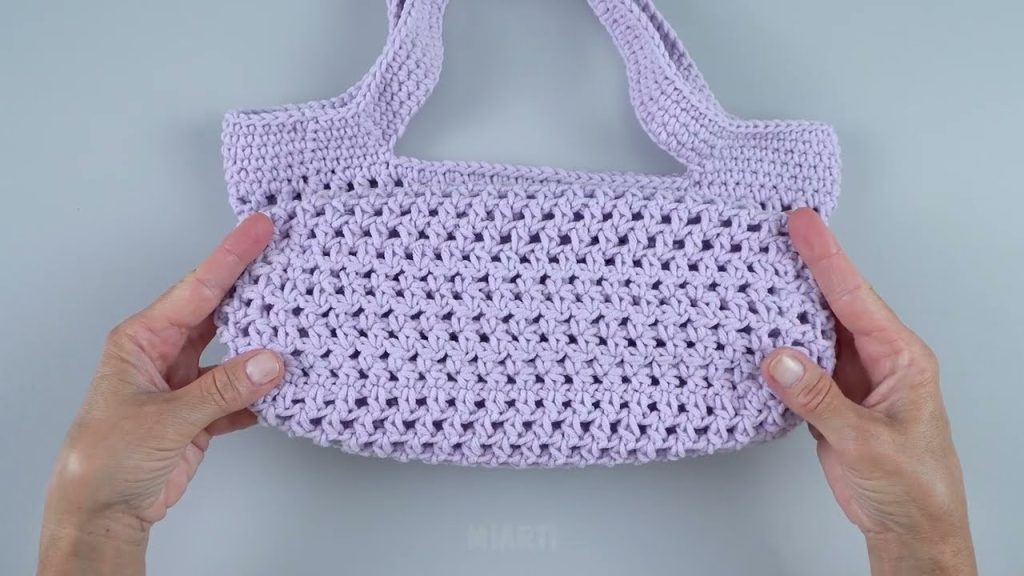
Step 4: Add a Simple Texture (Optional)
- Crochet single crochet in the back loop only for subtle texture.
- Or alternate sc and hdc rows for a decorative, yet simple pattern.
Step 5: Create Handles
Crochet Handles:
- Single crochet to one side of the bag.
- Chain 25–40 stitches (or desired handle length).
- Skip the same number of stitches along the side.
- Single crochet to attach to the opposite side.
- Repeat for the second handle.
- On the next round, single crochet around the chain spaces to reinforce.
Alternative Handles:
- Sew on wooden or leather handles for a professional look.
- Use metal rings for a modern style.
Step 6: Finish the Bag
- Fasten off the yarn.
- Weave in all loose ends with a yarn needle.
- Optional finishing touches:
- Add a fabric lining for extra durability
- Sew on a button or magnetic snap for closure
- Decorate with tassels, beads, or small charms
Beginner Tips
- Use cotton yarn for a strong, non-stretchy tote.
- Count stitches occasionally to keep rows even.
- Keep your tension consistent for a neat finish.
- Don’t worry about small mistakes—bags are forgiving!
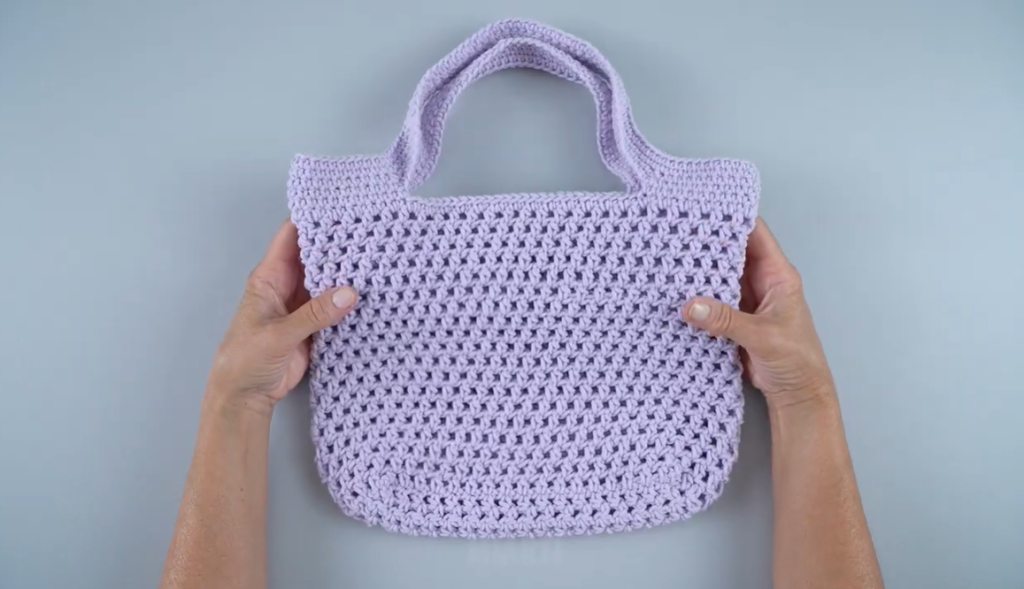
Why This Tote Bag Is Perfect for Beginners
- Uses basic stitches only
- Simple shape with no complicated construction
- Easy to customize in size, color, and texture
- Functional and stylish
Final Thoughts
Making a simple crochet tote bag is a quick and rewarding project for beginners. With basic stitches, easy construction, and optional textures or embellishments, you can create a practical bag that you’ll love to carry. Once comfortable, you can experiment with colors, patterns, and handles to make your tote truly unique.
I can also create:
- A diagram with measurements and stitch counts
- A step-by-step beginner-friendly printable pattern
- Ideas for color combinations and decorative variations
Watch tutorial: