 by
by Here is a clear, detailed, and beginner-friendly guide you can use for a blog post, pattern explanation, or step-by-step tutorial.
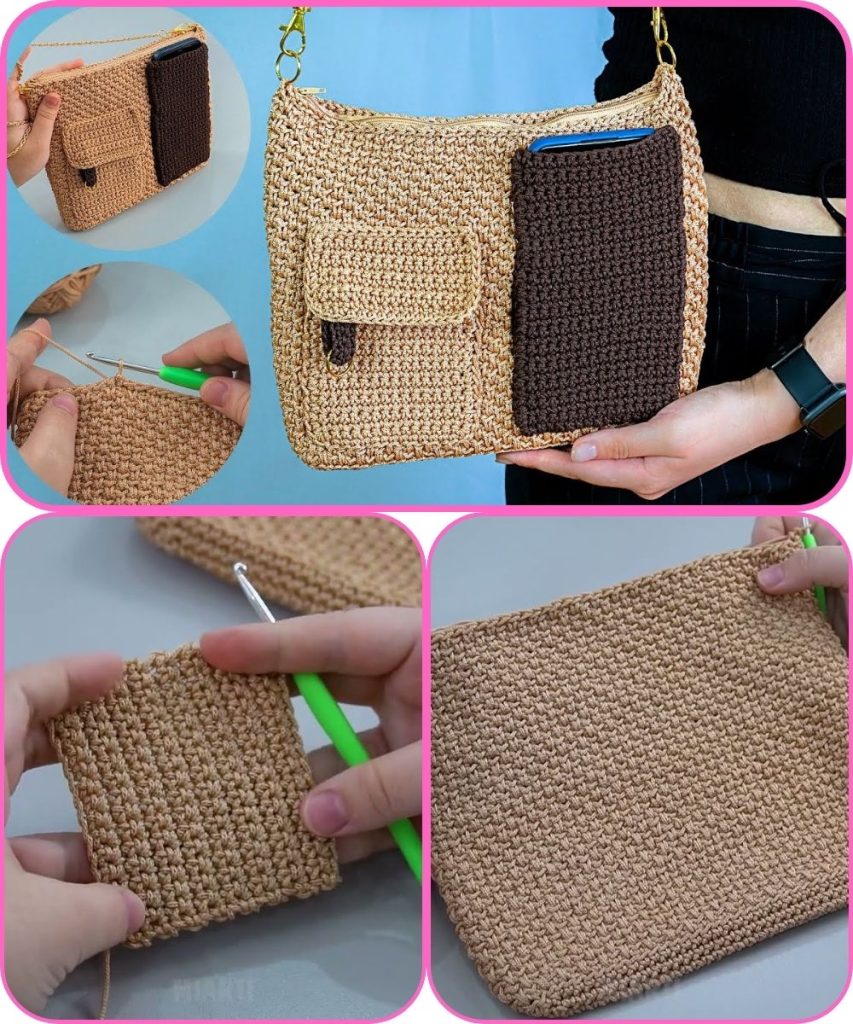
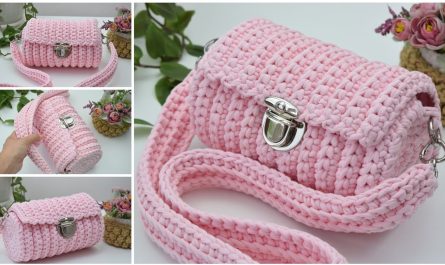
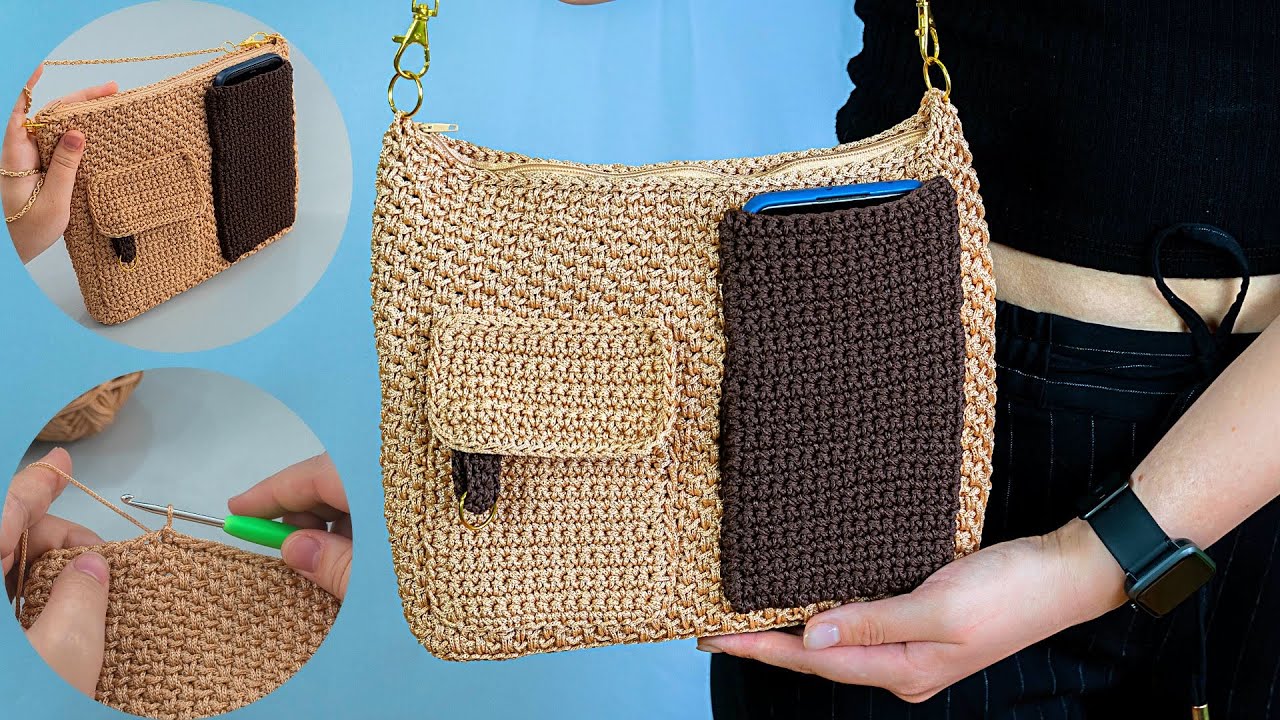
How to Make a Crochet Purse with Pockets and a Zip – Even a Beginner Can Handle It!
A crochet purse with pockets and a zipper may sound advanced, but with simple construction and basic stitches, it’s absolutely achievable for beginners. This project is all about working step by step: first the purse body, then the pockets, and finally attaching the zipper in an easy, stress-free way.
The result is a stylish, practical purse that looks professional and handmade with care.
Why This Project Is Beginner-Friendly
- Uses basic crochet stitches
- Simple shapes (mostly rectangles and rounds)
- Pockets are easy add-ons
- Zipper is sewn by hand—no sewing machine needed
- Very customizable in size and style
- Builds confidence with useful techniques
Materials You’ll Need
Gather these supplies before you start:
- Yarn: Medium-weight cotton yarn
(Cotton is strong and ideal for purses) - Crochet Hook: 4–5 mm
- Zipper: Same length as purse opening
- Scissors
- Yarn Needle
- Sewing Needle & Thread (matching zipper)
- Stitch Marker (optional)
- Fabric lining (optional but recommended)
Stitches and Skills Used
This purse uses beginner-friendly stitches:
- Chain stitch (ch)
- Slip stitch (sl st)
- Single crochet (sc)
- Half double crochet (hdc) or double crochet (dc)
If you know these stitches, you’re ready to begin.
Step-by-Step Instructions
Step 1: Decide Your Purse Size
A simple beginner size:
- Width: 20–25 cm (8–10 inches)
- Height: 15–20 cm (6–8 inches)
You can adjust easily by adding or reducing stitches and rows.
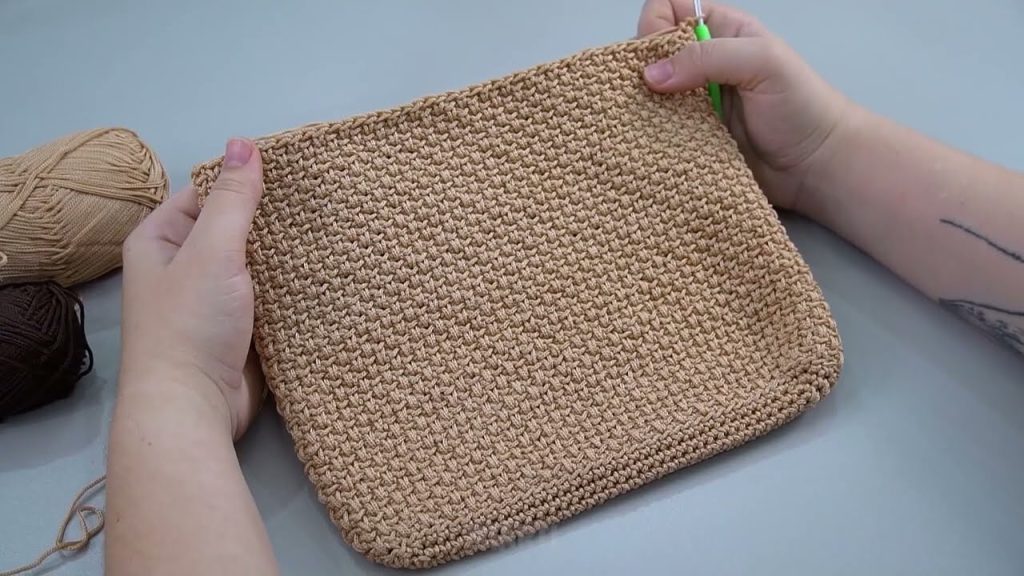
Step 2: Crochet the Purse Body
Option: Flat Rectangle (Easiest)
- Chain enough stitches to match the purse width.
- Crochet single crochet or half double crochet across.
- Chain 1, turn, and repeat rows.
- Continue until the rectangle is twice the height of your purse.
- Fold the rectangle in half.
- Single crochet or sew the sides together.
👉 Tip: Use single crochet for a sturdy purse.
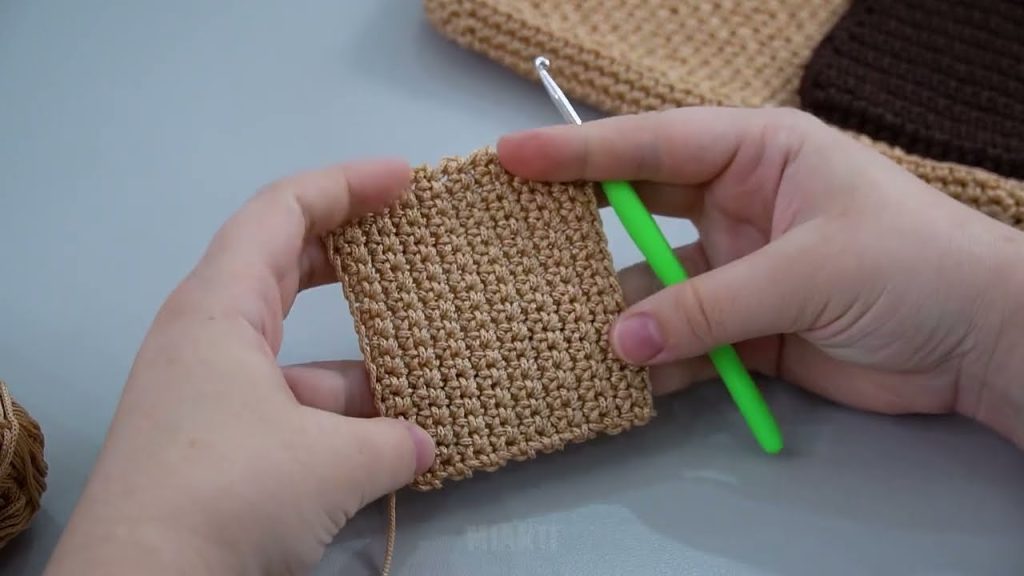
Step 3: Crochet the Inner Pockets
Pockets are just small rectangles.
- Chain 12–18 stitches (depending on pocket width).
- Crochet rows of single crochet until pocket height is reached.
- Fasten off.
- Make one or two pockets as desired.
Attach the pockets:
- Place pocket on the inside of the purse
- Sew sides and bottom only
- Leave top open
Step 4: Strengthen the Top Edge
- Crochet 1–2 rounds of single crochet around the purse opening
- This helps the zipper sit neatly and prevents stretching
Step 5: Attach the Zipper (Beginner Method)
- Place zipper inside the purse opening.
- Use stitch markers or pins to hold it in place.
- Sew the zipper to the purse using small hand stitches.
- Go slowly and keep stitches even.
👉 Tip: Sewing through the zipper tape (not the teeth) makes it easier.
Step 6: Optional Fabric Lining
A lining adds strength and hides pocket stitching.
- Cut fabric slightly smaller than purse size.
- Sew sides and bottom.
- Hand-sew lining to the inside of the purse.
- Stitch zipper to lining for extra durability.
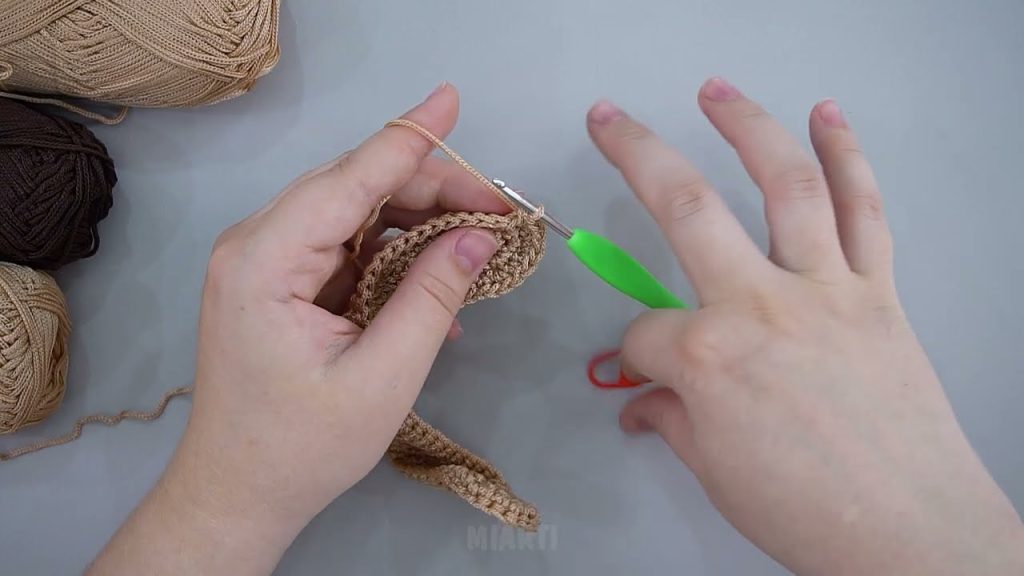
Step 7: Add the Strap or Handle
Simple Strap:
- Chain 6–8 stitches.
- Single crochet back and forth until desired length.
- Sew securely to purse sides.
You can also use:
- Store-bought straps
- Leather handles
- Chain straps
Step 8: Finish the Purse
- Fasten off yarn
- Weave in all loose ends securely
- Test zipper movement
- Gently shape the purse
Your crochet purse with pockets and a zipper is now complete!
Easy Customization Ideas
- Add an outer pocket
- Use two colors for contrast
- Add a button or tassel
- Make it a crossbody or clutch
- Change stitch texture for a unique look
Beginner Tips for Success
- Use cotton yarn for durability
- Keep stitches tight for structure
- Sew zipper slowly—no rush
- Practice zipper sewing on a scrap first
- Don’t worry about perfection—handmade charm matters
Final Thoughts
A crochet purse with pockets and a zip may seem advanced, but when broken into simple steps, it becomes a very manageable and rewarding beginner project. You’ll learn useful skills while creating a beautiful, functional accessory you can proudly use or gift.
Once you make one, you’ll feel confident trying even more crochet bag designs!
If you’d like, I can also:
- Write a simplified mini version
- Create a photo-based tutorial
- Help with lining patterns
- Design a matching wallet or pouch
Watch tutorial: