 by
by Here is a clear, detailed, and beginner-friendly guide you can use for a blog post, tutorial, or pattern introduction.
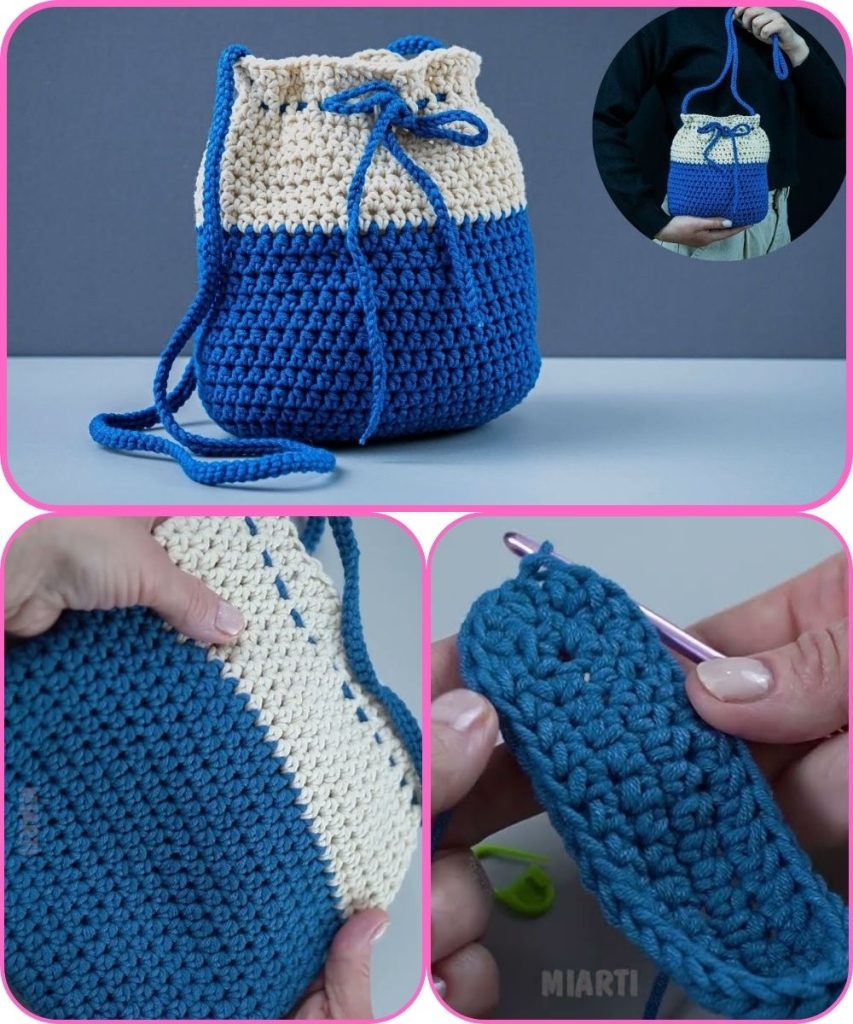
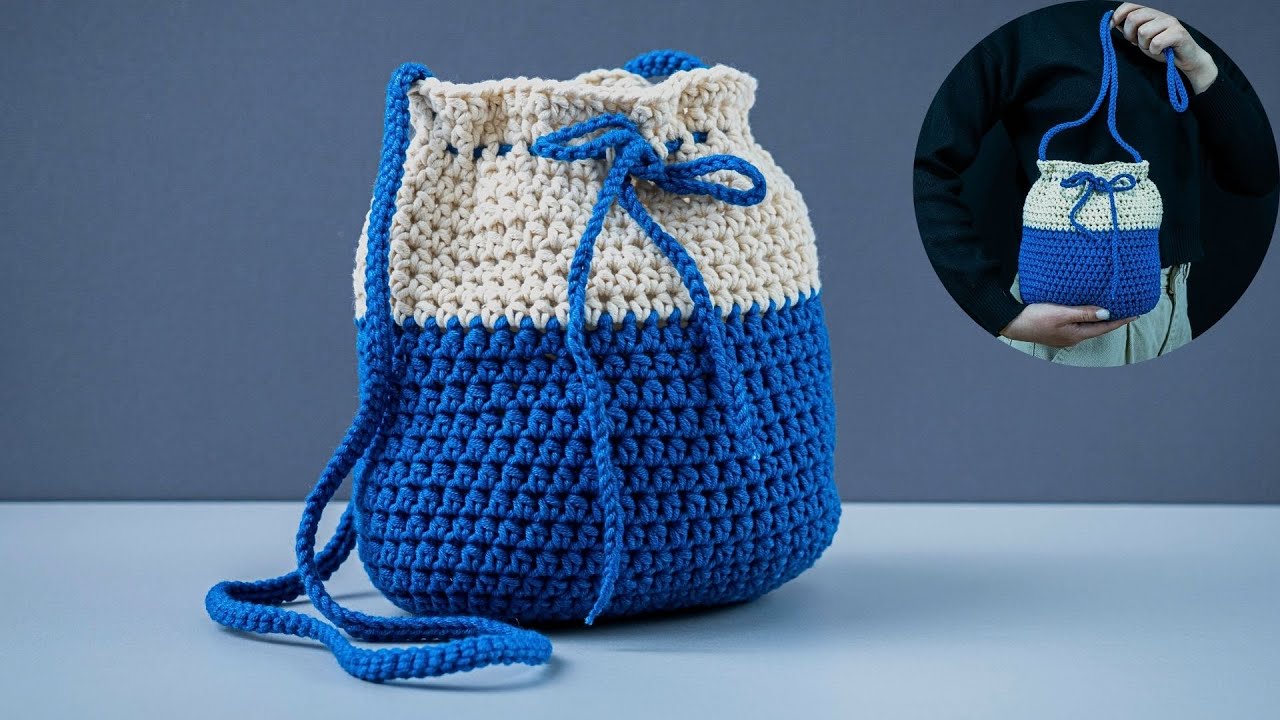
How to Make an Original Crochet Bag Simply – Even a Beginner Can Handle It!
Making your own crochet bag is a fun and rewarding project, especially when you keep it simple and add your own creative touch. An “original” crochet bag doesn’t have to be complicated—in fact, beginners can easily create a unique and stylish bag using basic stitches, simple shapes, and personal color choices.
This tutorial will guide you step by step through making an easy crochet bag that looks special, handmade, and practical.
Why This Crochet Bag Is Perfect for Beginners
- Uses basic crochet stitches
- Simple construction with no complex shaping
- Easy to customize in size and color
- Forgiving pattern—small mistakes won’t show
- Builds confidence while creating something useful
Materials You’ll Need
Gather these basic supplies before you start:
- Yarn: Medium-weight yarn
– Cotton yarn is best for bags (strong and durable) - Crochet Hook: 4–5 mm (check yarn label)
- Scissors
- Yarn Needle
- Stitch Marker (optional)
Stitches and Skills Used
This project is beginner-friendly and uses simple stitches:
- Chain stitch (ch)
- Slip stitch (sl st)
- Single crochet (sc)
- Half double crochet (hdc) or double crochet (dc)
If you know these stitches, you’re ready to start.
Step-by-Step Instructions
Step 1: Choose Your Bag Style
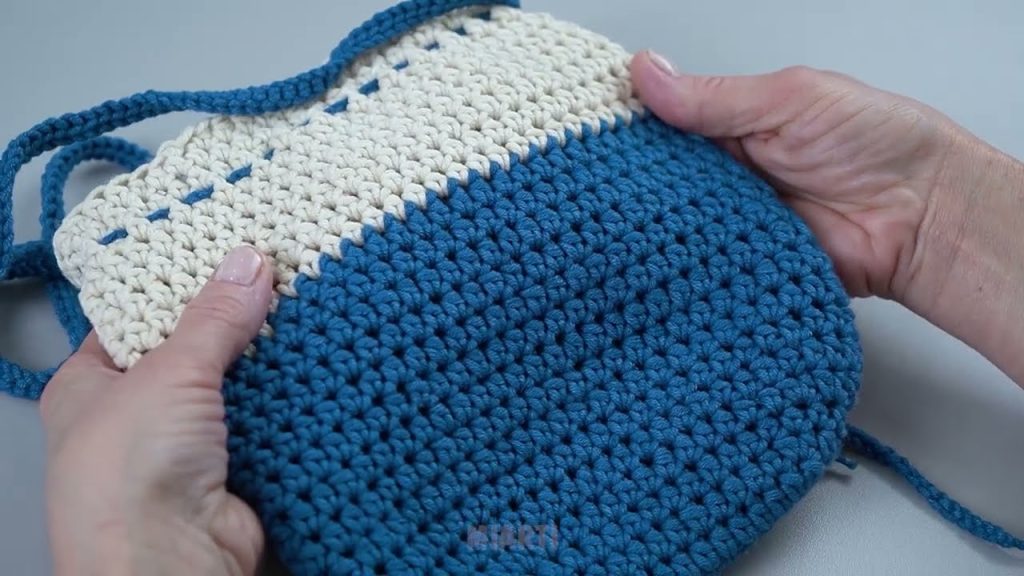
To keep things simple, this bag is made in three easy parts:
- Base
- Body
- Handles
You can make it a tote, shoulder bag, or small everyday bag just by adjusting the size.
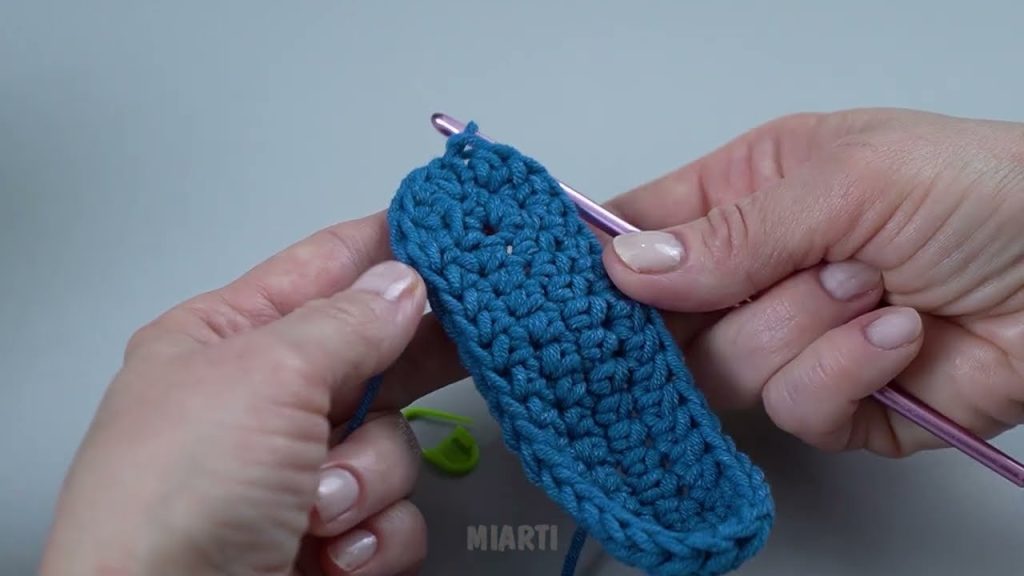
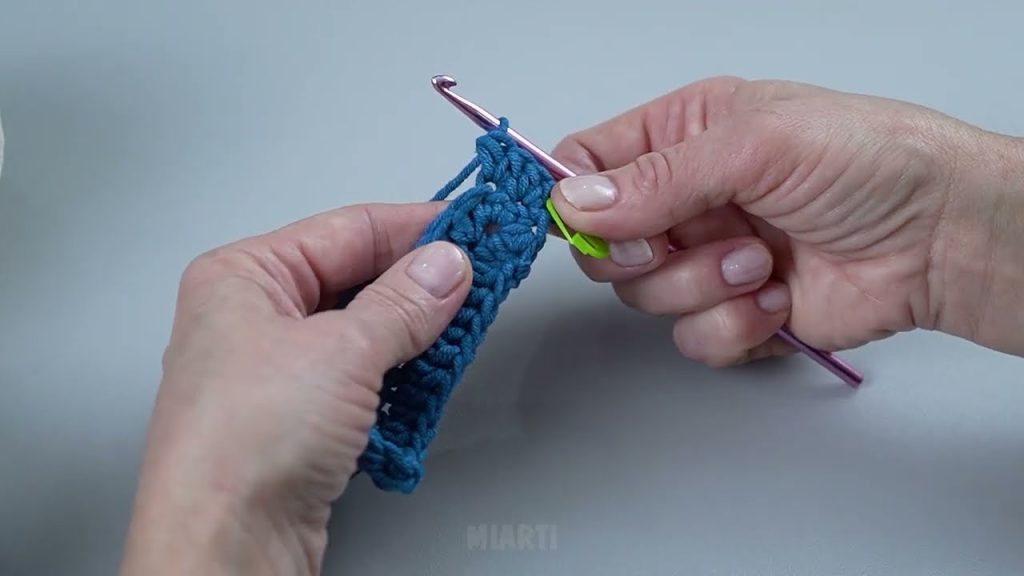
Step 2: Crochet the Base
- Chain 25–35 stitches, depending on how wide you want your bag.
- Single crochet in the second chain from the hook and across.
- Crochet around both sides of the chain to form an oval base.
- Increase slightly at both ends as you work in rounds.
- Continue until the base reaches your desired size.
👉 Tip: A firm base helps the bag keep its shape.
Step 3: Build the Bag Body
- Crochet straight up in rounds without increasing.
- Use half double crochet or double crochet for faster progress.
- Keep the stitch pattern simple or add light texture if desired.
- Continue until the bag reaches your preferred height (25–35 cm).
This is where your bag becomes original:
- Change colors
- Add stripes
- Mix stitch textures
Step 4: Strengthen the Top Edge
- Crochet 2–3 rounds of single crochet
- This prevents stretching and gives a clean finish
Step 5: Create the Handles
Simple Handle Method:
- Single crochet across part of the round.
- Chain 25–40 stitches for the handle.
- Skip the same number of stitches and continue crocheting.
- Repeat on the opposite side.
- Crochet one more round of single crochet over the chains to reinforce.
Step 6: Finish the Bag
- Slip stitch to close the final round
- Fasten off yarn
- Weave in all loose ends securely
Your original crochet bag is now complete!
Easy Ways to Make It Original
- Use leftover yarn for a color-block look
- Add a small crochet pocket
- Attach tassels or charms
- Try a different stitch for the body
- Add a lining if desired
Originality comes from your choices, not complexity.
Beginner Tips for Success
- Use cotton yarn for strength
- Keep stitches even
- Count stitches when changing rounds
- Don’t stress about perfection—handmade beauty is unique
Final Thoughts
Creating an original crochet bag doesn’t require advanced skills. With simple stitches, basic shaping, and your personal touch, even a beginner can crochet a beautiful, practical, and unique bag.
Once you finish your first bag, you’ll feel confident enough to experiment with new sizes, colors, and designs.
If you’d like, I can also:
- Turn this into a short printable pattern
- Help design a specific bag style
- Create a step-by-step photo guide
- Add lining or closure instructions
Watch tutorial: