 by
by Here is a clear, detailed, and beginner-friendly guide you can use for a blog post, pattern explanation, or step-by-step tutorial.
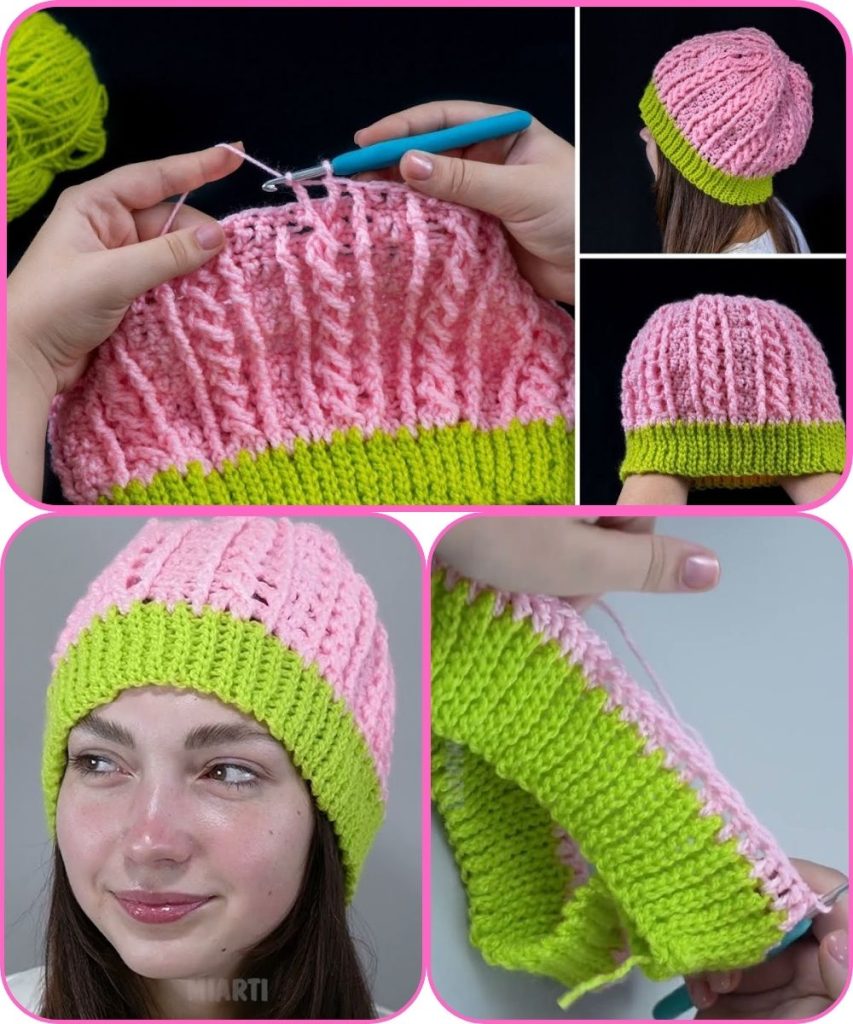
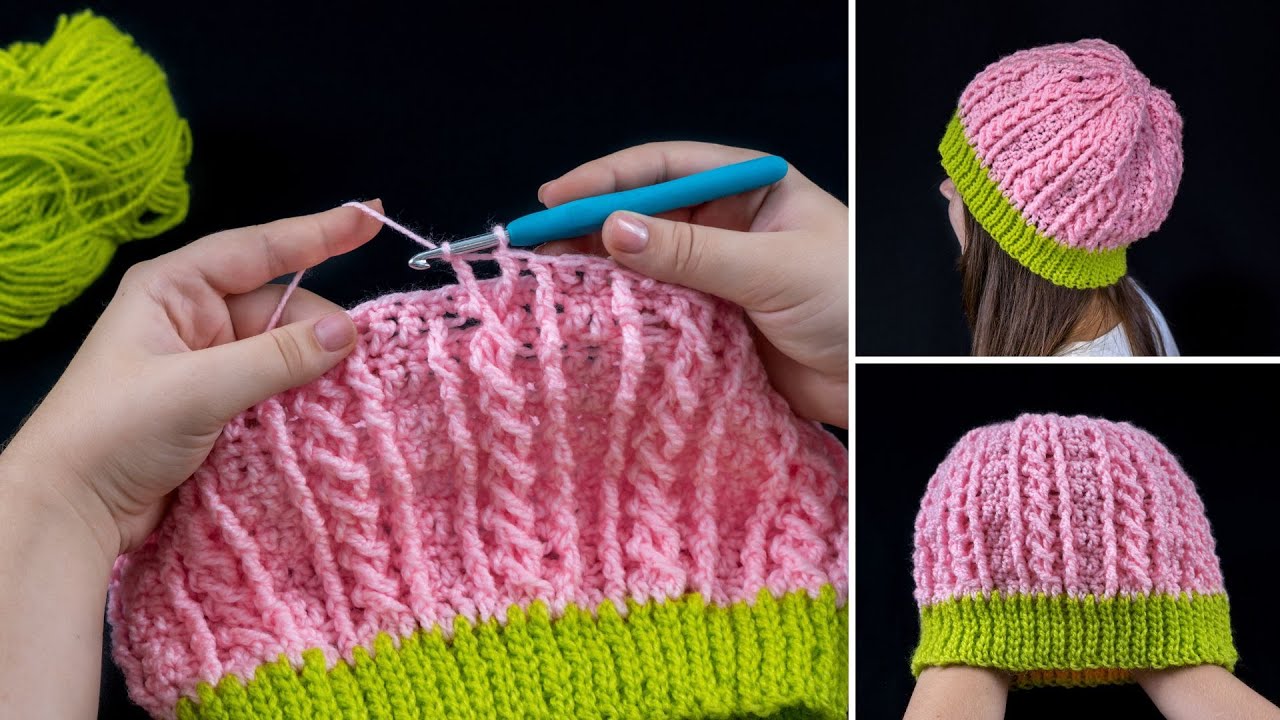
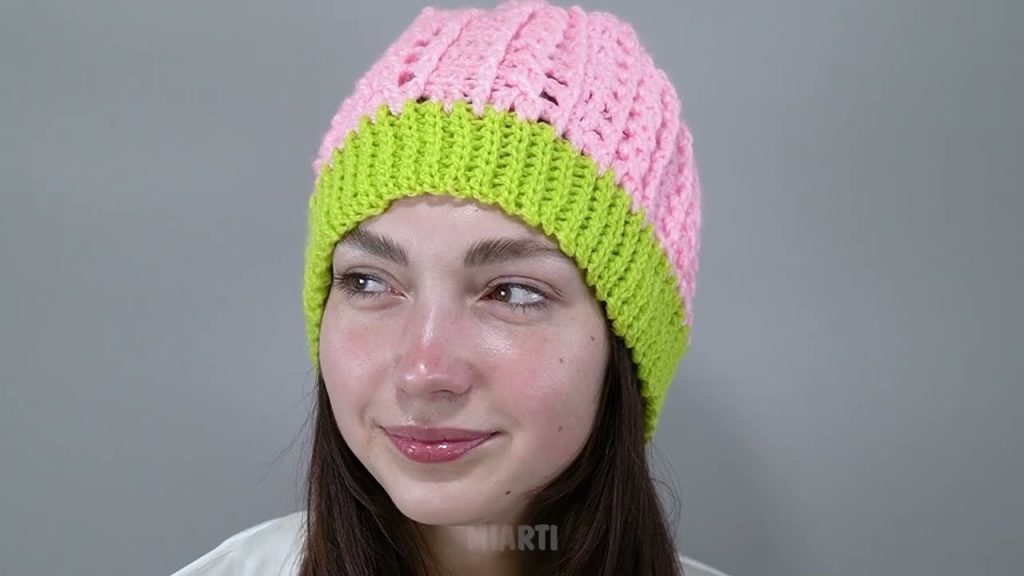
How to Make a Simple Crochet Hat with the “Braids” Pattern for Beginners
A crochet hat with a braids pattern looks elegant and textured, but it can still be beginner-friendly when worked with simple stitches and a clear repeat. This pattern creates a raised, braided look using basic front-post stitches, making your hat look advanced without being difficult.
This tutorial breaks everything down step by step, so even beginners can confidently make a beautiful braided crochet hat.
Why This Braided Crochet Hat Is Beginner-Friendly
- Uses basic crochet stitches
- Simple and repeatable braid pattern
- Worked in the round—no sewing
- Easy to adjust size and length
- Looks stylish with minimal effort
Materials You’ll Need
Prepare the following supplies:
- Yarn: Medium-weight (worsted) yarn
– Acrylic for easy care
– Wool blend for warmth - Crochet Hook: 5–6 mm
- Scissors
- Yarn Needle
- Stitch Marker (very helpful)
Stitches and Skills Used
This project uses beginner-friendly techniques:
- Chain stitch (ch)
- Slip stitch (sl st)
- Double crochet (dc)
- Front post double crochet (FPdc)
- Back post double crochet (BPdc)
👉 Don’t worry—post stitches are easy once you see how they work!
Step-by-Step Instructions
Step 1: Start the Hat Crown
- Make a magic ring (or chain 4 and join).
- Crochet 10 double crochet into the ring.
- Join with a slip stitch and chain 2.
Step 2: Increase for the Crown
Continue increasing to create a flat circle.
Round 2:
- 2 double crochet in each stitch around
Round 3:
- 1 dc, 2 dc in next stitch repeat around
Round 4:
- 2 dc, 2 dc in next stitch repeat around
Continue increasing until the crown measures:
- 16–18 cm (6–7 inches) for an adult
👉 Tip: If the circle curls, add another increase round.
Step 3: Set Up the Braids Pattern
This round prepares the stitches for the braided look.
- Crochet 1 round of double crochet with no increases
- Join and chain 2
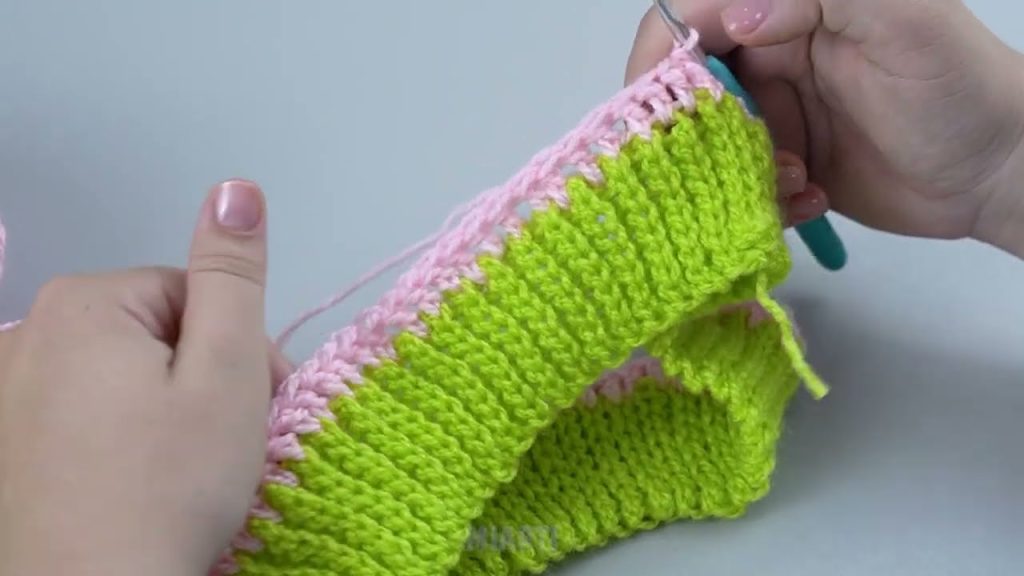
Step 4: Crochet the Braids Pattern
The braid pattern is created using post stitches.
Braid Pattern (Repeat Around):
- 2 FPdc (front post double crochet)
- 2 BPdc (back post double crochet)
Repeat this sequence around the hat.
👉 This creates raised vertical “braids” that stand out beautifully.
Step 5: Continue the Hat Body
- Continue the braid pattern rounds
- No increases
- Crochet until the hat reaches desired length:
- 18–22 cm from crown to edge
Step 6: Finish the Hat Edge
For a neat and stretchy finish:
- Crochet 1–2 rounds of single crochet
- Or continue ribbing with FPdc/BPdc for a cuff
Optional: Fold the edge for a cozy brim.

Step 7: Finish Off
- Slip stitch to close
- Cut yarn and fasten off
- Weave in all loose ends securely
Your braided crochet hat is now complete!
Easy Customization Ideas
- Add a pom-pom
- Use two colors for bold braids
- Make it slouchy by adding length
- Add a folded brim
- Use chunky yarn for deeper texture
Beginner Tips for Braided Patterns
- Practice FPdc and BPdc on a small swatch first
- Use a stitch marker to track rounds
- Keep tension even for clean braids
- Don’t worry if braids aren’t perfect—texture hides small mistakes
Final Thoughts
A crochet hat with a braids pattern may look advanced, but with simple post stitches and a repeating design, it’s very achievable for beginners. This project is a great way to learn new techniques while creating a warm, stylish accessory.
Once you finish one, you’ll feel confident trying more textured crochet patterns!
If you’d like, I can also:
- Create a simplified braid pattern
- Adjust this for baby or child sizes
- Write a one-page printable pattern
- Make a matching scarf or headband
Watch tutorial: