 by
by Here’s a clear, detailed, beginner-friendly guide for making a knitted hat quickly and simply. This tutorial focuses on speed, simplicity, and creating a wearable hat that looks great even for beginners.
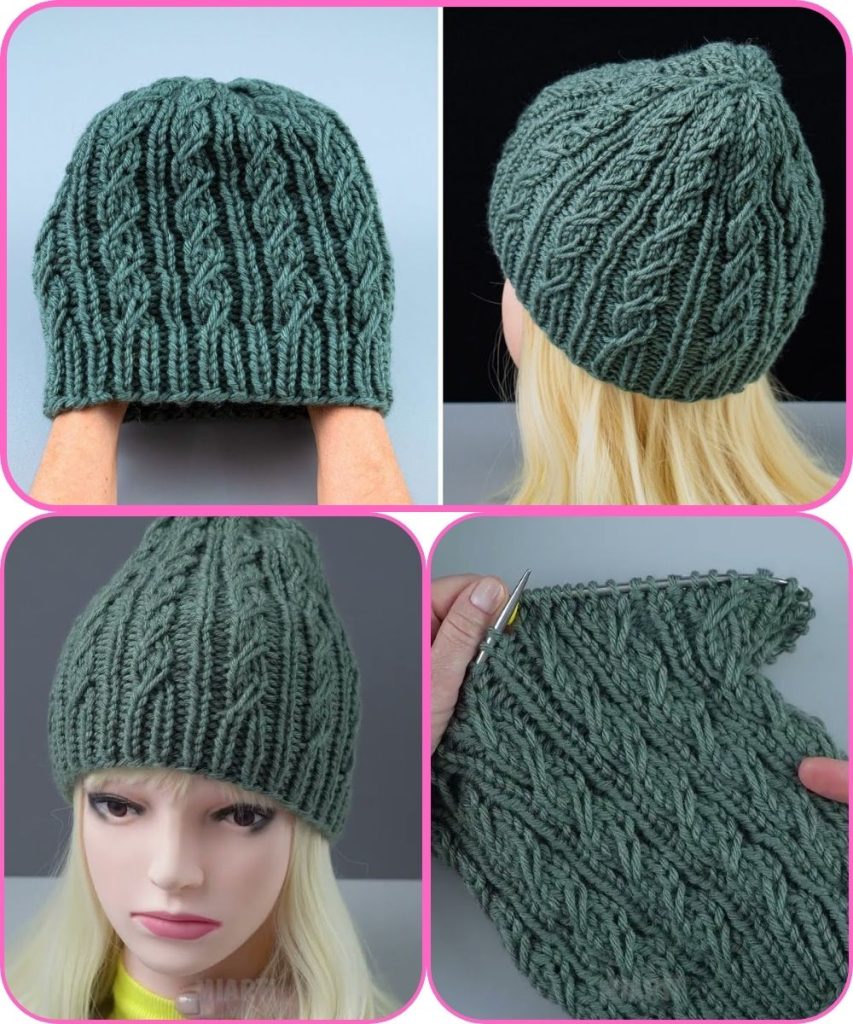
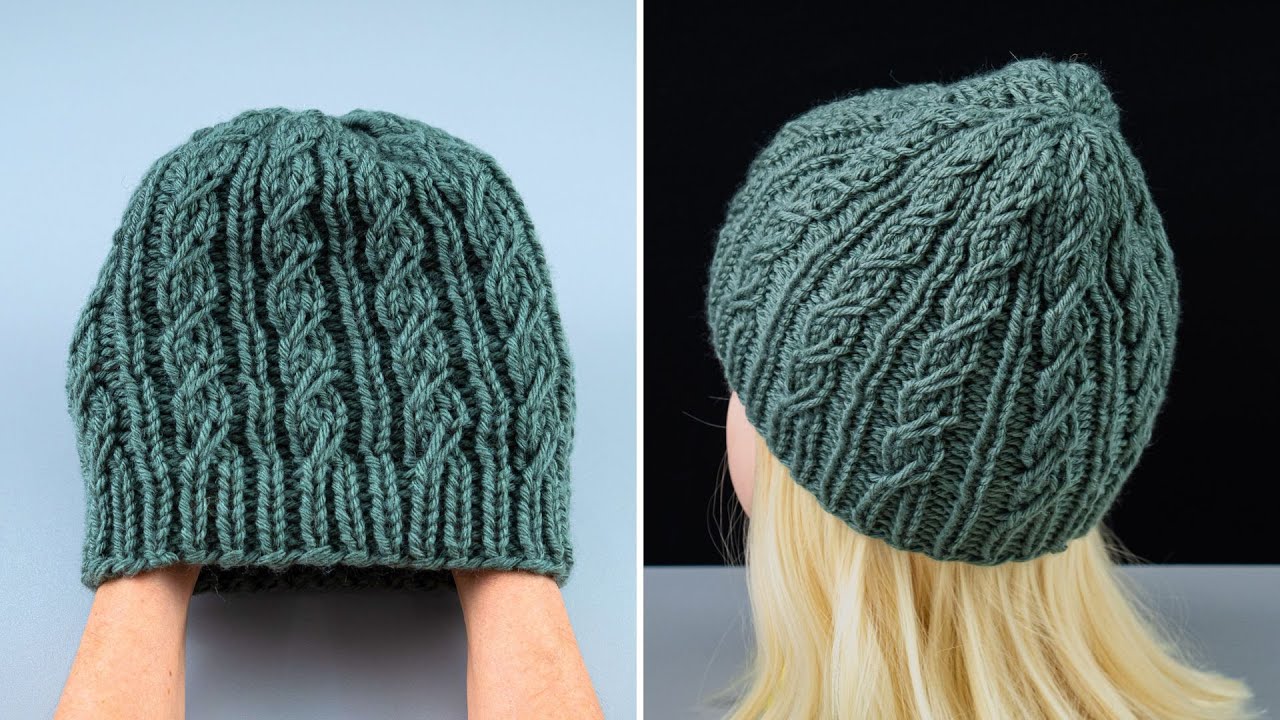
How to Make a Knitted Hat Quickly and Simply
Knitting your own hat is one of the most satisfying and practical projects for beginners. With just basic stitches and minimal shaping, you can create a cozy, stylish hat in just a few hours.
This guide will show you how to make a simple hat using basic knitting techniques, perfect for last-minute gifts or quick winter accessories.
Why This Hat Is Beginner-Friendly
- Uses only knit and purl stitches (or just knit for a very quick version)
- Minimal shaping with simple decreases
- Works for adults, teens, or children with easy adjustments
- Can be made in a few hours using chunky yarn
- Flexible: slouchy or snug, short or long
Materials You’ll Need
- Yarn: Bulky or super bulky yarn (fast to knit, cozy result)
- Knitting needles: 6–8 mm straight or circular needles (depending on your preference)
- Scissors
- Yarn/tapestry needle for finishing
- Optional: Stitch markers to track decreases
Stitches and Skills Used
- Knit (k)
- Purl (p) – optional if doing ribbing
- Knit two together (k2tog) for shaping the crown
Even complete beginners can make this hat with just knit stitches.
Step-by-Step Instructions
Step 1: Measure and Cast On
- Measure head circumference: Average adult head ~55–60 cm (22–24 inches)
- Choose cast-on stitches: Use bulky yarn and large needles; fewer stitches needed
- Example: 60 stitches for chunky yarn
- Cast on stitches using a stretchy cast-on method
Optional: Use circular needles for seamless knitting in the round.
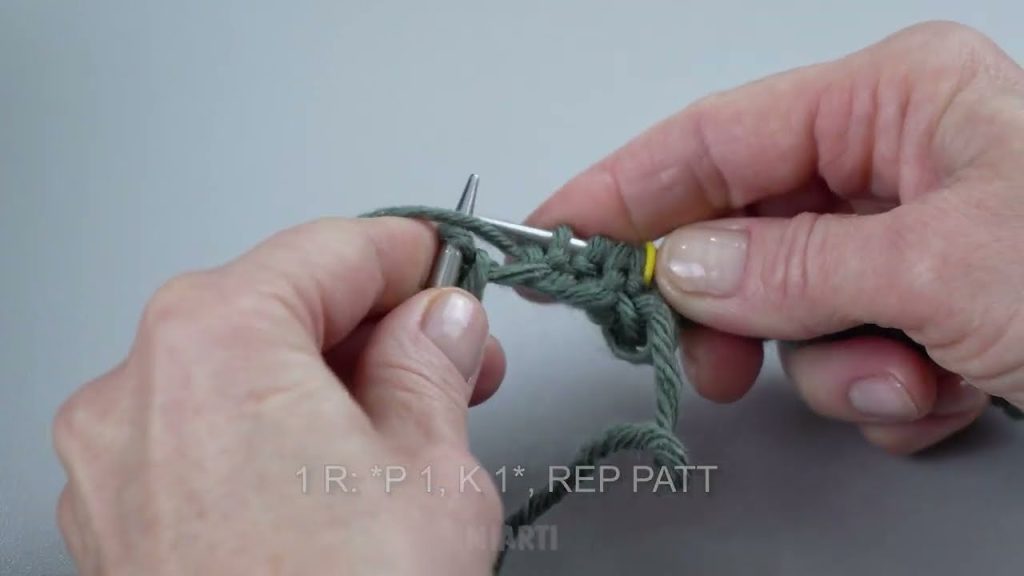
Step 2: Knit the Hat Body
Option 1: Quick Stockinette Hat
- Knit every stitch if working in the round (or alternate k1, p1 if flat)
- Continue until the hat measures about 18–20 cm from the cast-on edge (or desired length)
Option 2: Ribbed Hat (optional)
- Work k2, p2 ribbing for a snug fit
- Continue for 5–6 cm, then switch to stockinette for the rest of the body

Step 3: Shape the Crown
- Begin decreases for the crown to close the top:
- Round 1: K8, k2tog repeat around
- Round 2: Knit
- Round 3: K7, k2tog repeat around
- Continue decreasing in this pattern until 8–10 stitches remain
- Cut yarn, leaving a long tail
- Thread the tail through remaining stitches using a yarn needle
- Pull tightly to close the top
Step 4: Finish the Hat
- Weave in all loose ends
- Block lightly if desired to even out stitches
- Optional: Add a pom-pom for decoration
Tips for Knitting Quickly
- Use chunky or super bulky yarn – makes the project faster
- Use large needles for quick rows
- Knit in the round to avoid seams
- Keep tension consistent to ensure even stitches
Easy Customizations
- Slouchy Hat: Make the hat 5–7 cm longer
- Ribbed Brim: k2, p2 for the first 5 cm for snug fit
- Striped Hat: Alternate colors every few rows
- Pom-Poms: Add a fun pom at the top for a playful look
- Textured Stitch: Add a simple stitch pattern like seed stitch or garter stitch
Final Thoughts
Knitting a hat quickly and simply is perfect for beginners who want a cozy accessory without complicated instructions. With chunky yarn and large needles, you can finish a stylish hat in a few hours.
Once you complete your first hat, you can experiment with colors, textures, lengths, and embellishments to make an entire collection of quick, wearable hats!
If you want, I can also create a full one-page printable pattern with exact stitch counts, row-by-row instructions, and crown shaping chart for a quick adult-size hat.
Watch tutorial: