 by
by Here’s a detailed, beginner-friendly guide for making an easy model crochet tote bag. This tutorial focuses on simplicity, practicality, and creating a stylish bag even if it’s your first crochet project.
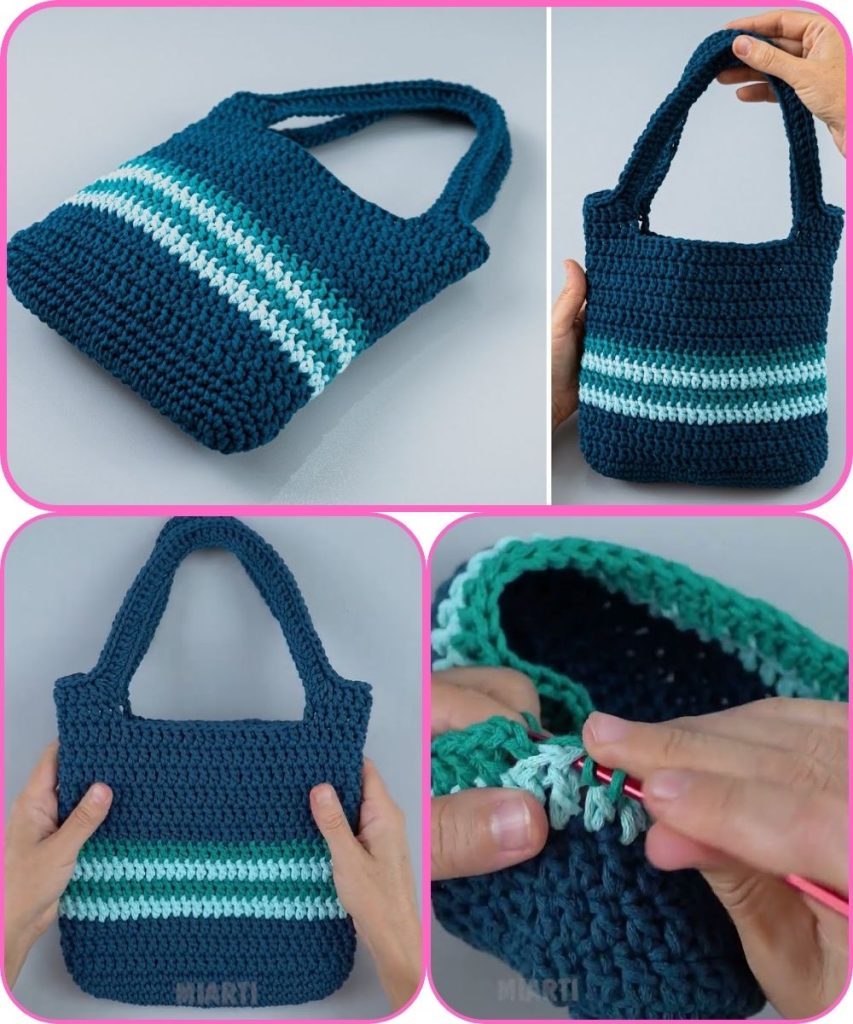
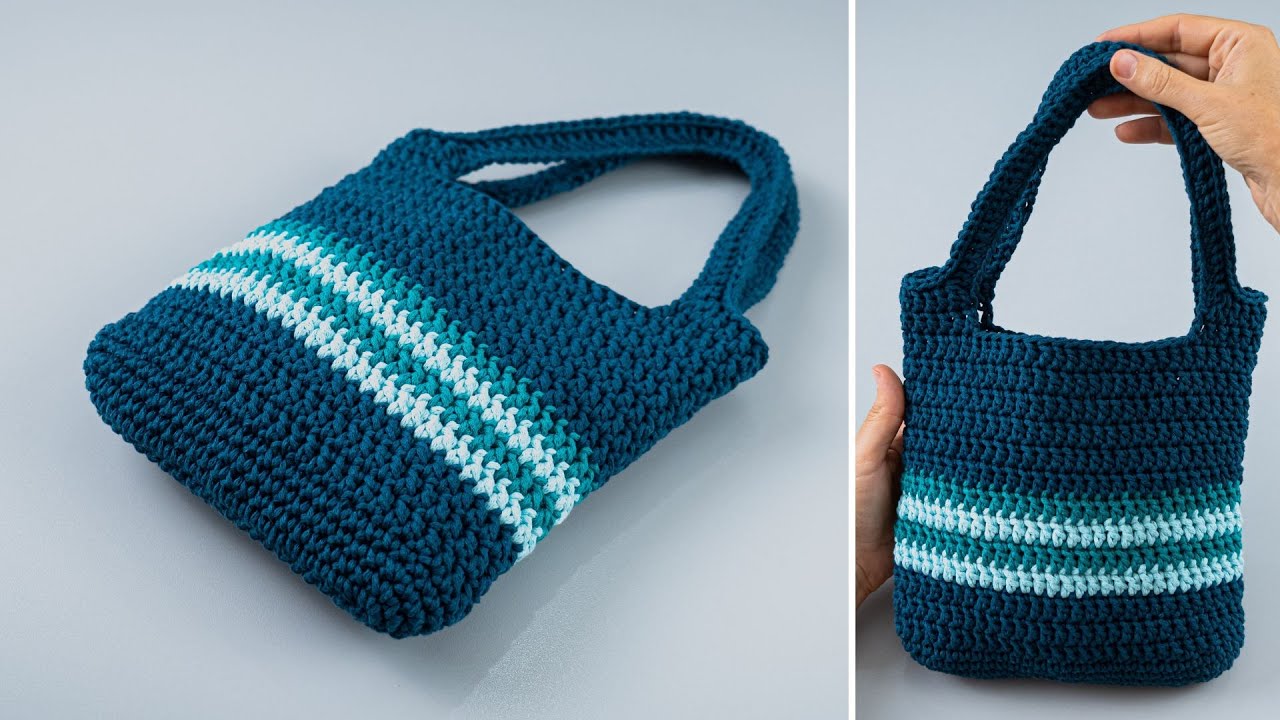
How to Make an Easy Model Crochet Tote Bag – Tutorial for Beginners
Crochet tote bags are practical, stylish, and surprisingly simple to make. This tutorial is designed for beginners and walks you through creating a sturdy, versatile tote bag using basic crochet techniques. You can make it in one solid color, use multiple colors, or even work with leftover yarn for a fun patchwork effect.
Why This Tote Bag Is Beginner-Friendly
- Uses basic crochet stitches only
- Quick to make, even for beginners
- Can be customized in size and colors
- Sturdy enough for shopping, books, or everyday items
- Simple construction: base, body, handles
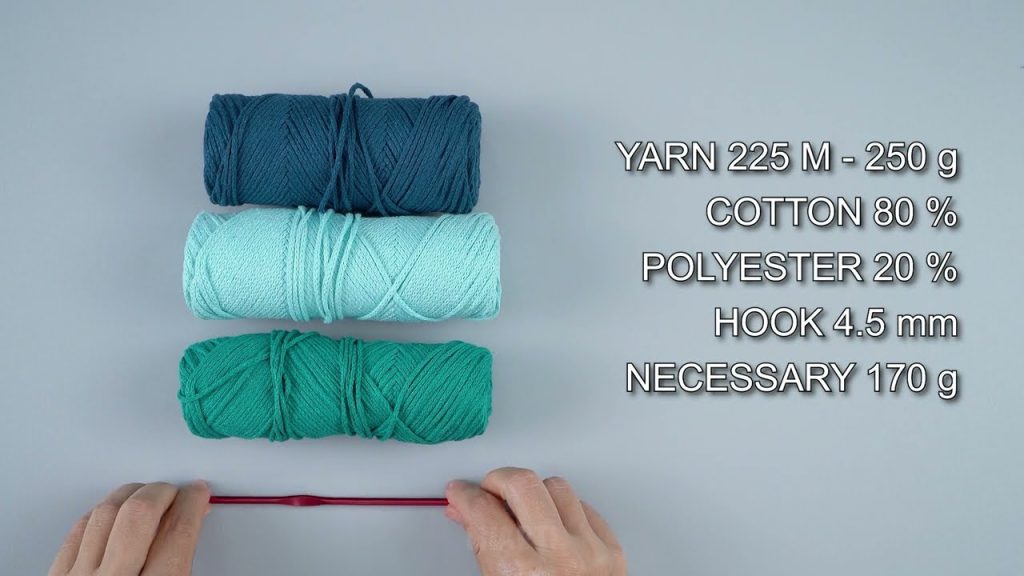
Materials You’ll Need
- Yarn: Medium-weight (worsted) yarn (cotton or cotton-blend is best for durability)
- Crochet Hook: 5–6 mm (check yarn label)
- Scissors
- Yarn Needle for finishing
- Optional: Fabric lining and sewing needle
Stitches Used
- Chain stitch (ch)
- Single crochet (sc)
- Half double crochet (hdc) or double crochet (dc)
- Slip stitch (sl st)
Even if you’ve only done chains and single crochet, you can make this bag.
Step-by-Step Instructions
Step 1: Make the Base
Option 1: Flat Rectangle (Easiest)
- Chain the width of the bag (e.g., 30–35 ch for a medium-sized tote).
- Work rows of single crochet (sc) until the base reaches desired depth (e.g., 10–12 cm).
Option 2: Oval Base (Optional)
- Chain slightly shorter than width.
- Work single crochet across, then add rounds at the ends to form a curved base.
- This makes a sturdier, rounded bottom.
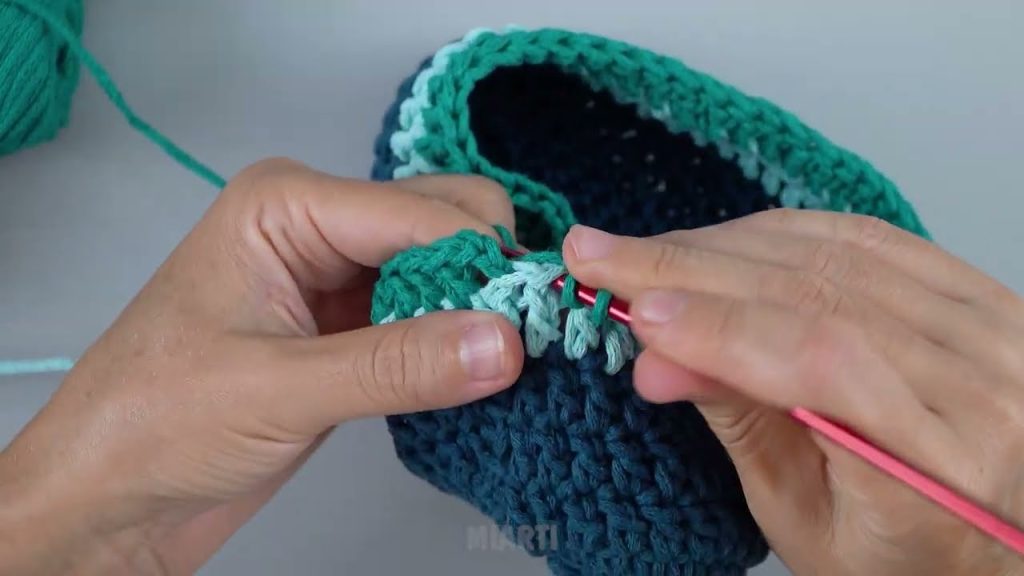
Step 2: Build the Body
- Start crocheting upwards from the base.
- Use half double crochet (hdc) or double crochet (dc) for faster progress.
- Work in rows (if rectangular) or rounds (if oval base) until the bag reaches desired height (e.g., 25–30 cm).
Optional: For texture, alternate rows of single crochet and half double crochet, or use back loop only stitches.
Step 3: Strengthen the Top Edge
- Crochet 1–2 rounds of single crochet around the top edge to make it neat and prevent stretching.
Step 4: Make Handles
Simple Handles:
- Decide placement: typically 6–8 cm from the sides.
- Chain the length you want (e.g., 40–50 ch for shoulder strap).
- Single crochet along the chain for sturdiness.
- Attach ends to the opposite side of the bag and reinforce by crocheting over the attachment point.
Optional: Make two shorter handles for a hand-held tote.
Step 5: Optional Lining
- Cut a piece of fabric slightly smaller than the bag.
- Sew inside the bag for added durability and to hold small items.
- Optional: Sew the lining to the handles for extra reinforcement.
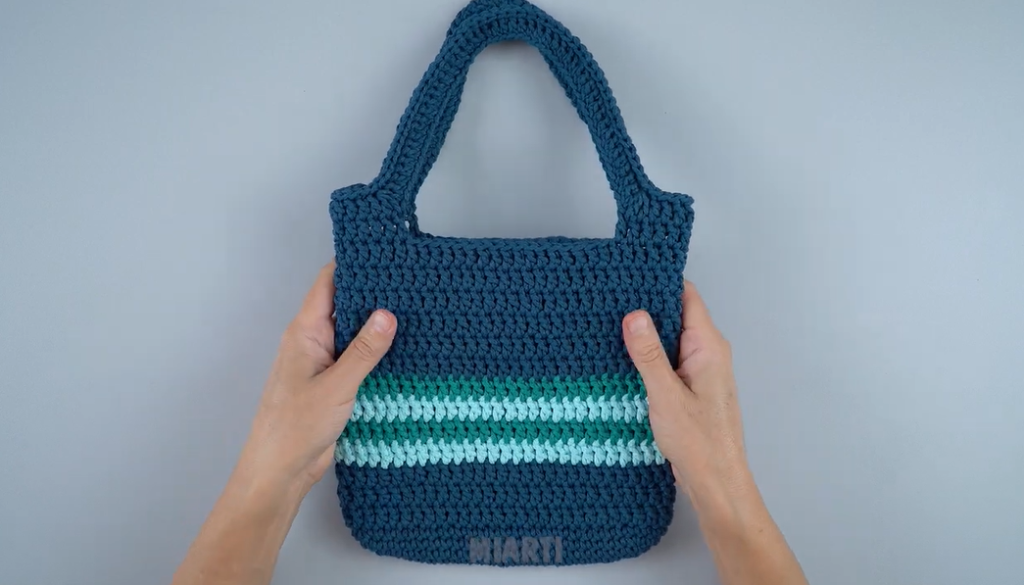
Step 6: Finishing Touches
- Weave in all yarn ends.
- Test handle strength.
- Optional: Add buttons, tassels, or appliqué for decoration.
Tips for Beginners
- Use cotton yarn for structure and durability
- Keep stitches tight and even
- Reinforce handles for heavier loads
- Practice a small sample of stitches if needed before starting the bag
Customization Ideas
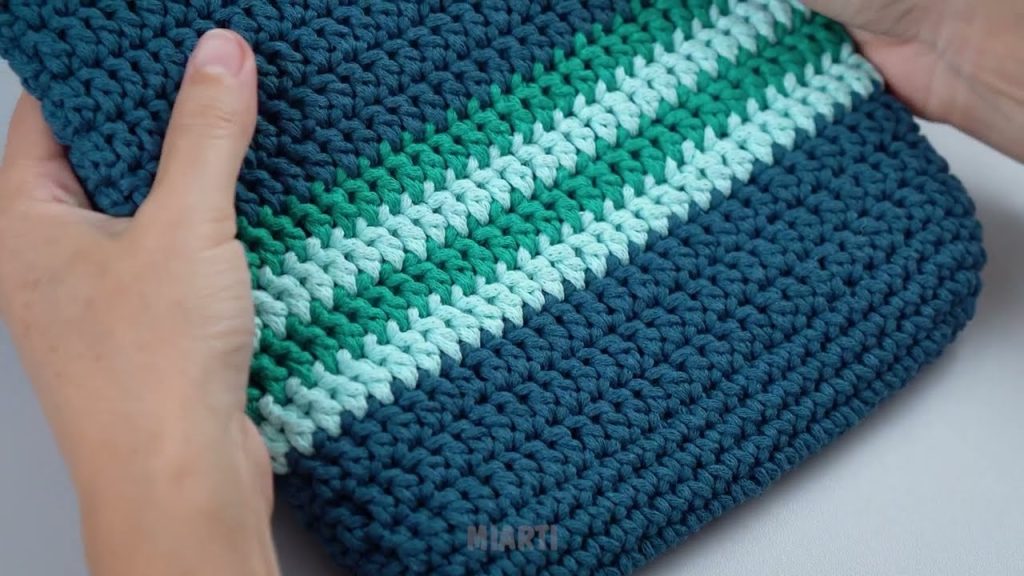
- Use two or more colors for stripes
- Make it larger for a beach or shopping tote
- Add pockets inside or outside for organization
- Add fringe, tassels, or beads for extra style
- Try chunky yarn for a faster project
Final Thoughts
An easy model crochet tote bag is a perfect project for beginners. With just basic stitches, you can make a functional, stylish bag in a few hours. Once you master this basic tote, you can experiment with size, color, texture, and decoration to create your own unique collection of crochet bags.
If you want, I can also create a full one-page pattern with exact stitch counts, row numbers, and handle placement, ready for beginners to follow step by step.
Watch tutorial: