 by
by Here’s a detailed, beginner-friendly guide for making an easy Granny Square crochet shoulder bag. This bag is stylish, fun, and uses classic granny squares that even beginners can handle.
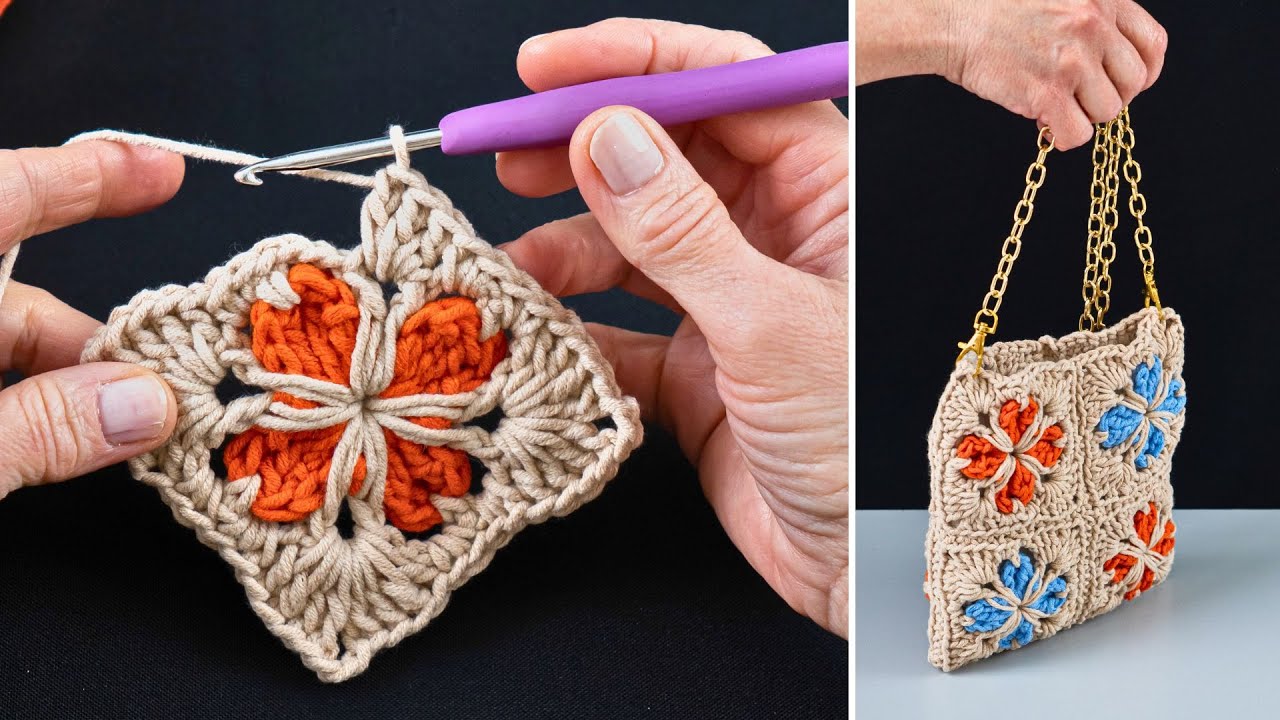
How to Make an Easy Granny Square Crochet Shoulder Bag
Granny squares are a timeless crochet motif, and they’re perfect for creating a shoulder bag. This project combines simple stitches and repetitive patterns, making it fun and beginner-friendly, while the finished bag is stylish, colorful, and functional.
Why This Bag Is Beginner-Friendly
- Uses classic granny square stitches
- Simple construction (just join squares)
- Adjustable in size and color
- Works with leftover yarn or multiple colors
- Easy to make handles and lining
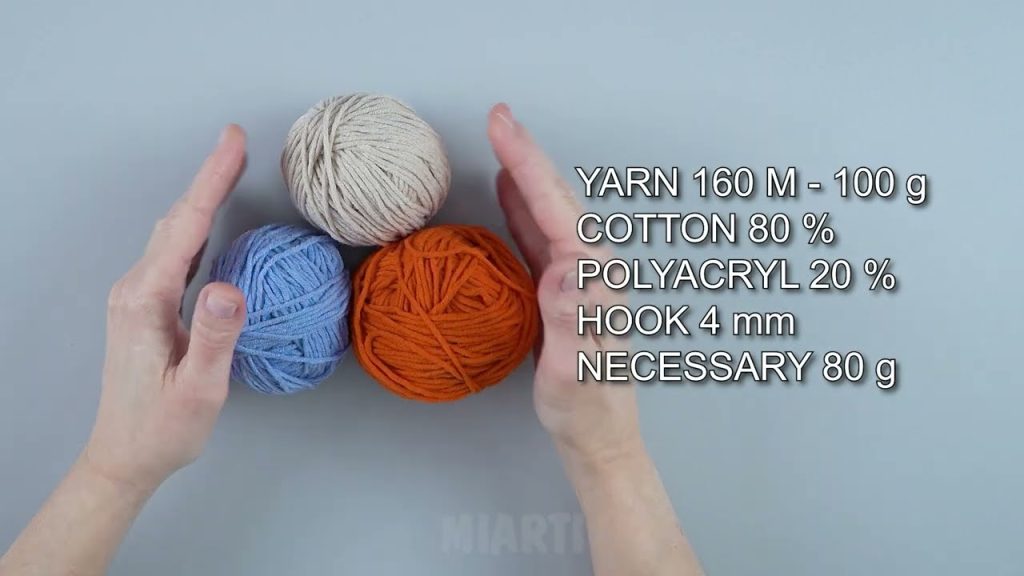
Materials You’ll Need
- Yarn: Medium-weight (worsted) yarn in one or more colors
- Crochet Hook: 4–5 mm (check yarn label)
- Scissors
- Yarn Needle
- Optional: Fabric lining and sewing needle
- Optional: Buttons, tassels, or embellishments
Stitches Used
- Chain stitch (ch)
- Slip stitch (sl st)
- Double crochet (dc)
- Magic ring (or chain 4 and join)
Even beginners can make this bag if they know these basic stitches.
Step-by-Step Instructions
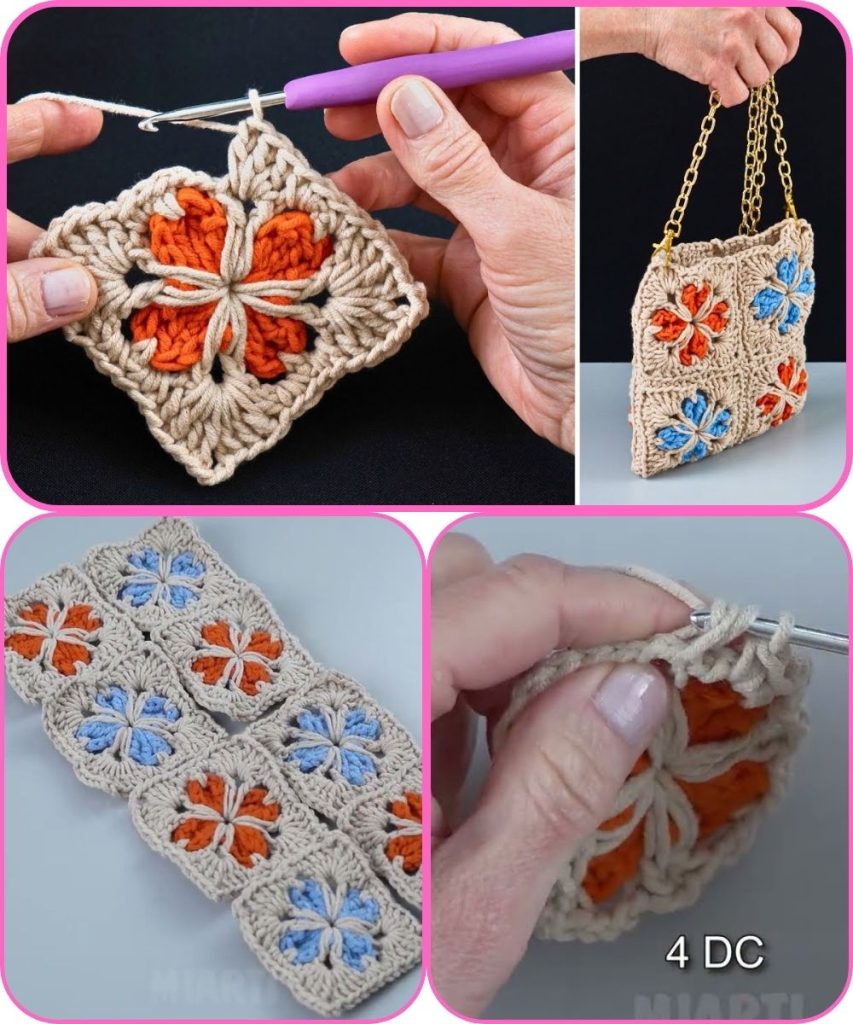
Step 1: Make Granny Squares
- Magic Ring: Start with a magic ring or chain 4 and join.
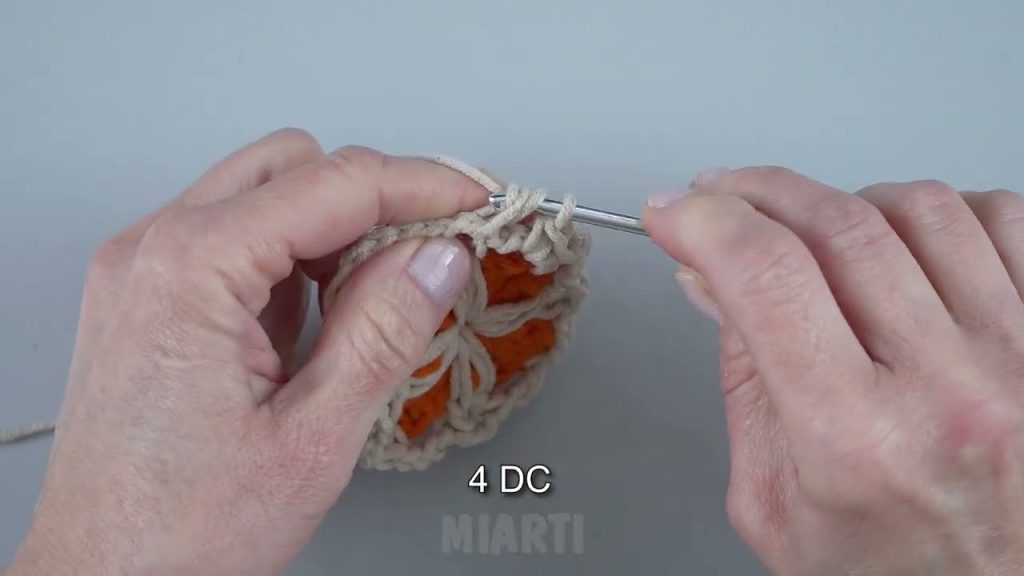
- Round 1: Ch 3 (counts as first dc), 2 dc into ring, ch 1, 3 dc three times, ch 1, sl st to top of ch-3.
- Round 2: Slip stitch to next ch-1 space, ch 3, 2 dc in same space, ch 1, 3 dc, ch 1 in each corner around, sl st to join.
- Round 3: Repeat round 2 to enlarge the square.
- Optional: Make additional rounds for larger squares.
- Make 6–8 squares for a medium-sized bag, or more for larger sizes.
- Use one color per square or mix colors for a vibrant bag.
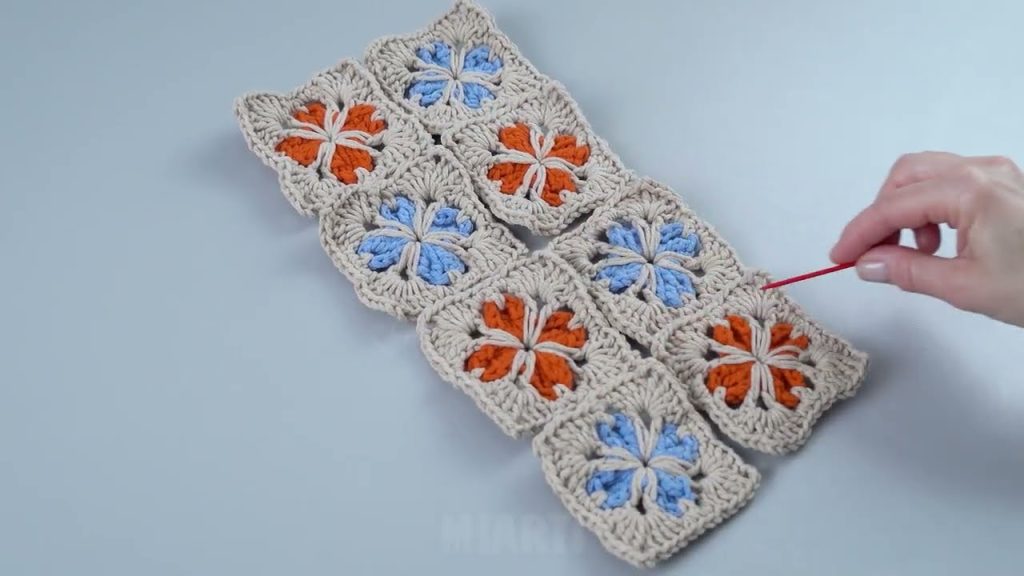
Step 2: Join the Squares
Option 1: Slip Stitch Join
- Place two squares together, right sides facing out.
- Insert hook through both edges and slip stitch around.
Option 2: Single Crochet Join
- Same as slip stitch join, but sc instead of sl st for a sturdier seam.
- Join squares in two panels: front and back of the bag.
- Join panels along sides and bottom to form the bag shape.
Step 3: Add a Shoulder Strap
Simple Crochet Strap:
- Decide strap length (e.g., 60–80 cm for a shoulder bag).
- Chain desired length, add 1, and turn.
- Single crochet or half double crochet along the chain.
- Attach ends to opposite sides of the bag and reinforce by crocheting around the attachment point.
Optional: Use two smaller straps for a tote style.
Step 4: Optional Lining
- Cut a piece of fabric slightly smaller than the bag.
- Sew the sides and bottom inside the bag.
- This prevents small items from slipping through holes and adds stability.
Step 5: Finish the Bag
- Weave in all yarn ends securely.
- Optionally, add a button closure or tassel for decoration.
- Shape the bag and gently stretch to even out stitches.
Tips for Beginners
- Use medium-weight yarn for structure
- Keep stitches even for neat squares
- Use stitch markers to keep corners aligned when joining
- Don’t worry about minor gaps—handmade charm shows!
Customization Ideas
- Make a color-blocked bag with different granny square colors
- Add pockets inside for organization
- Make a larger tote by adding more squares
- Try chunky yarn for a sturdier, more modern bag
- Add fringe or beads for extra flair
Final Thoughts
A granny square shoulder bag is a perfect beginner project: it’s fun, customizable, and quick to make. Using basic stitches, you can create a stylish bag that’s perfect for casual outings, beach trips, or gifting.
Once you make one, you’ll want to experiment with different sizes, colors, and embellishments to create your own unique collection!
If you want, I can also make a step-by-step printable pattern with exact stitch counts and measurements for this granny square bag, ready for beginners to follow.
Watch tutorial: