 by
by Here is a clear, detailed, beginner-friendly tutorial written especially for someone new to Tunisian crochet. You can use this for a blog post, pattern page, or learning guide.
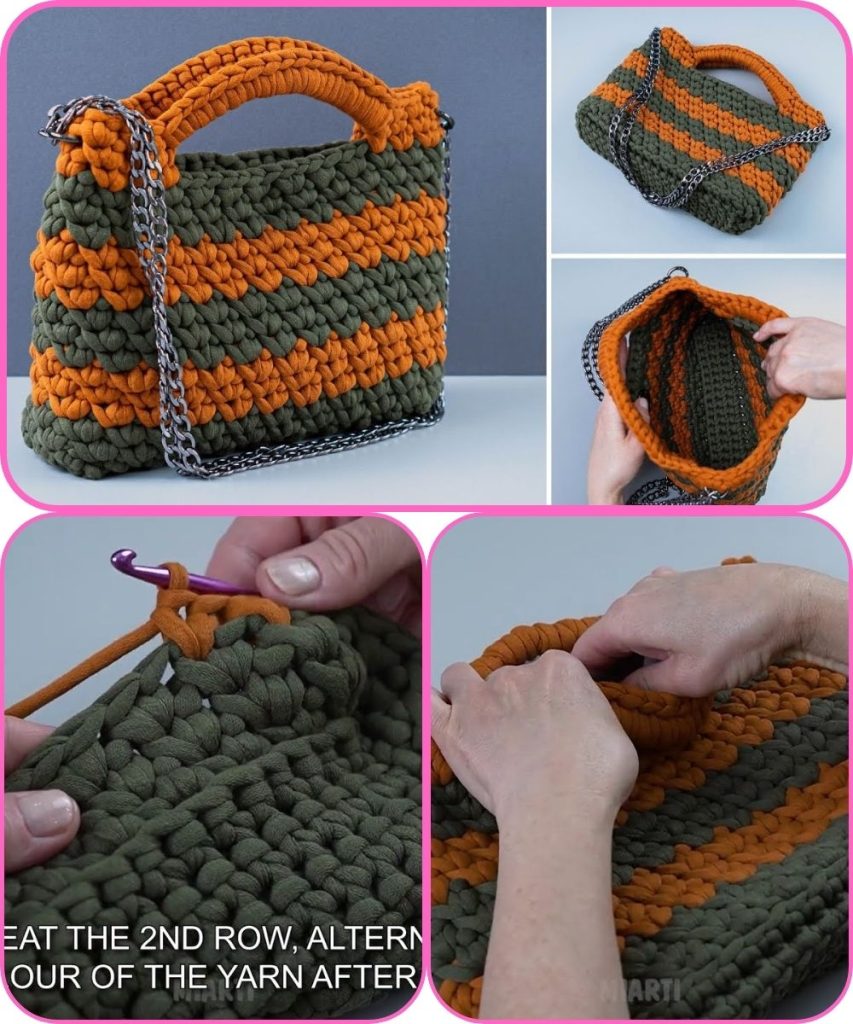
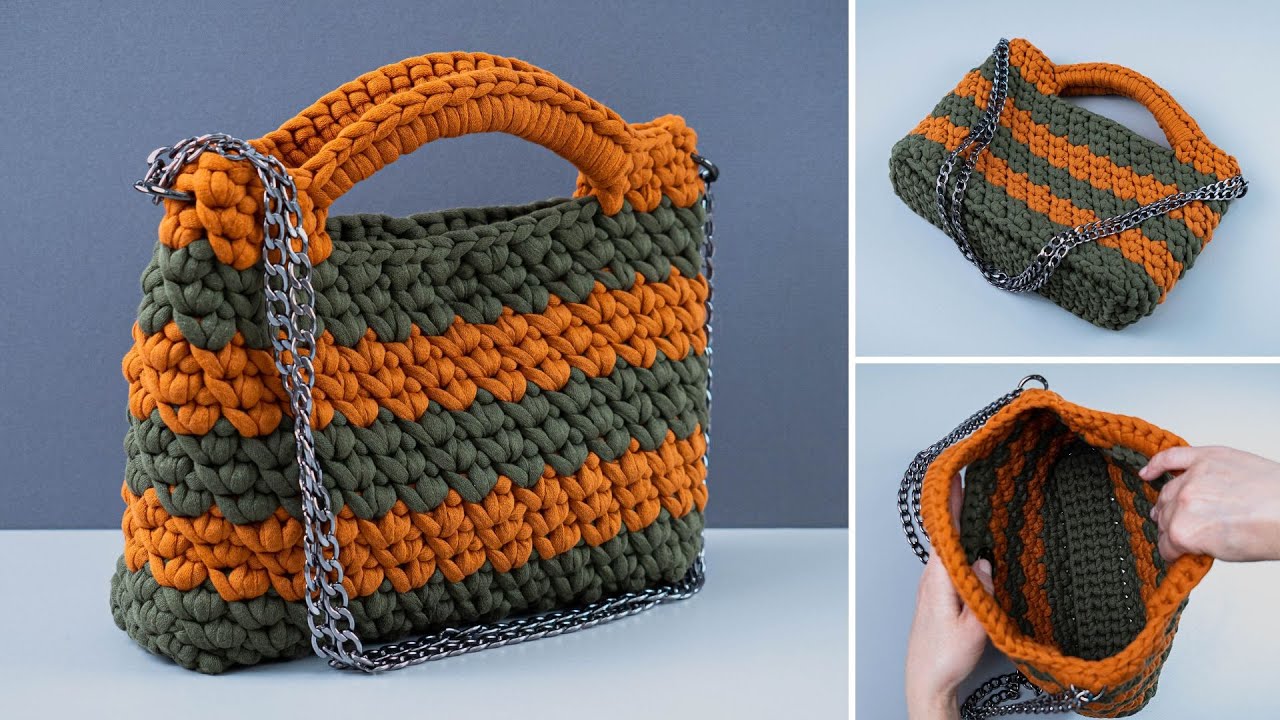
How to Make an Easy Crochet Bag with Tunisian Style
A Step-by-Step Tutorial for Beginners
Tunisian crochet is a unique technique that combines the look of knitting with the simplicity of crochet. It creates a thick, sturdy fabric, making it perfect for bags. This easy Tunisian-style crochet bag is beginner-friendly and works up beautifully with just one basic stitch.
Materials You Will Need
Gather your supplies before starting:
- Yarn: Medium-weight (Category 4) cotton yarn
(Cotton is highly recommended for durability and structure) - Tunisian Crochet Hook: 6.0 mm or 6.5 mm
(A regular crochet hook can work for small projects) - Scissors
- Yarn Needle
- Stitch Markers (optional)
Tunisian Crochet Stitch Used
This bag uses Tunisian Simple Stitch (TSS) — the best stitch for beginners.
Basic Tunisian Crochet Steps:
- Forward Pass: Pick up loops across the row
- Return Pass: Yarn over and pull through loops to close the row
No turning after each row like regular crochet.
Easy Tunisian Crochet Bag Tutorial
This bag is made as a flat rectangle, then folded and sewn into a bag.
Step 1: Create the Foundation Chain
- Chain 36 stitches
(Add or remove chains for a wider or narrower bag)
Step 2: Set Up the First Row
Forward Pass:
- Insert hook into the second chain from the hook
- Yarn over and pull up a loop
- Continue across the chain, keeping all loops on the hook
Return Pass:
- Yarn over, pull through 1 loop
- Yarn over, pull through 2 loops repeatedly until one loop remains
This completes Row 1.
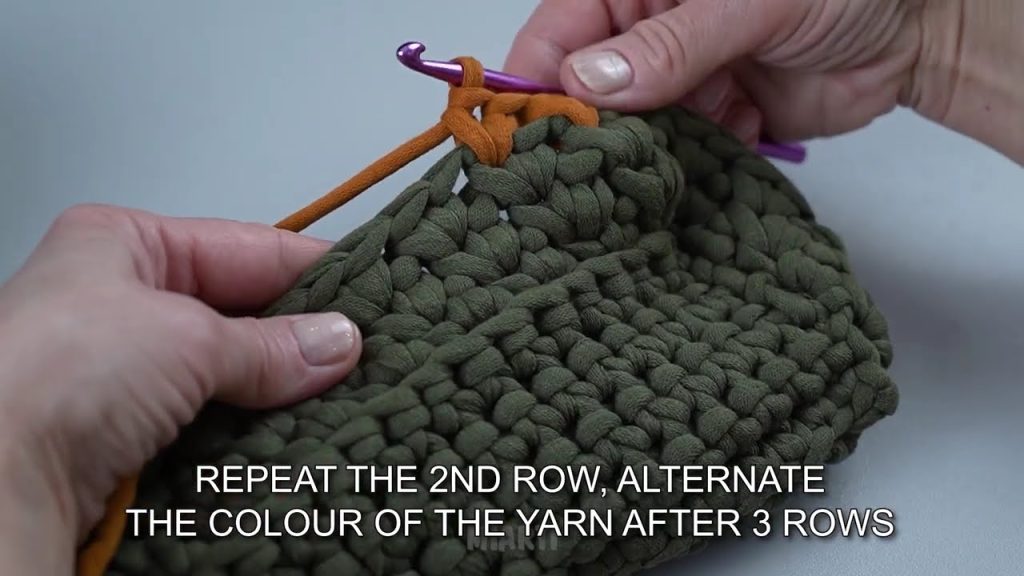
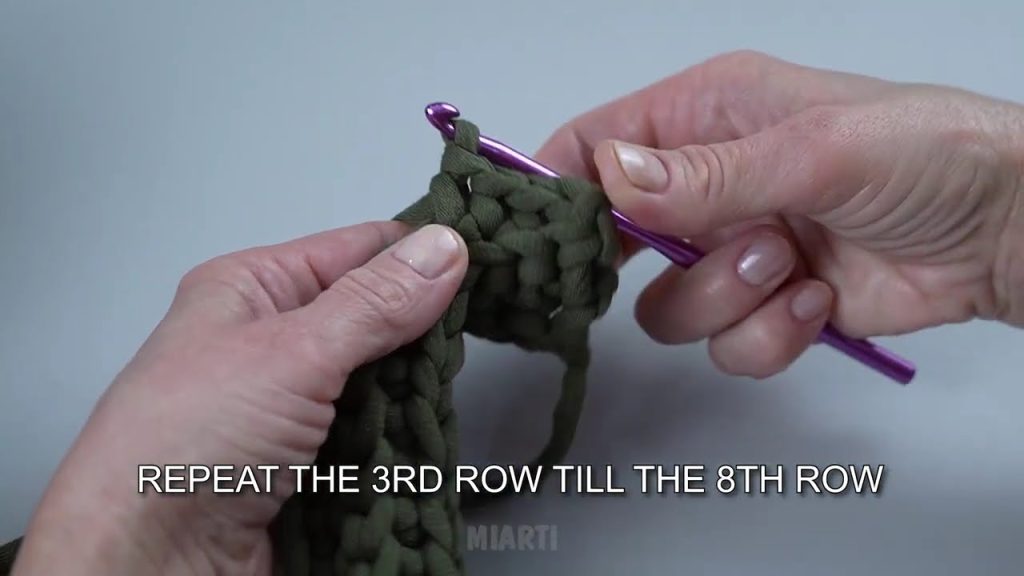
Step 3: Work Tunisian Simple Stitch Rows
Forward Pass:
- Insert hook under the vertical bar of the next stitch
- Yarn over and pull up a loop
- Continue across the row
Return Pass:
- Yarn over, pull through 1 loop
- Yarn over, pull through 2 loops across
Repeat these rows until the rectangle measures:
- 14–16 inches tall for a medium bag
👉 Tip: Tunisian fabric curls—this is normal and will flatten after finishing.
Step 4: Bind Off the Last Row
- Insert hook under the vertical bar
- Yarn over and pull through both loops
- Repeat across the row
- Fasten off
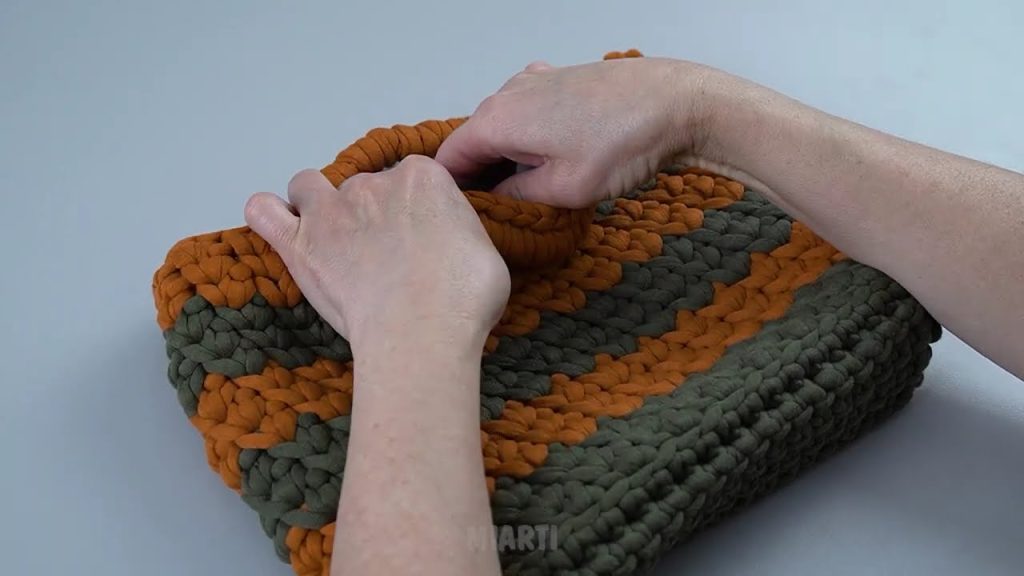
Step 5: Fold and Assemble the Bag
- Fold the rectangle in half with right sides facing
- Use single crochet or whip stitch to sew the sides together
- Turn the bag right-side out
Step 6: Create the Bag Handles
Option 1: Crochet Handles
- Attach yarn to one side seam
- Chain 40–50 stitches
- Attach to the opposite side
- Single crochet back across the chain for strength
- Repeat for second handle
Option 2: Tunisian Strap
- Work a narrow Tunisian strip
- Sew securely to both sides of the bag
Step 7: Finish the Bag
- Weave in all loose ends
- Optional: Add a fabric lining, tassel, or button closure
🎉 Your easy Tunisian crochet bag is complete!
Beginner Tips for Tunisian Crochet
- Use a larger hook to prevent tight stitches
- Keep loops loose on the hook
- Don’t worry about curling—it’s normal
- Count stitches to keep edges straight
Easy Customization Ideas
Once you’re comfortable, try:
- Using two colors for stripes
- Adding a drawstring top
- Mixing Tunisian simple stitch with knit stitch
- Making a mini or oversized tote
Why This Bag Is Perfect for Beginners
✔ Only one Tunisian stitch
✔ Strong, thick fabric
✔ Simple construction
✔ Practical everyday use
Tunisian crochet is easy to learn and incredibly satisfying. With this tutorial, you’ll quickly gain confidence and create beautiful handmade bags.
If you’d like, I can also:
- Turn this into a printable PDF pattern
- Adjust sizing for market bags or totes
- Rewrite it for blog, Etsy, or YouTube use
Watch tutorial: