 by
by Here is a detailed, beginner-friendly tutorial written in simple, clear language. You can use this for a blog post, pattern guide, or learning resource.

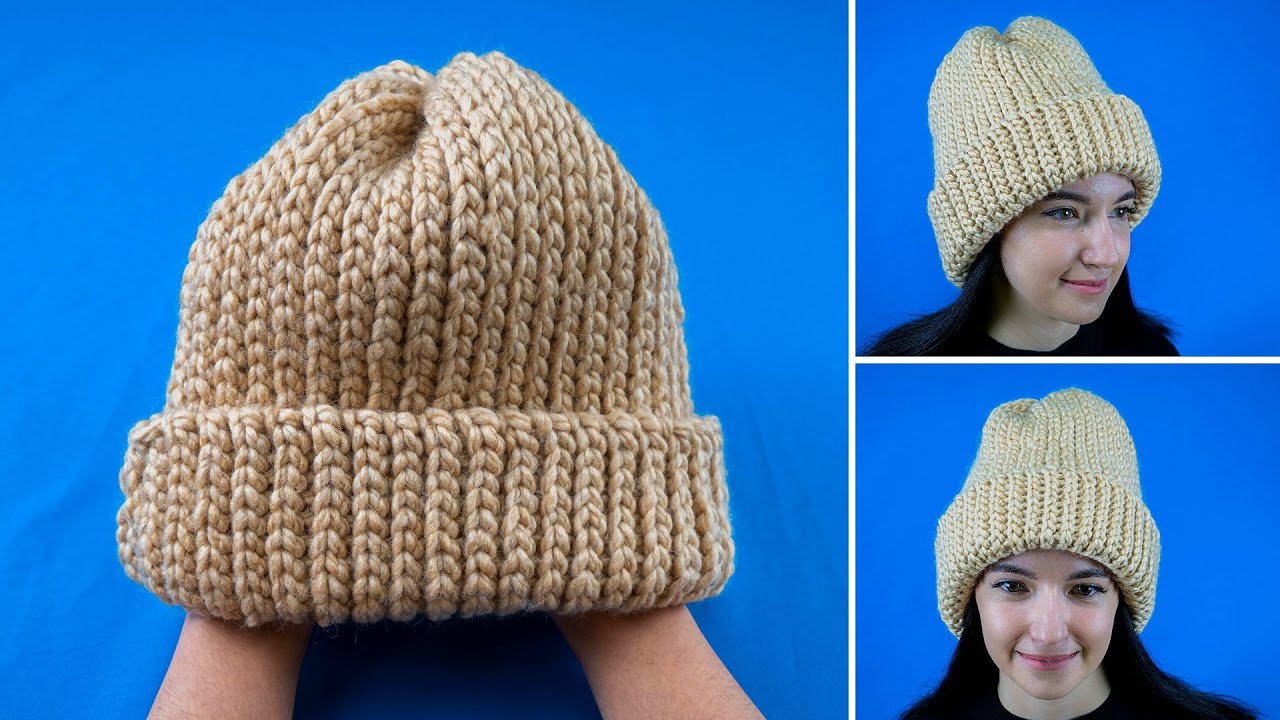
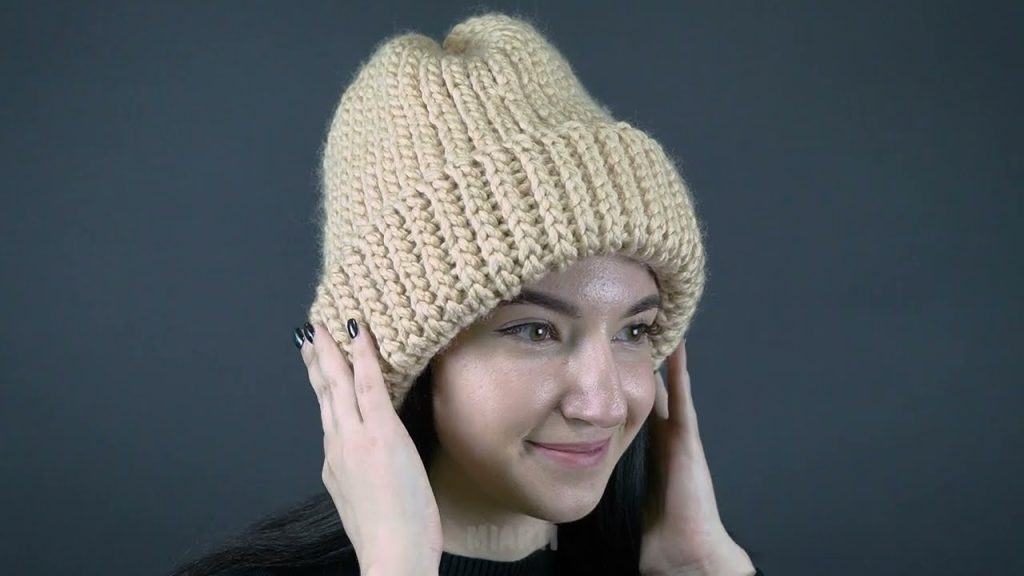
How to Make a Simple Crochet Beanie Hat
Even a Beginner Can Handle It!
A crochet beanie hat is one of the best projects for beginners. It works up quickly, uses basic stitches, and teaches you how to crochet in the round. With this easy pattern, you can make a cozy beanie even if you’ve never made a hat before.
Materials You Will Need
Prepare these basic supplies before starting:
- Yarn: Medium-weight (Category 4 / worsted weight) yarn
(Acrylic or wool blends are great for beginners) - Crochet Hook: Size H (5.0 mm) or I (5.5 mm)
- Scissors
- Yarn Needle
- Stitch Marker (optional but helpful)
Basic Crochet Stitches Used
This simple beanie uses only beginner stitches:
- Slip Knot
- Chain (ch)
- Double Crochet (dc)
- Slip Stitch (sl st)
If you can chain and double crochet, you are ready to begin.
Simple Crochet Beanie Pattern (Top-Down Method)
This beanie is worked from the top down in rounds, which makes it easy to adjust the size.
Step 1: Make the Magic Ring
- Create a magic ring
(or chain 4 and join with a slip stitch to form a ring)
Step 2: First Round (Crown of the Hat)
- Chain 2 (counts as the first stitch)
- Work 12 double crochets into the ring
- Join with a slip stitch to the top of the first stitch
This forms the center of the beanie.
Step 3: Increase Rounds
To shape the top of the beanie, increase evenly.
Round 2:
- Chain 2
- 2 double crochets in each stitch
- Join (24 stitches)
Round 3:
- Chain 2
- 1 double crochet in the next stitch, 2 double crochets in the next
- Repeat around and join

Round 4:
- Chain 2
- 2 double crochets, 2 double crochets in the next stitch
- Repeat around and join
Continue increasing until the circle measures:
- 6–7 inches across for an adult
- 5–6 inches for a child
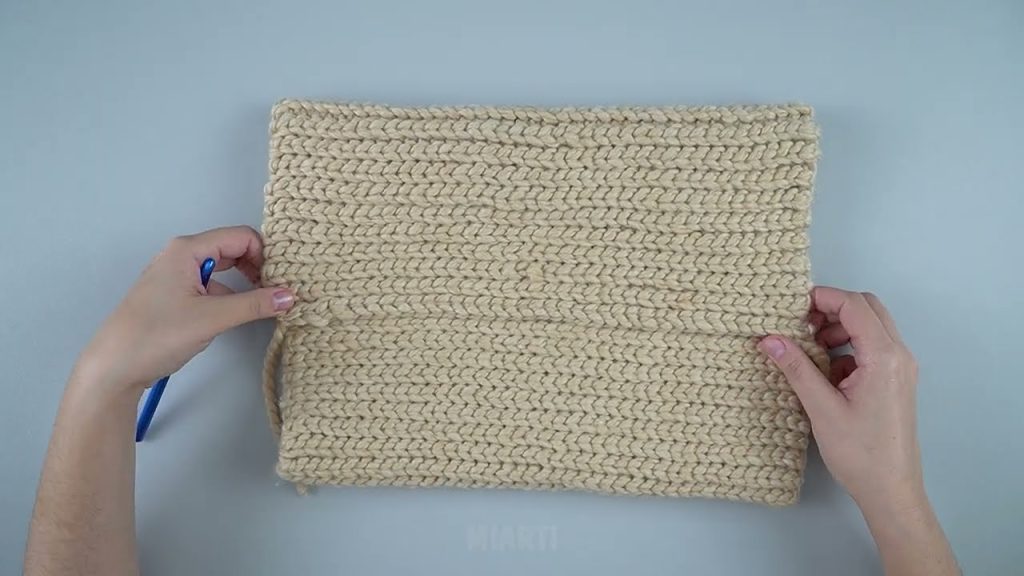
Step 4: Crochet the Body of the Beanie
Once the crown is wide enough, stop increasing.
- Chain 2
- Double crochet in each stitch around
- Join with a slip stitch
Repeat this round until the beanie reaches the desired length:
- Adult: 8–9 inches
- Child: 6–7 inches
Step 5: Finish the Edge
For a clean finish:
- Single crochet one round
or - Slip stitch around the edge
Fasten off and cut the yarn.
Step 6: Weave in Ends
Use a yarn needle to neatly weave in all loose ends on the inside of the hat. Trim any extra yarn.
🎉 Your simple crochet beanie is complete!
Beginner Tips for Success
- Use light-colored yarn so stitches are easy to see
- Count stitches at the end of each round
- Keep your tension relaxed
- Use a stitch marker to mark the first stitch of each round
Easy Customization Ideas
Once you’re comfortable, try:
- Switching to half double crochet for a tighter fit
- Adding a folded brim
- Attaching a pom-pom
- Using striped or textured yarn
Why This Beanie Is Perfect for Beginners
✔ Simple stitches
✔ Easy round construction
✔ Adjustable size
✔ Quick and satisfying project
With just a little practice, you’ll be able to make crochet beanies for yourself, gifts, or even to sell.
If you’d like, I can also:
- Turn this into a printable pattern
- Adjust it for baby or toddler sizes
- Rewrite it for a blog, ebook, or video tutorial
Watch tutorial: