 by
by Sure! Here’s a detailed, beginner-friendly guide on how to make a small crochet bag with a new and elegant design, including materials, step-by-step instructions, and pro tips along the way.
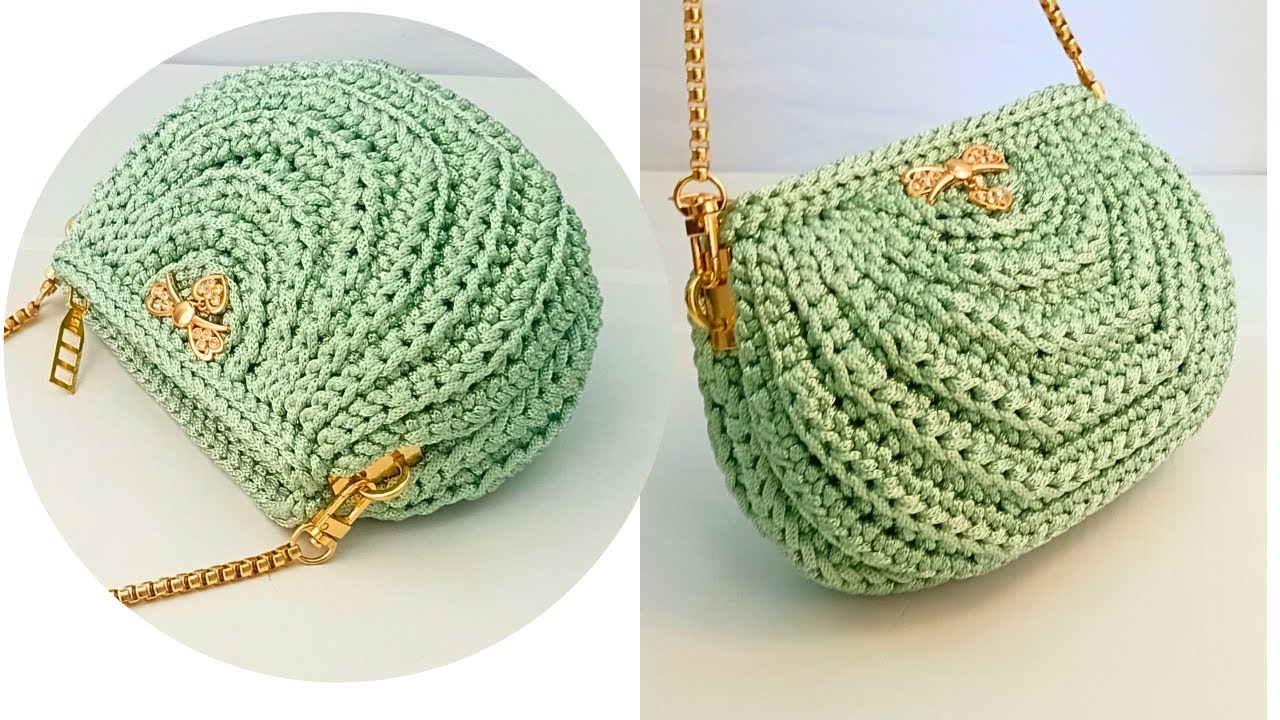
🧶 How to Make a Small Crochet Bag with a New and Elegant Design | Step-by-Step for Beginners
🌟 Project Overview
- Project: Small crochet handbag / mini purse
- Skill Level: Beginner
- Time Required: 2–4 hours
- Final Size: Approx. 6” x 8” (adjustable)
- Style: Elegant, modern, structured
🧵 Materials Needed:
| Item | Details/Recommendation |
|---|---|
| Yarn | Worsted weight cotton yarn (smooth, elegant finish) |
| Hook | 4.0 mm (G-6) crochet hook (adjust to yarn label) |
| Scissors | Sharp for clean cuts |
| Tapestry needle | For sewing in ends |
| Stitch markers | Optional, but helpful for beginners |
| Lining fabric | Optional – for a more polished interior |
| Magnetic button / zipper | Optional closure mechanism |
| Bag handles or chain | Optional – gives an elevated look |
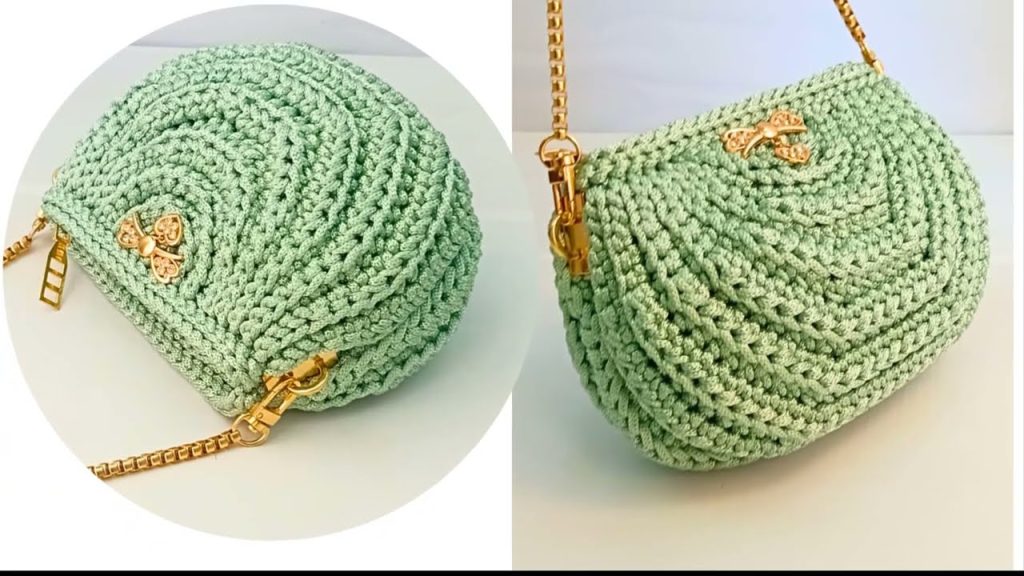
✨ Elegant Design Features:
- Clean, tight stitches for a modern look
- Slightly boxy structure
- Optional flap or button closure
- Neutral or monochrome yarns for a chic aesthetic
- Optional textured stitch pattern (e.g., suzette or lemon peel)
🪡 Basic Stitches Used:
- Chain (ch)
- Single Crochet (sc)
- Slip Stitch (sl st)
- (Optional) Half Double Crochet (hdc) for base or texture
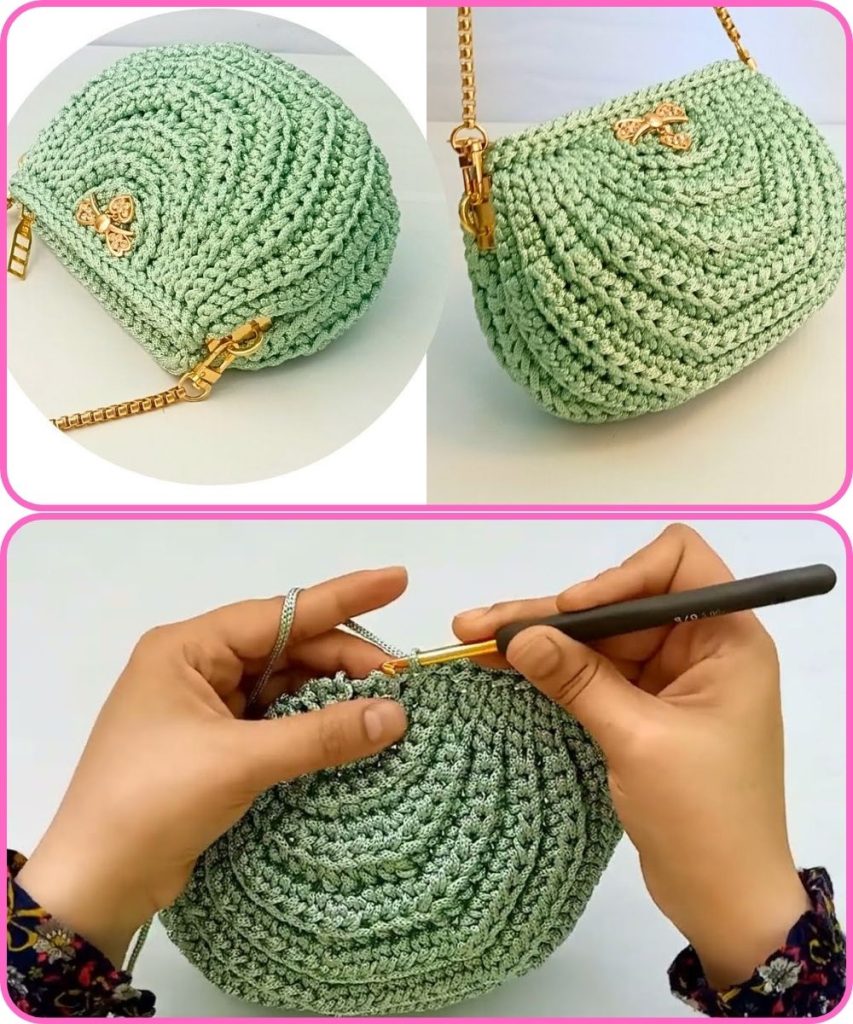
🧭 Step-by-Step Instructions
🔹 STEP 1: Create the Base
We’ll make a flat rectangular base using single crochet stitches.
- Chain 26 (or desired width).
- Row 1: SC in 2nd ch from hook, and in each chain across. (25 sts)
- Row 2–6: Ch 1, turn. SC in each st across.
- Result: You’ll have a rectangle around 6” x 2”. Adjust for your desired bag size.
📌 Tip: Make sure your edges are straight — use stitch markers if needed.
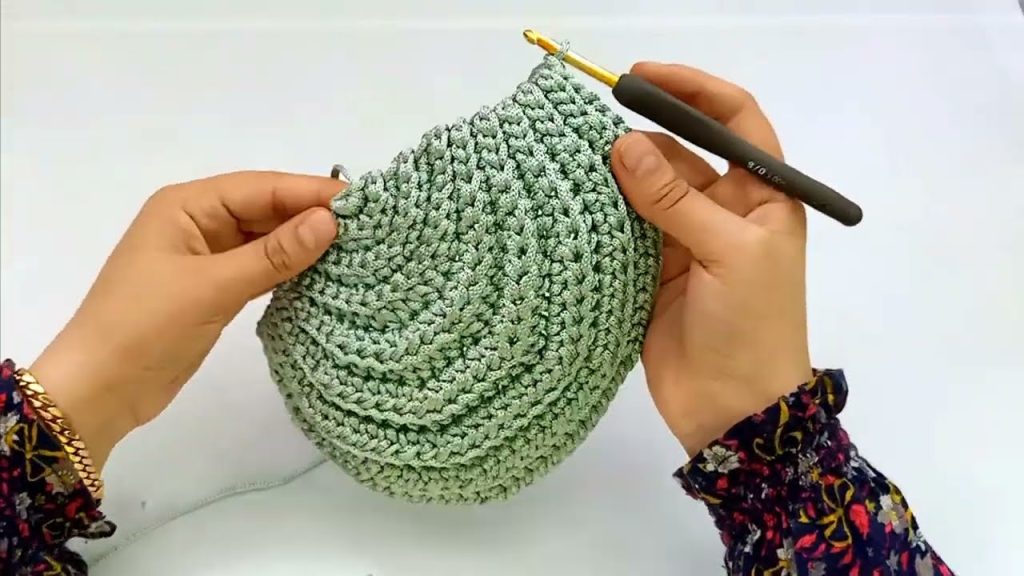
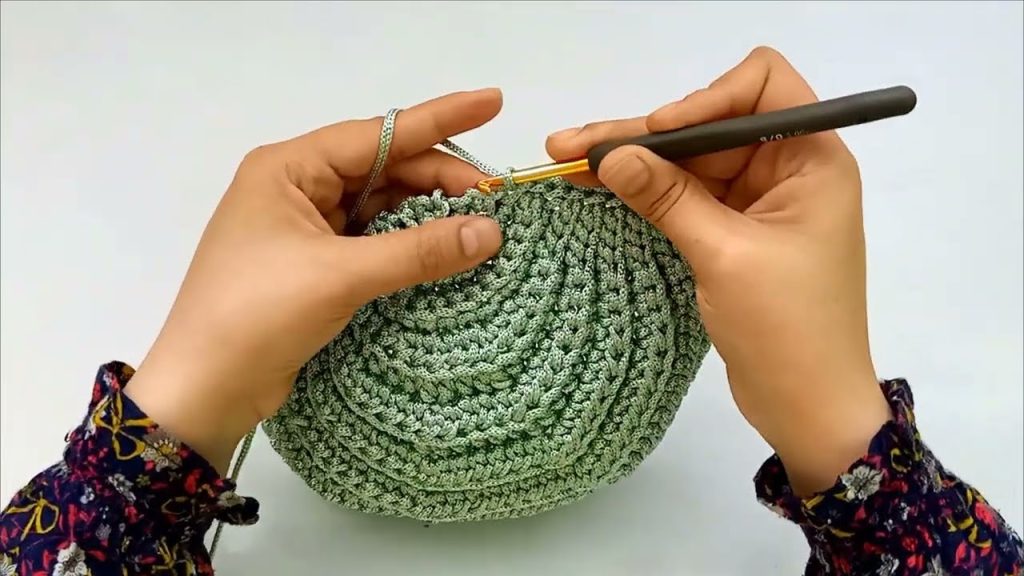
🔹 STEP 2: Build Up the Sides
Now we’ll crochet in the round to form the body of the bag.
- Round 1: SC around all 4 sides of the rectangle (place 3 sc in each corner). Join with sl st.
- Round 2–20: Ch 1, SC in each stitch around. Sl st to join.
- Optional: Use a textured stitch like lemon peel (alternating SC and DC) or suzette stitch for a unique design.
📌 Tip: If you want a taller bag, add more rounds.
🔹 STEP 3: Add a Flap (Optional)
For a flap closure:
- After your final round, don’t cut yarn.
- Turn work, and work back and forth (not in the round):
- Row 1: Ch 1, SC in 20 center stitches.
- Rows 2–6: SC across (decrease slightly each row if you want a tapered flap).
- Row 7: Optional – add a buttonhole (ch 2, skip 2 stitches).
- Fasten off, weave in ends.
🔹 STEP 4: Attach Handles or Chain (Optional)
- Use metal rings or crochet your own strap using a long chain and SC rows.
- Attach securely to top edges using yarn or metal hardware.
🔹 STEP 5: Finishing Touches
- Weave in all loose ends using a tapestry needle.
- Add lining (optional but recommended for strength):
- Cut a fabric piece slightly smaller than the inside.
- Fold and sew the edges.
- Hand stitch or use fabric glue to attach inside.
- Add button, magnetic clasp, or zipper.
- Lightly block the bag if needed for shape.
🎨 Customization Ideas:
- Add a flower or bow applique.
- Crochet with metallic yarn for evening use.
- Add a pocket inside the lining.
- Use a different stitch like moss or shell stitch for texture.
✅ Final Thoughts
Making a small crochet bag is a satisfying project even for beginners, especially when the design is elegant and modern. Stick with tight stitches, simple lines, and clean finishing for a professional look. Don’t worry if it’s not perfect — handmade means unique!
Watch tutorial: