 by
by Love this project choice—crochet hats are the perfect beginner win 🧶✨
Here’s a clear, detailed, and beginner-friendly tutorial you can use for a blog, pattern intro, or teaching guide.
How to Crochet a Hat Simply
A Step-by-Step Tutorial for Beginners
Crocheting a hat may look complicated, but don’t worry—this simple method is perfect for beginners. With just a few basic stitches and easy repeats, you can create a cozy, stylish hat that actually fits. Whether you’re making it for yourself or as a gift, this is a project you’ll come back to again and again.
Why This Hat Is Great for Beginners
- Uses basic crochet stitches
- Made in simple rounds
- No advanced shaping
- Easy to adjust for different sizes
- Works up fast—great confidence booster!
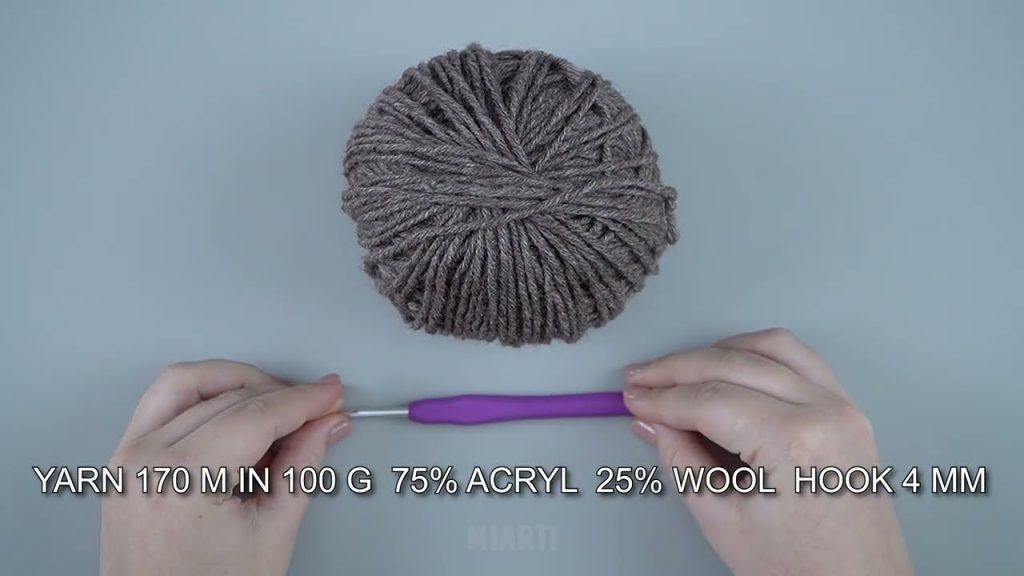
What You’ll Need
Materials
- Medium-weight yarn (worsted / category 4)
Soft acrylic or wool blends work great - Crochet hook – 5 mm (US H) is ideal
- Yarn needle
- Scissors
Skill Level
✔ Beginner
✔ No previous hat experience needed
Basic Crochet Stitches Used
You only need these beginner stitches:
- Magic ring (or chain 4 and join)
- Chain (ch)
- Single crochet (sc) or Double crochet (dc)
- Slip stitch (sl st)
👉 Tip: Double crochet makes the hat faster and looser; single crochet makes it warmer and tighter.
Step 1: Start with the Magic Ring
- Create a magic ring
(or chain 4 and slip stitch to form a circle) - Chain 2 (counts as your first stitch if using dc)
- Work 10–12 double crochets into the ring
- Pull the ring tight and join with a slip stitch
This forms the top of the hat.
Step 2: Increase to Shape the Crown
To make the hat wider, you’ll increase evenly.
Round 2:
- Chain 2
- 2 double crochets in each stitch
- Join with slip stitch
Round 3:
- Chain 2
- 1 double crochet, 2 double crochets in next stitch
- Repeat around
Round 4:
- Chain 2
- 2 double crochet, 2 double crochet in next stitch
- Repeat around
Continue increasing until the circle measures:
- 16–17 cm (6–6.5 in) for adults
- 14–15 cm (5.5–6 in) for kids
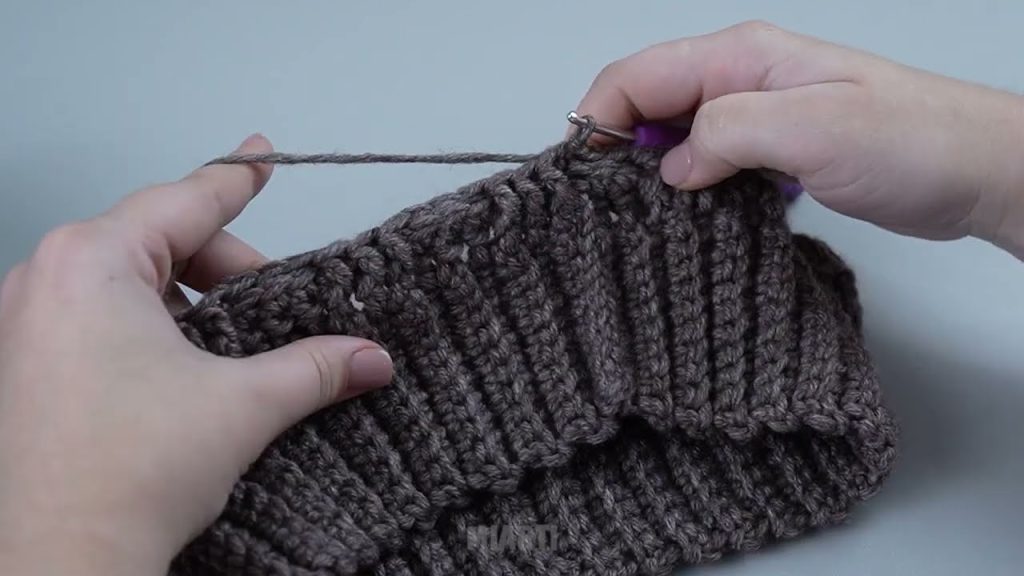
Step 3: Crochet the Body of the Hat
Once the crown is wide enough:
- Chain 2
- Crochet 1 double crochet in each stitch around
- Do NOT increase
- Join with slip stitch
- Repeat for 10–15 rounds, depending on how long you want the hat
You’ll see the hat start forming its classic shape!
Step 4: Check the Fit
Try the hat on or measure:
- It should sit comfortably around the head
- Stop when it reaches just below the ears
👉 Tip: If it’s too short, just add more rounds.
Step 5: Add a Simple Border (Optional)
For a clean finish:
- Crochet 1 round of single crochet
- Or try slip stitch for a tight edge
This helps the hat keep its shape and look polished.
Step 6: Finish Off
- Cut yarn, leaving a tail
- Pull through and tighten
- Weave in all ends securely
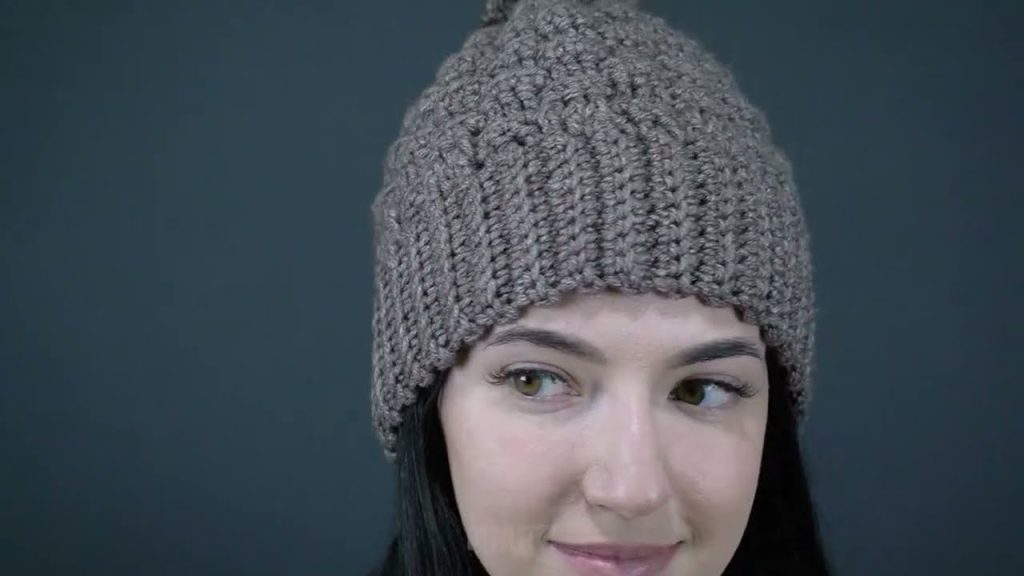
🎉 Your beginner crochet hat is complete!
Optional Add-Ons
Once you’re comfortable, try:
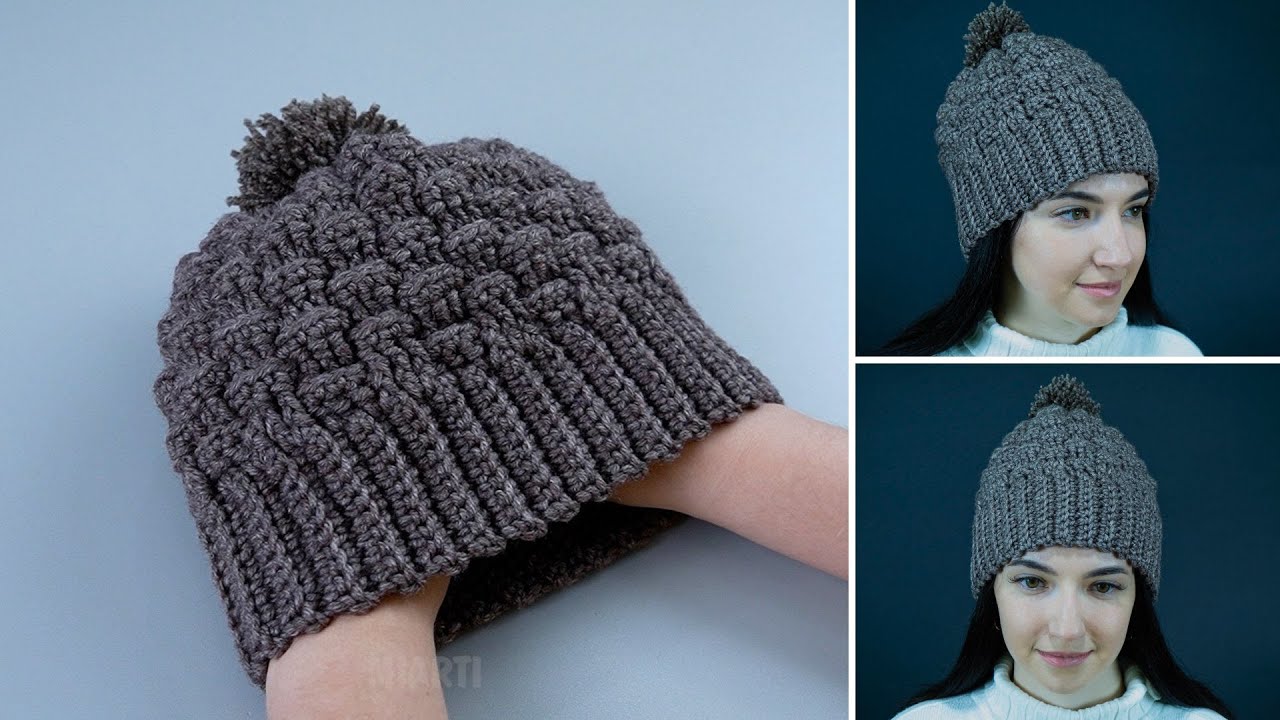
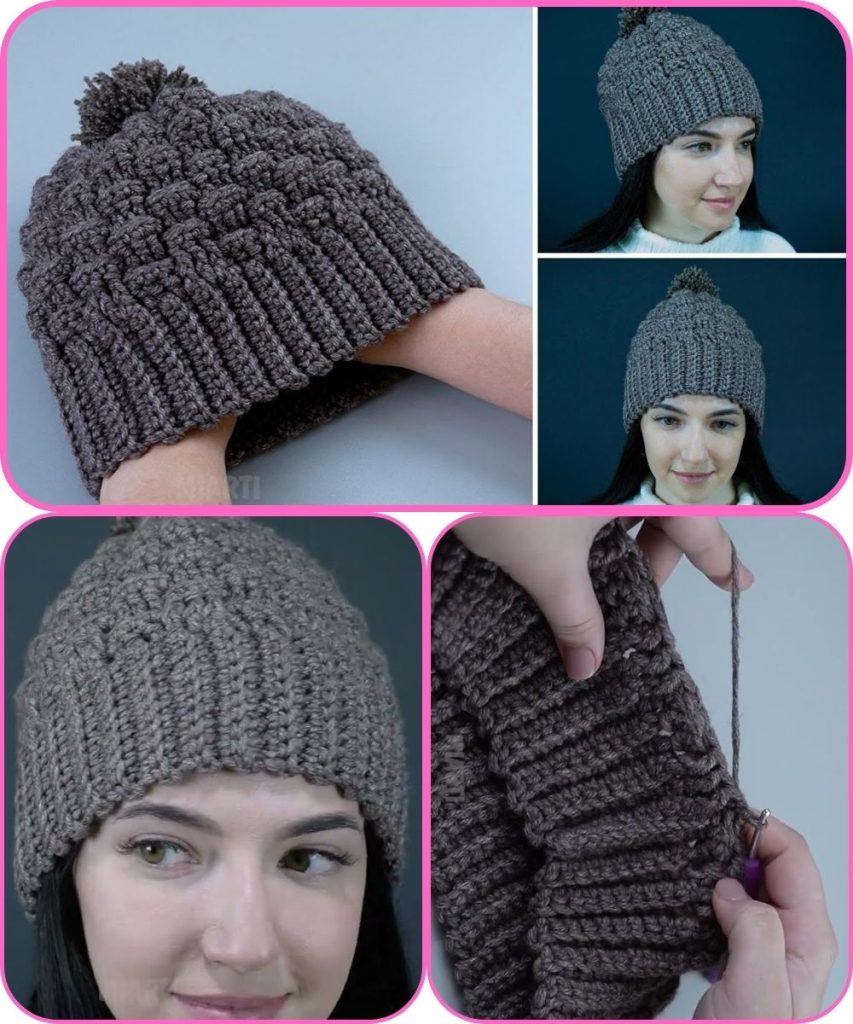
- 🎀 Pom-pom on top
- 🧵 Color changes or stripes
- 🧶 Ribbed brim (front-post stitches)
- 🌟 Textured stitch patterns
Beginner Tips for Success
- Use light-colored yarn to see stitches clearly
- Keep your tension relaxed
- Count stitches at the end of each round
- Don’t worry if it’s not perfect—practice makes progress!
Final Thoughts
Crocheting a hat is one of the most rewarding beginner projects. It’s practical, customizable, and teaches you all the basics of working in the round. Once you make one, you’ll want to make more—for yourself and everyone you know!
If you’d like, I can:
- Adjust this for baby, child, or adult sizes
- Rewrite it as a printable pattern
- Turn it into a YouTube tutorial script
- Add exact stitch counts by size
- Simplify it even more for absolute beginners
Watch tutorial: