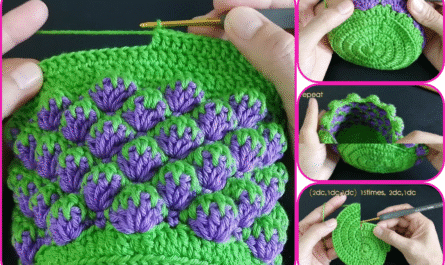
 by
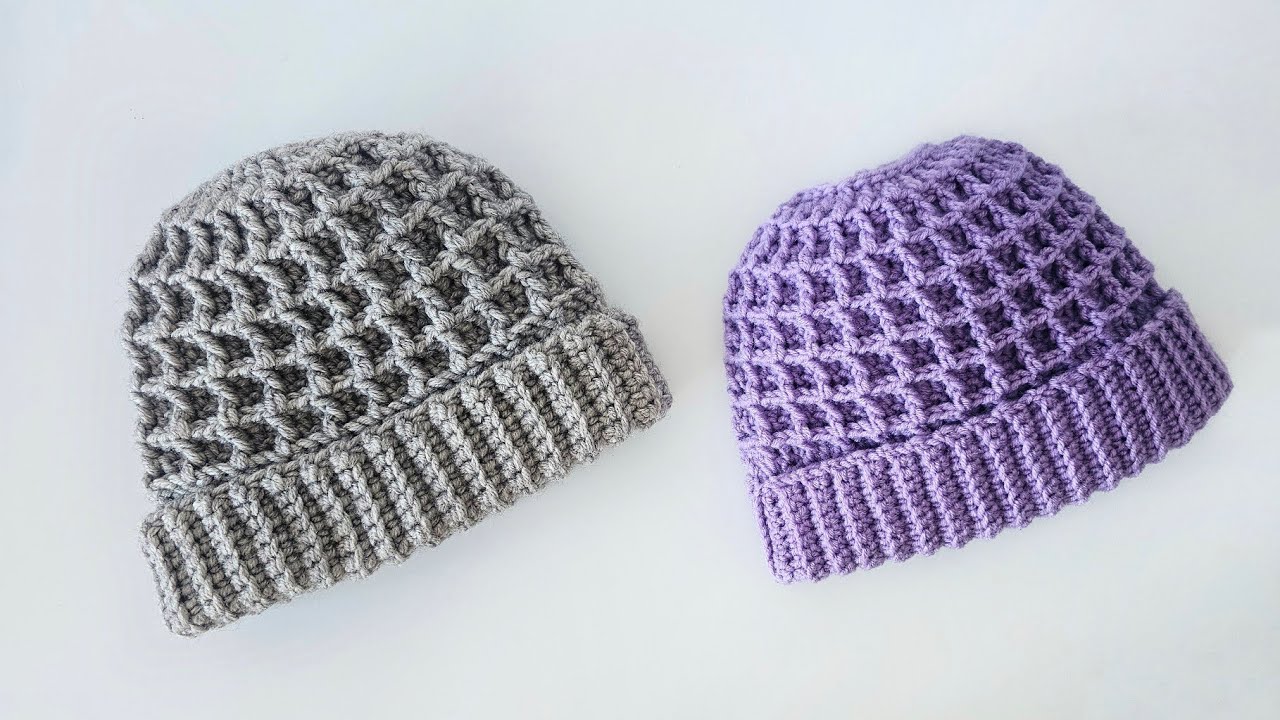
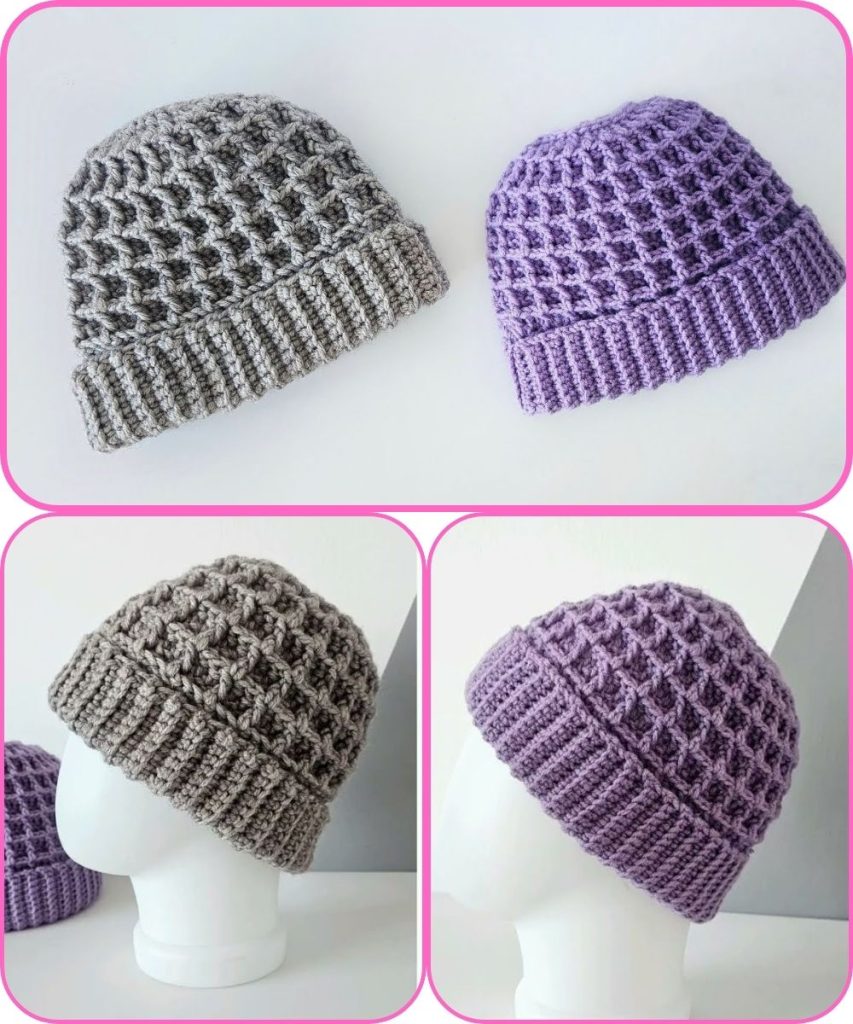
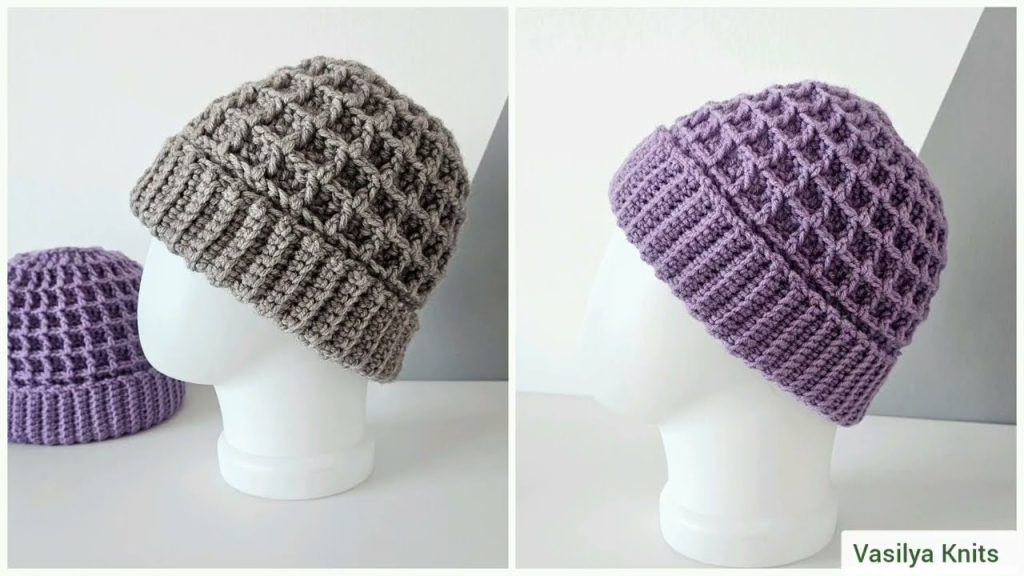
by Sure! Here’s a detailed step-by-step guide for making an easy crochet hat with a “Waffle” pattern—a beautiful, textured stitch that looks great in the round. This project is perfect for intermediate beginners who know basic stitches (chain, double crochet, front post double crochet).
🧶 Materials Needed
- Yarn: Worsted weight (#4) yarn (approx. 150–200 g)
Example: Acrylic or wool-blend yarn works best. - Hook: 5 mm (H-8) crochet hook (adjust to get correct size)
- Other tools: Yarn needle, scissors, stitch marker, tape measure
📏 Finished Size (Adjustable)
- Adult: 21–23 inch (53–58 cm) head circumference
- You can adjust size by adding/removing increase rounds or changing hook size.
🧩 Crochet Stitches Used
| Abbreviation | Stitch Name |
|---|---|
| ch | chain |
| sl st | slip stitch |
| dc | double crochet |
| fpdc | front post double crochet |
| bpdc | back post double crochet |
💡 Pattern Notes
- The hat is worked from the crown down in continuous or joined rounds.
- The “waffle” texture is created by alternating front post double crochet (fpdc) and regular double crochet (dc) stitches.
- The stitch repeat is a multiple of 3 stitches.
🧵 Instructions
1. Start the Crown
Round 1:
Make a magic ring (or ch 4, sl st to form ring).
Ch 3 (counts as dc), 11 dc into ring.
Join with sl st to top of ch-3. (12 dc total)
Round 2:
Ch 3 (counts as dc), dc in same st.
2 dc in each st around.
Join. (24 dc)
Round 3:
Ch 3, dc in next st, 2 dc in next st, repeat around.
Join. (36 dc)
Round 4:
Ch 3, dc in next 2 sts, 2 dc in next st, repeat around.
Join. (48 dc)
Round 5:
Ch 3, dc in next 3 sts, 2 dc in next st, repeat around.
Join. (60 dc)
👉 Check diameter—for adult size, crown should measure about 6–6.5 inches (15–16.5 cm).
If smaller/larger, add or remove an increase round as needed.
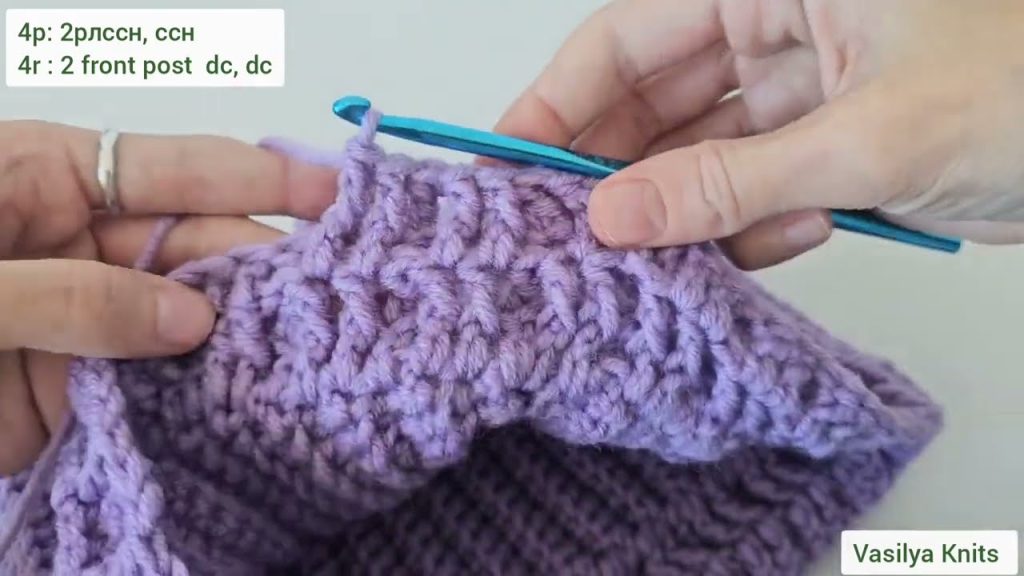
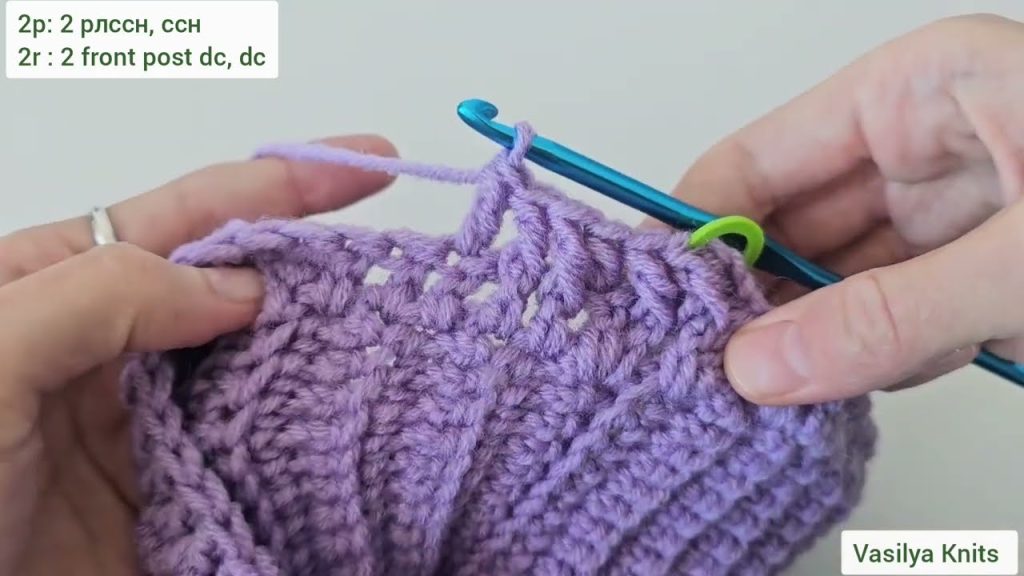
2. Start the Waffle Pattern
Round 6 (Setup for texture):
Ch 3, fpdc around next dc, dc in next 2 sts, repeat around.
Join with sl st to top of ch-3. (60 sts)
Round 7:
Ch 3, dc in next st, fpdc around next st, dc in next st, repeat around.
Join. (60 sts)
Round 8:
Ch 3, fpdc around fpdc below, dc in next 2 sts, repeat around.
Join.
👉 This creates the waffle effect—the raised squares start to appear as you build height.
3. Continue Body of Hat
Repeat Rounds 7–8 (alternating) until the hat measures:
- 7–7.5 inches (18–19 cm) from top for an adult hat.
4. Ribbed or Textured Brim (Optional)
You can finish with a ribbed look that matches the waffle texture:
Round 1 (Brim):
Ch 2, fpdc around next st, bpdc around next st, repeat around.
Join.
Repeat for 3–4 rounds for a thicker brim.
5. Finish Off
- Fasten off and weave in all ends neatly using a yarn needle.
- You can add a pom-pom or button on top if desired.
✨ Tips & Variations
- Color play: Try alternating colors every 2–3 rounds for a plaid-like waffle effect.
- Yarn type: Soft, slightly bulky yarn enhances the waffle texture beautifully.
- Sizing:
- Baby: stop increasing at ~5″ diameter
- Child: ~5.5″
- Adult: ~6–6.5″
🧠 Summary Table
| Step | Description | Rounds |
|---|---|---|
| Crown | Increase rounds | 1–5 |
| Texture | Start waffle pattern | 6–8 |
| Body | Continue waffle repeats | 9–15 (approx.) |
| Brim | Ribbed border | 16–19 |
| Finish | Weave ends, optional pom | — |
Watch tutorial: