 by
by Here’s a clear, detailed, and beginner-friendly guide you can use as an article or tutorial.
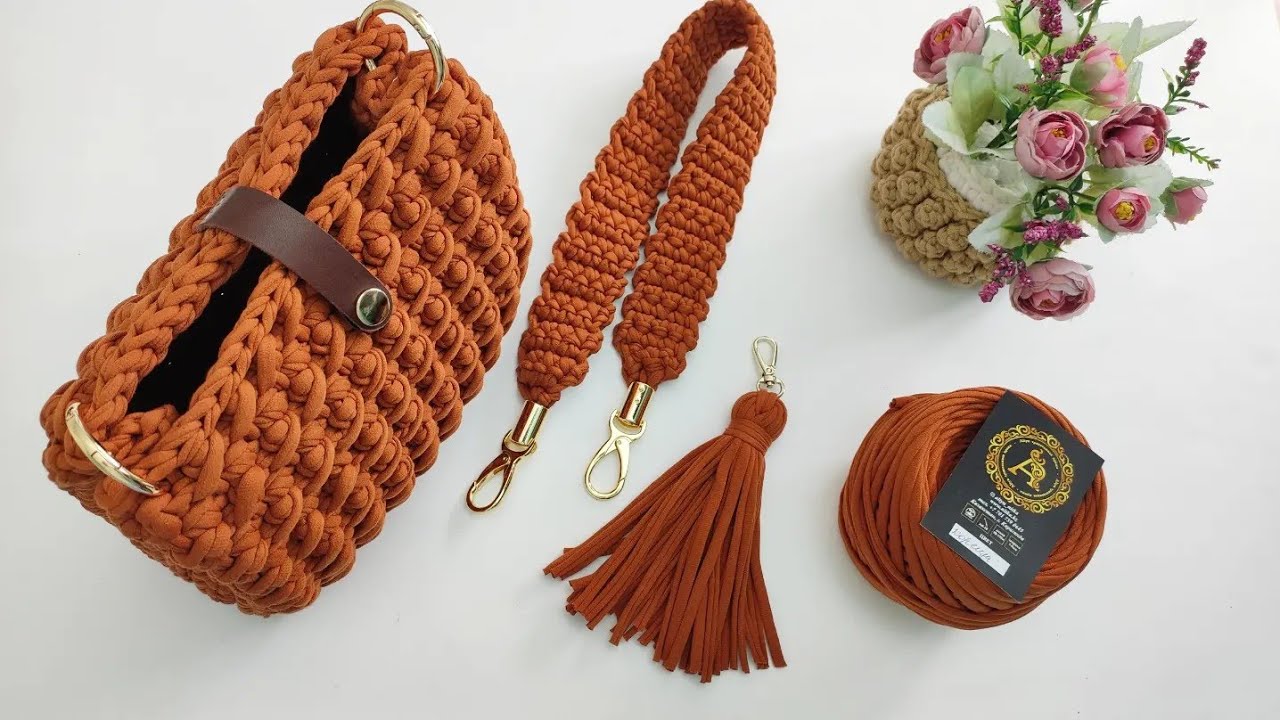
How to Make a Simple Crochet Pattern for a Beautiful Bag (Quick & Easy)
Crocheting your own bag is a fun and rewarding project, even if you’re a beginner. With a simple pattern and basic stitches, you can create a stylish and useful bag in just a short time. This guide explains everything step by step so you can make a beautiful crochet bag quickly and easily.
Materials You Will Need
Before you start, gather the following supplies:
- Yarn: Medium-weight (worsted) cotton or acrylic yarn works best for bags
- Crochet hook: Size 4.5–5.5 mm (check your yarn label)
- Scissors
- Yarn needle (for weaving in ends)
- Stitch marker (optional)
Basic Crochet Stitches Used
This simple bag uses only easy stitches:
- Chain stitch (ch)
- Single crochet (sc)
- Slip stitch (sl st)
These stitches are perfect for beginners and create a strong fabric suitable for a bag.
Step 1: Make the Foundation Chain
- Start by making a slip knot.
- Chain 30 stitches (you can add or reduce chains to adjust the bag width).
- Make sure your chain is not too tight so the bag stays flexible.
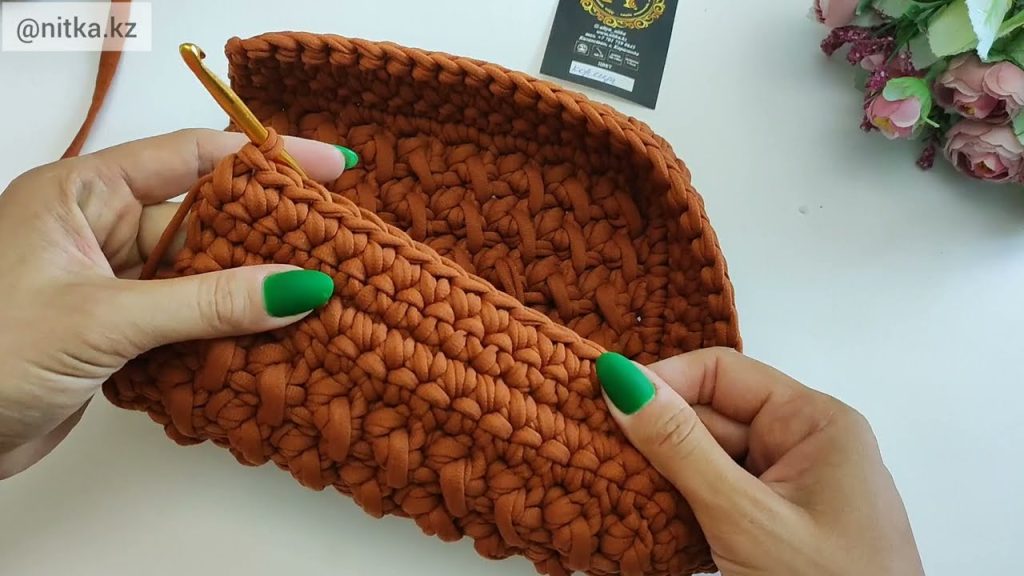
Step 2: Crochet the Base of the Bag
- Insert your hook into the second chain from the hook.
- Single crochet across the entire row.
- Chain 1 and turn your work.
- Repeat single crochet rows until the base reaches your desired height (about 20–25 rows).
This forms a strong rectangular base for your bag.
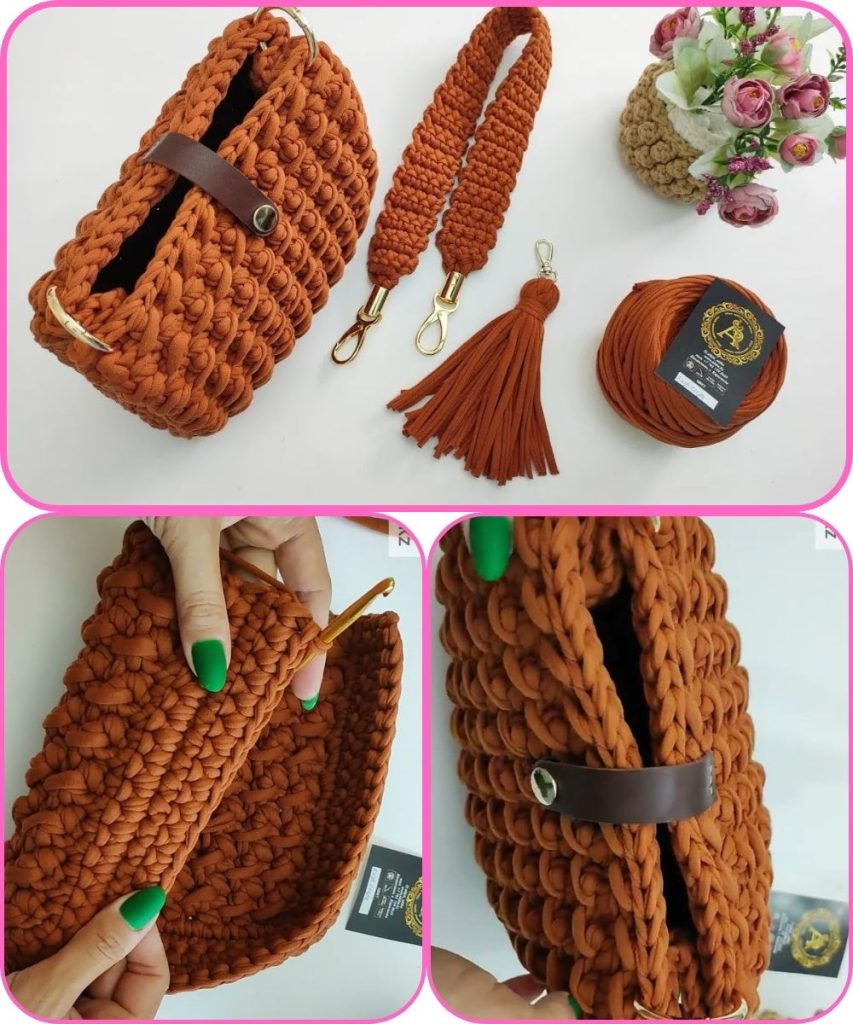
Step 3: Build the Body of the Bag
- Do not turn your work.
- Single crochet evenly around the entire edge of the rectangle.
- Place a stitch marker at the beginning of the round.
- Continue crocheting in continuous rounds using single crochet.
- Crochet upward until the bag reaches your desired height (about 25–30 rounds).
This method makes the bag sturdy and seamless.
Step 4: Create the Bag Handles
- When the bag is tall enough, crochet single stitches until you reach where you want the handle to start.
- Chain 20 stitches (for a medium-length handle).
- Skip the same number of stitches on the bag body.
- Continue single crochet.
- Repeat on the opposite side for the second handle.
- In the next round, single crochet into the chains to strengthen the handles.
Step 5: Finish the Bag
- Slip stitch to close the final round.
- Cut the yarn and pull it through to secure.
- Use a yarn needle to weave in all loose ends neatly.
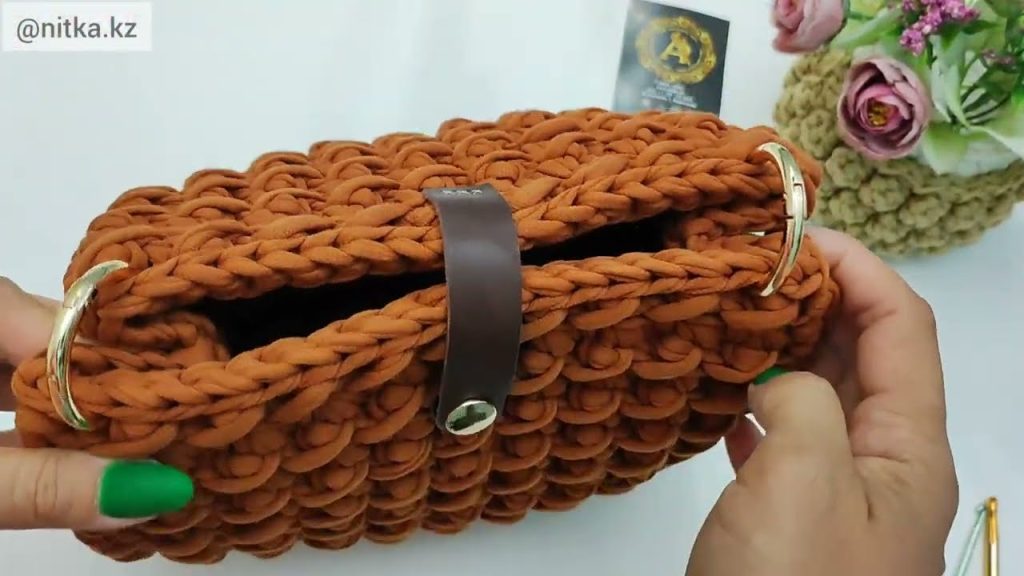
Optional Decorations
To make your bag even more beautiful, you can:
- Add a button or zipper
- Crochet a flower or bow
- Use two different yarn colors
- Add a fabric lining for extra durability
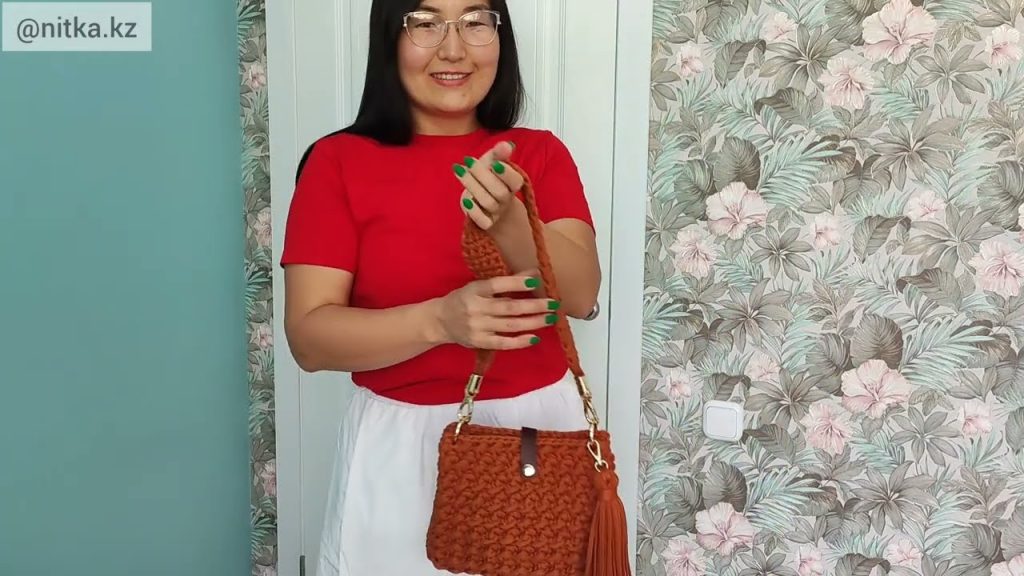
Final Result
With this simple crochet pattern, you’ll have a beautiful handmade bag that is practical, stylish, and made with love. Best of all, it’s quick to make and perfect for beginners or anyone looking for an easy crochet project.
Watch tutorial: