by
by Absolutely! Here’s a detailed step-by-step tutorial for beginners on how to crochet a beautiful, durable, and practical bag—perfect for any occasion. Whether you’re heading to the market, the beach, or just want to show off your handmade creation, this guide will walk you through everything you need to know.
🧶 How to Make a Great Crochet Bag for Any Reason
A Beginner-Friendly Step-by-Step Tutorial
🧺 Why Crochet a Bag?
Crocheting your own bag is a rewarding project because:
- It’s customizable – choose your own colors, size, and shape.
- It’s sustainable – no more plastic bags!
- It’s a great gift idea – handmade items show love and effort.
- It’s a perfect beginner project – no shaping or complicated stitching needed to start.
🧵 Materials You’ll Need
| Item | Recommendation for Beginners |
|---|---|
| Yarn | Worsted weight cotton yarn (e.g., Lily Sugar’n Cream) |
| Crochet Hook | 5mm (H-8) hook (check yarn label) |
| Tapestry Needle | For weaving in ends |
| Scissors | Any sharp pair will do |
| Stitch Markers | Optional, but helpful for rounds |
📏 Size & Style
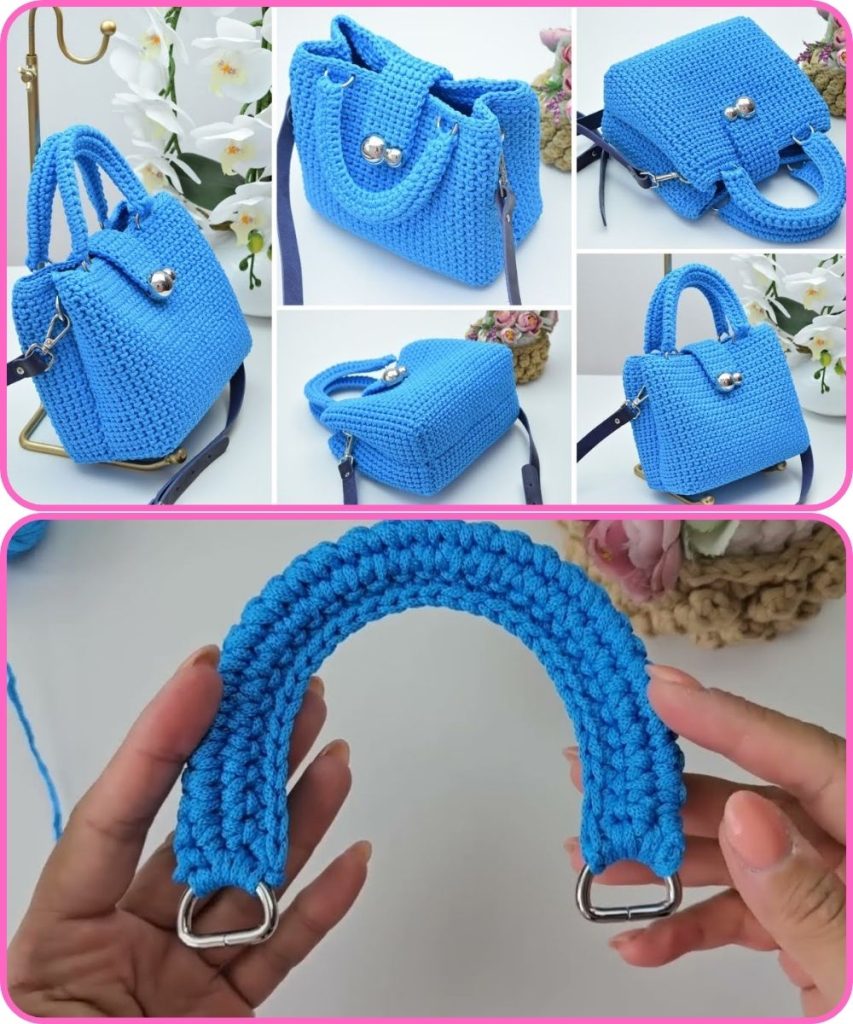
For this tutorial, we’ll make a simple tote-style bag with a flat bottom and two sturdy handles.
You can later adjust dimensions or add features like a button, flap, or lining.
🧶 Basic Crochet Stitches You’ll Use
| Stitch Name | Abbreviation | How-To Description |
|---|---|---|
| Chain | ch | Creates foundation rows |
| Single Crochet | sc | Tight and sturdy stitch |
| Slip Stitch | sl st | Joins rounds or smooths edges |
| Magic Ring | – | Starts a circle (optional for bottom) |
If you’re unsure how to do any of these, just ask for a mini-tutorial on any one and I’ll guide you through it!
📝 Pattern: Easy Crochet Tote Bag
🔹 Step 1: Make the Bottom of the Bag (Oval Shape)
You can start with a chain base, which is easier than a magic ring for beginners.
- Ch 21 (this will be the length of the bottom).
- Row 1: Sc in 2nd ch from hook, sc in each ch across (20 sc).
- Now you’ll work in the round around the chain to create an oval:
- Sc 3 times in the last stitch (corner).
- Rotate to work along the other side of the chain: sc in each chain (18 sc).
- Sc 2 times in the last chain.
- Round 2–5: Continue crocheting in the round to build the base.
- Increase 3 stitches evenly on both ends of the oval in each round.
🧠 Tip: Use stitch markers to mark the first stitch of each round.
🔹 Step 2: Build Up the Body
Now we stop increasing and just go straight up.
- Round 6 and up: Sc in each stitch around. Continue for about 25 rounds or until the bag is your desired height.
Optional: You can switch yarn colors at any point to make stripes or color blocks.
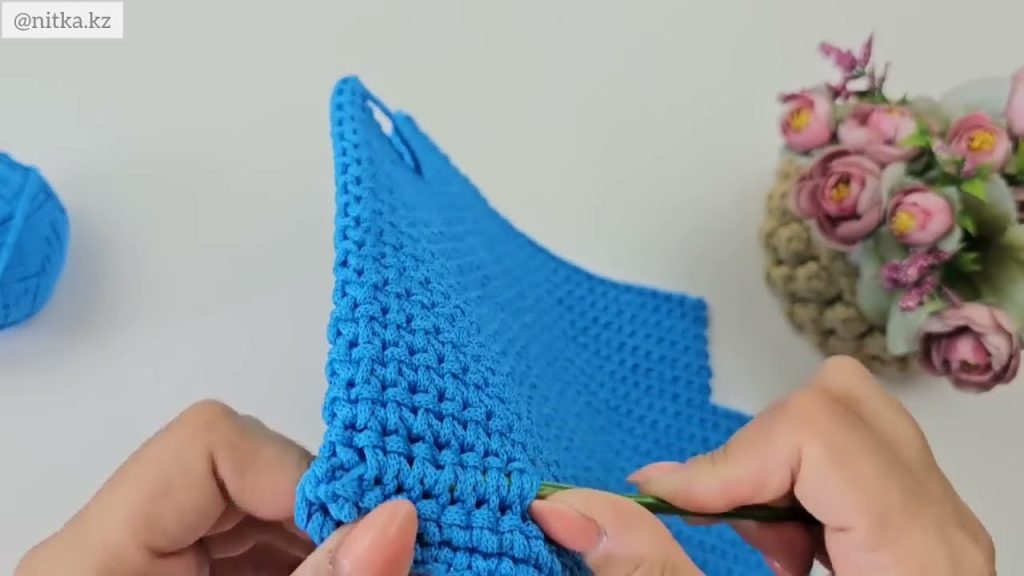
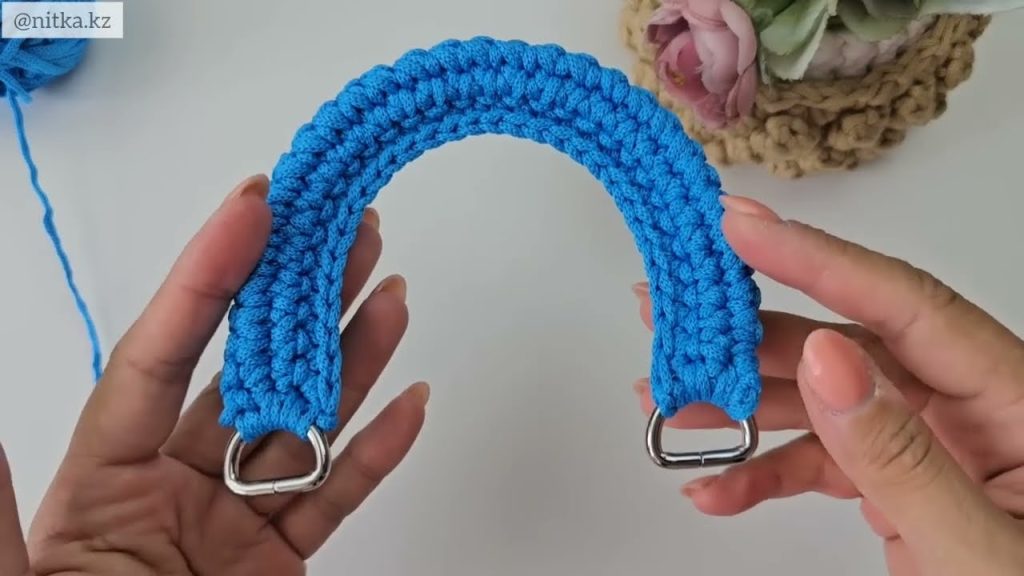
🔹 Step 3: Create the Handles
Once the body is tall enough, we’ll add handles directly into the piece.
- Decide how wide you want the handles. For example:
- Sc 10, ch 30 (skip 20 stitches), sc 20, ch 30 (skip 20), sc to end.
- In the next round, sc into each sc and sc into each ch across the handles (you may need to add a few rows for handle height).
- Do 2–3 more rounds for reinforcement.
🧠 Tip: Reinforce handles with tighter stitches or double strands of yarn for strength.
🔹 Step 4: Finish It Off
- Sl st around the top edge to make a clean finish.
- Cut yarn, fasten off, and weave in all ends with a tapestry needle.
🎀 Optional Customizations
- Lining: Add a fabric lining to prevent stretching.
- Button/Closure: Sew on a button or attach a magnetic clasp.
- Pockets: Sew or crochet small pouches inside.
- Decorations: Add tassels, embroidery, patches, or appliqués.
📸 Final Thoughts
Crocheting your own bag is not only creative and fun—it’s also practical. This tutorial is a foundation. As you gain confidence, you can explore more complex patterns like:
- Mesh beach bags
- Granny square backpacks
- Crossbody satchels
- Market totes with netting
💡 Pro Tips for Beginners
- Don’t pull stitches too tight – it’s easier to work when stitches are even.
- Count your stitches every few rounds to avoid accidental increases or decreases.
- Take breaks – crocheting is addictive, but wrist pain isn’t fun.
- Practice on scrap yarn before starting the real bag if you’re new.
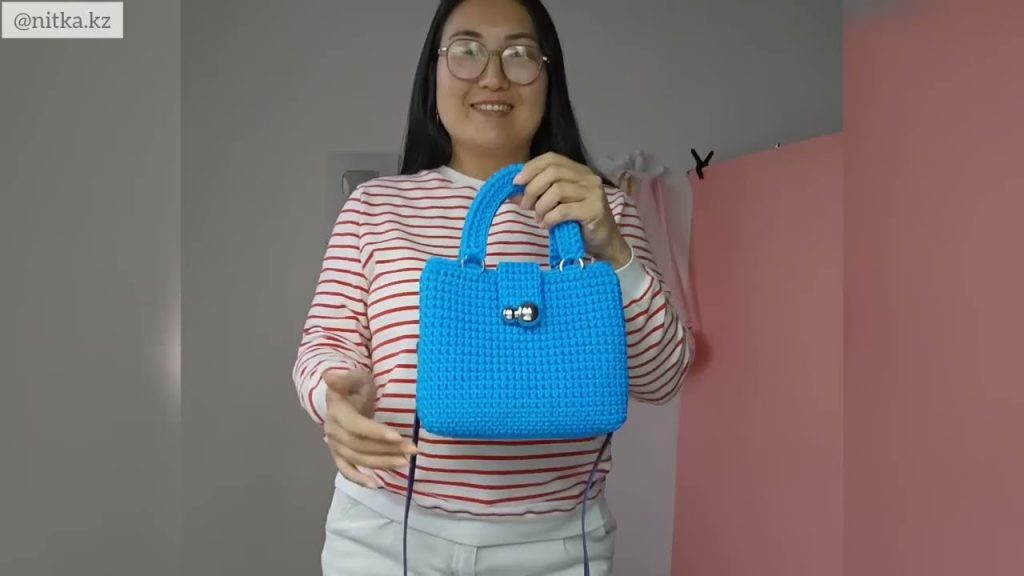
Watch tutorial: