 by
by Absolutely! Here’s a detailed guide on “How to Crochet a Bag with a 🔥New Design 🌟 — Simple and Wonderful”. This tutorial is great for beginners and intermediate crocheters looking to create something stylish yet easy.
🧶 How to Crochet a Bag with 🔥New Design 🌟
Simple, Stylish, and Wonderful – Step-by-Step Guide
✨ Overview
This crochet bag is perfect for everyday use or as a thoughtful handmade gift. With a modern twist on a classic shape, we’ll use basic stitches and easy construction techniques to create a structured and fashionable bag.
🧵 Materials Needed:
| Item | Details |
|---|---|
| Yarn | Worsted weight cotton or acrylic yarn (2-3 skeins) |
| Hook | 4.5 mm or 5 mm crochet hook |
| Scissors | Yarn scissors |
| Tapestry Needle | For sewing in ends |
| Stitch Markers | Optional, for marking rounds |
| Bag Handles | Optional: wooden, bamboo, or crocheted |
| Lining Fabric | Optional: cotton or canvas |
| Magnetic Snap | Optional: for closure |
🔤 Abbreviations (US Terms):
- ch – chain
- sc – single crochet
- hdc – half double crochet
- dc – double crochet
- sl st – slip stitch
- st(s) – stitch(es)
- rnd – round
- inc – increase (2 sc in one stitch)
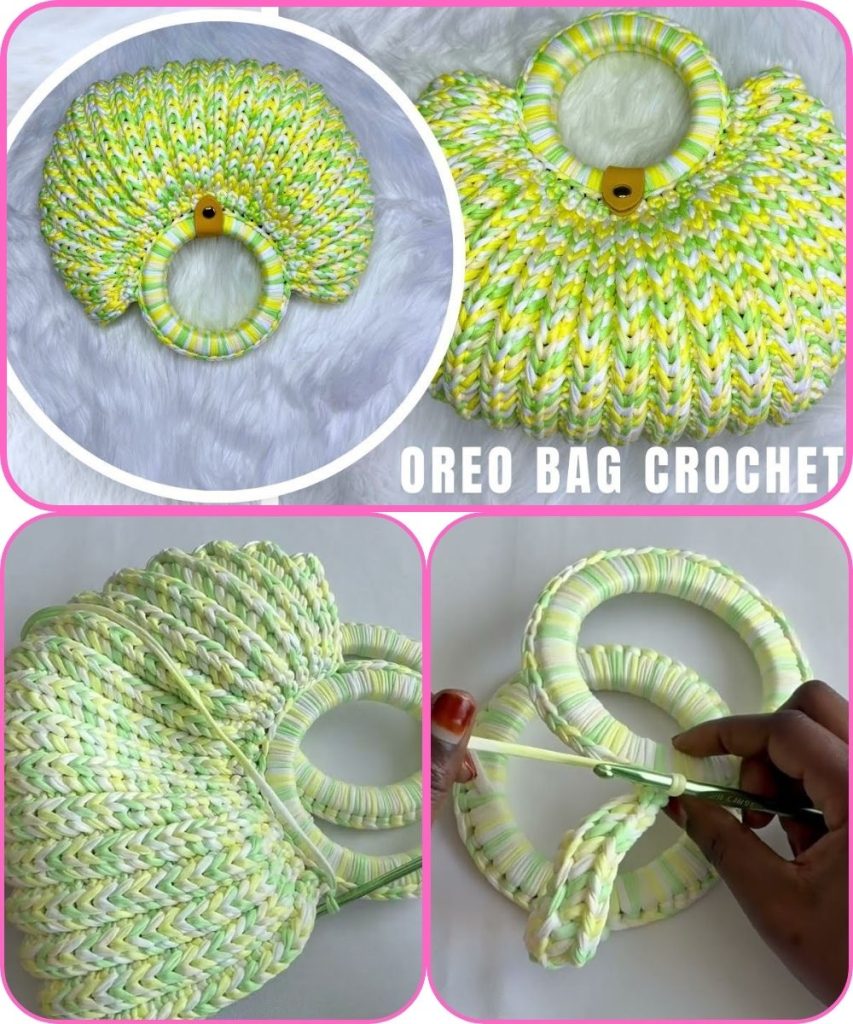
🔶 Step-by-Step Instructions:
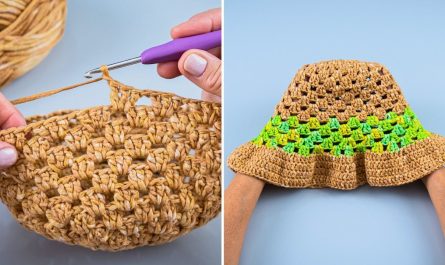
🪄 STEP 1: Crochet the Base
Option: Oval or Rectangle
Oval Base:
- Ch 25 (or desired width of the bag base)
- Rnd 1: Sc in 2nd ch from hook and across (24 sc), 3 sc in last st. Now rotate to work on the opposite side of chain, sc across, 2 sc in the last st. (54 sts)
- Rnd 2–4: Continue working in sc in the round, increasing at the corners to keep the shape even. You should end with an even oval or rectangle that’s about 10–12 inches long.
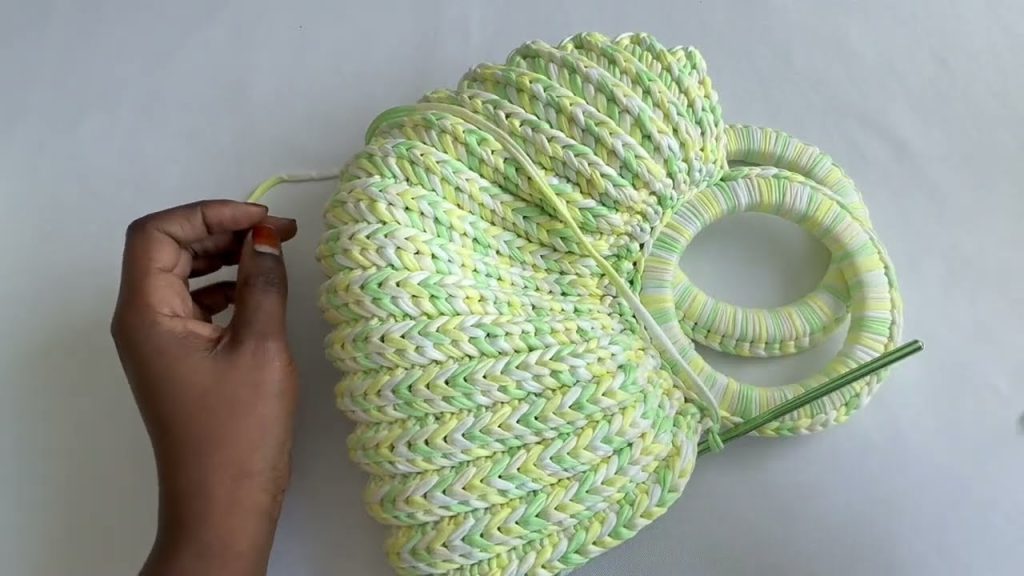
🪄 STEP 2: Build the Body of the Bag
Now that the base is done, we’ll build upward without increasing:
- Rnd 5–20:
- Option 1 (Simple Texture): Work in hdc in the round.
- Option 2 (New Design Stitch): Alternate 1 row of sc, 1 row of dc, creating a subtle stripe and texture.
- Optional Twist: Try a grit stitch (alternating sc and dc in same stitch) for a modern look.
TIP: Add color changes every few rows for a trendy stripe design 🌈
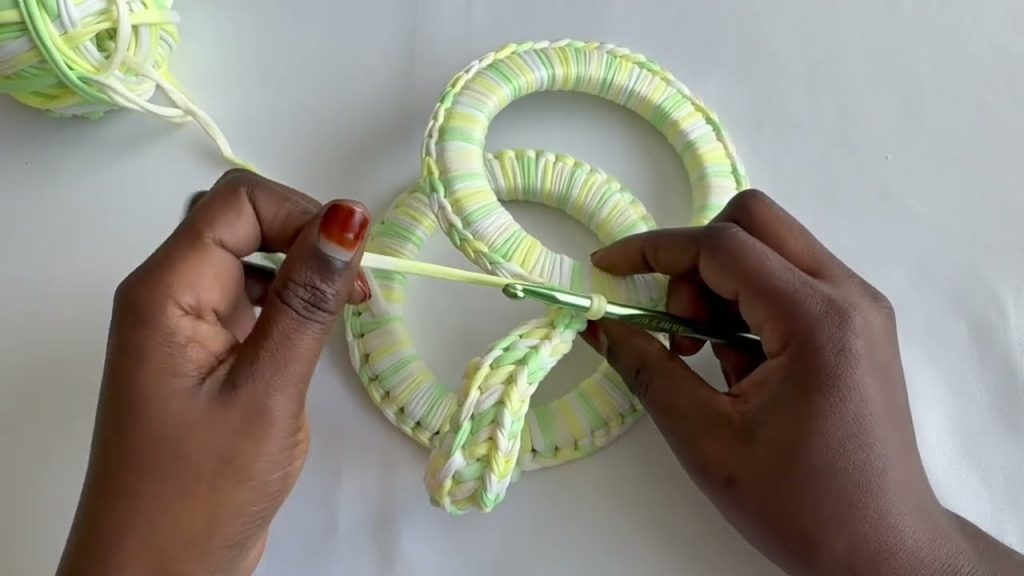
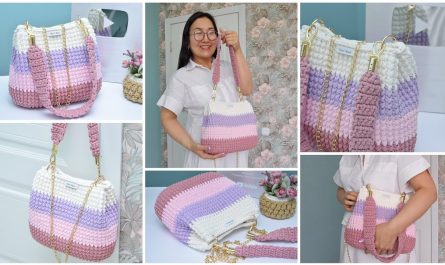
🪄 STEP 3: Add Bag Handles
Option 1: Crocheted Handles
- Ch 60 (or desired length), sl st to attach to opposite side.
- Sc across chain to reinforce.
- Attach to each side of the bag.
Option 2: Wooden/Bamboo Handles
- Finish top of the bag with a row of sc.
- Use yarn and a tapestry needle to sew handles onto each side.
🪄 STEP 4: Optional Lining (For Durability)
- Cut fabric to match bag dimensions.
- Sew edges of fabric to create a pouch.
- Hand-stitch or hot glue the lining into the inside of the bag.
- Add a magnetic snap or zipper if desired.
🎨 Customization Ideas
- Add Tassels or Pom-Poms 🎀
- Embroider initials or flowers 🪡
- Attach a leather or faux leather label 👜
- Use gradient or ombré yarn for a 🔥 stunning visual effect.

🧼 Care Instructions:
- Hand wash with cold water.
- Lay flat to dry.
- Avoid machine drying to preserve shape.
💡 Final Tips:
- Use stitch markers to keep track of rounds.
- If you’re a beginner, stick to cotton yarn—it holds shape well.
- Watch your tension; consistent stitches make the bag look clean and professional.
- Don’t rush! A polished bag takes time and love 🧶💖
📸 Share Your Work!
Once you’ve made your bag, show it off! Tag it on social media with:
#CrochetBagDesign
#HandmadeWithLove
#SimpleAndWonderfulBag
Watch video: