by
by Sure! Here’s a detailed step-by-step guide on how to make an easy crochet pattern for a beautiful hat, especially suited for beginners. This tutorial will walk you through the basic materials, stitches, and instructions to create a simple and stylish beanie hat.
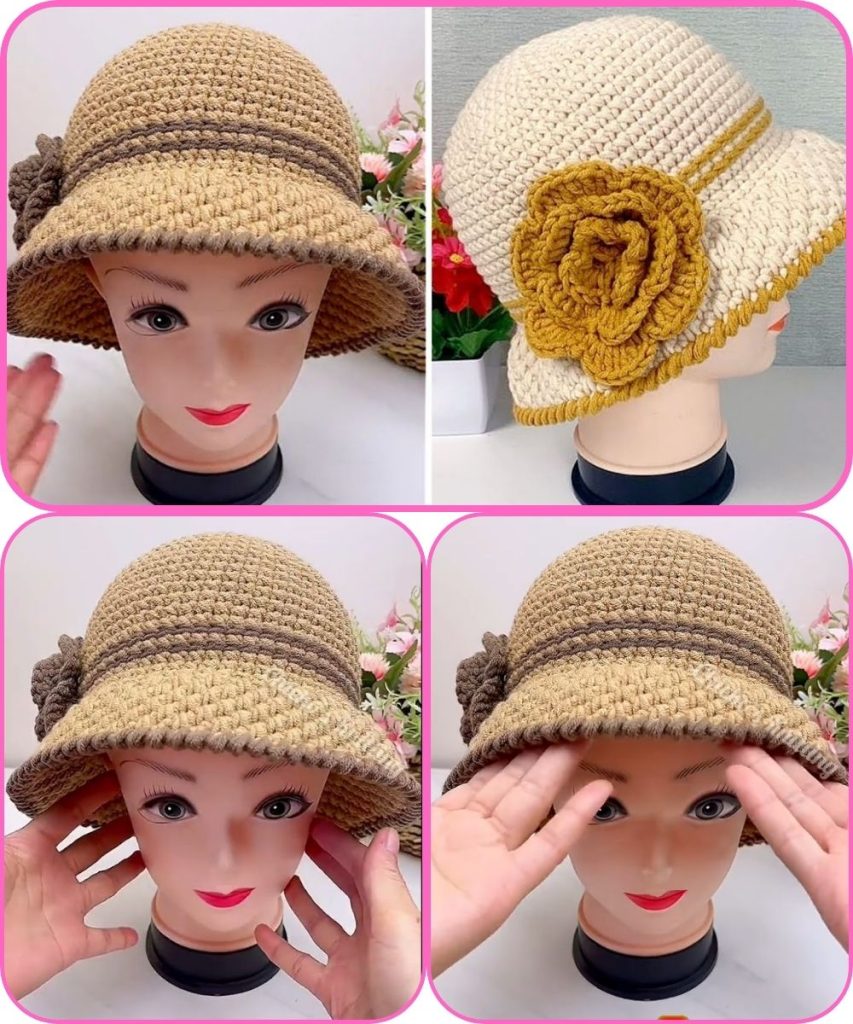
🧶 How to Make an Easy Crochet Hat (Beginner-Friendly Pattern)
🧵 Materials You’ll Need:
- Yarn: Worsted weight yarn (#4) – approx. 150–200 yards
- Hook: Size H/8 (5.0 mm) crochet hook
- Tapestry needle (for weaving in ends)
- Scissors
- Stitch marker (optional but helpful)
- Measuring tape
🧵 Basic Stitches You Should Know:
If you’re new to crochet, these are the stitches used in this pattern:
- Magic Ring (MR) – to start the hat (optional; you can chain 4 and join if it’s easier)
- Chain (ch)
- Slip Stitch (sl st)
- Single Crochet (sc) – US term
- Double Crochet (dc) – US term
- Increase (inc) – 2 stitches in the same stitch
You can look up video tutorials on YouTube for each stitch if needed.
👒 Step-by-Step Pattern: Easy Crochet Beanie Hat
This pattern is worked in the round from the top down. We’ll create a flat circle for the crown, then work even rows for the body of the hat.
🔹 Step 1: Make the Crown (Top of Hat)
Round 1:
- Start with a magic ring, ch 2 (counts as first dc), and make 11 dc into the ring.
- Join with a sl st to the top of the first dc. (12 dc total)
Round 2:
- Ch 2, 2 dc in each stitch around.
- Join with sl st. (24 dc)
Round 3:
- Ch 2, (1 dc in next stitch, 2 dc in next stitch) repeat around.
- Join with sl st. (36 dc)
Round 4:
- Ch 2, (1 dc in next 2 stitches, 2 dc in next stitch) repeat around.
- Join with sl st. (48 dc)
Round 5:
- Ch 2, (1 dc in next 3 stitches, 2 dc in next stitch) repeat around.
- Join with sl st. (60 dc)
TIP: You can stop increasing when the circle’s diameter reaches about 6.5 inches for adult size. For children, stop around 5.5 inches.
🔹 Step 2: Build the Body of the Hat
From now on, you’ll work 1 dc in each stitch around with no increases.
Rounds 6–14:
- Ch 2, dc in each stitch around. Join with sl st. (60 dc)
Try the hat on or measure: this should give you a hat height of around 7–8 inches. Add more rounds if you want it slouchier.
🔹 Step 3: Add a Ribbed Brim (Optional)
To make a simple ribbed brim using single crochet:
Round 15:
- Switch to single crochet.
- Ch 1, sc in back loops only (BLO) around. Join with sl st.
Rounds 16–18 (or more):
- Repeat the BLO single crochet to build a stretchy ribbed brim.
🧵 Step 4: Finish Off
- Fasten off and cut the yarn, leaving a few inches.
- Use a tapestry needle to weave in the ends neatly on the inside of the hat.
🎀 Optional Add-ons:
- Attach a faux fur pom pom on top.
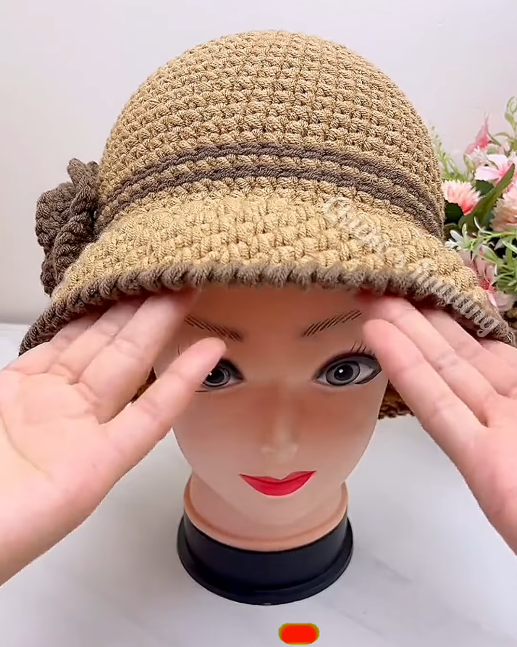
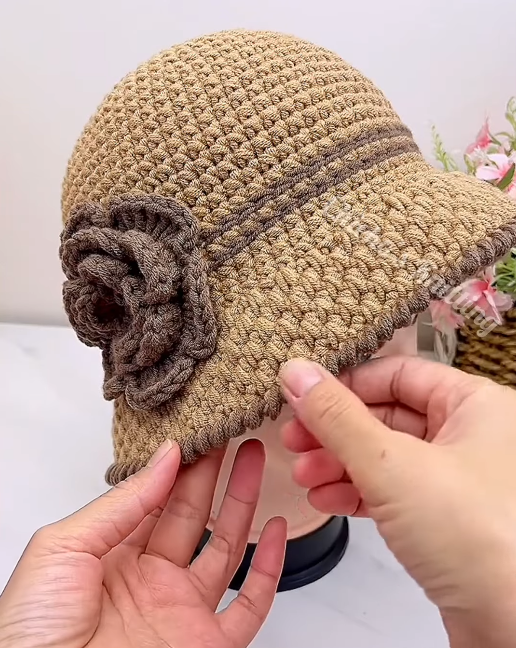
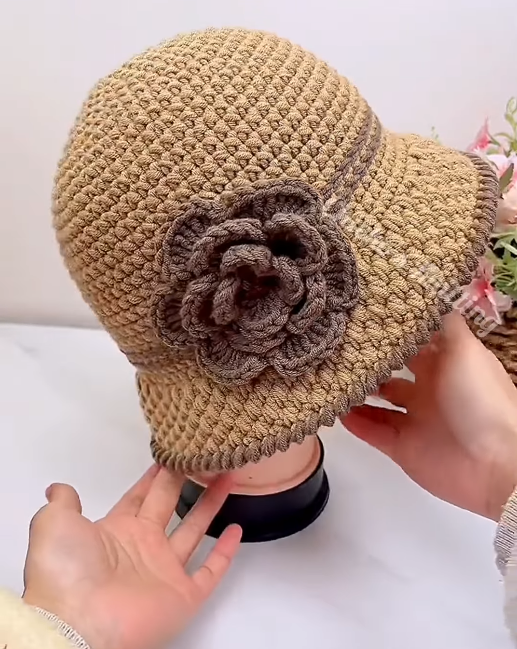
- Add a crochet flower, buttons, or embroidery.
- Use striped yarn or change colors for a fun design.
📏 Size Adjustments:
| Size | Crown Diameter | Hat Height |
|---|---|---|
| Baby | 4–4.5″ | 5–6″ |
| Child | 5–5.5″ | 6.5–7″ |
| Adult S/M | 6–6.5″ | 7.5–8″ |
| Adult L | 6.5–7″ | 8.5–9″ |
🧶 Tips for Beginners:
- Use a light-colored yarn (easier to see stitches).
- Count your stitches each round to stay on track.
- If you crochet tightly, go up a hook size.
✅ Summary:
Creating a crochet hat is one of the easiest and most rewarding beginner projects. Once you’ve mastered this pattern, you can explore variations like:
- Slouchy beanies
- Earflap hats
- Textured or shell stitch designs
Watch tutorial: