 by
by Here’s a clear, beginner-friendly, and detailed tutorial you can use for a blog post, YouTube description, or learning guide.
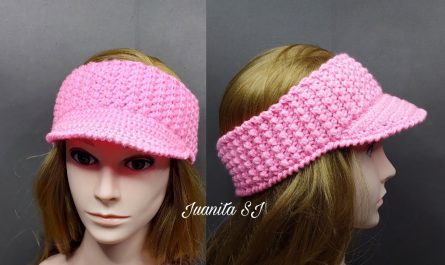
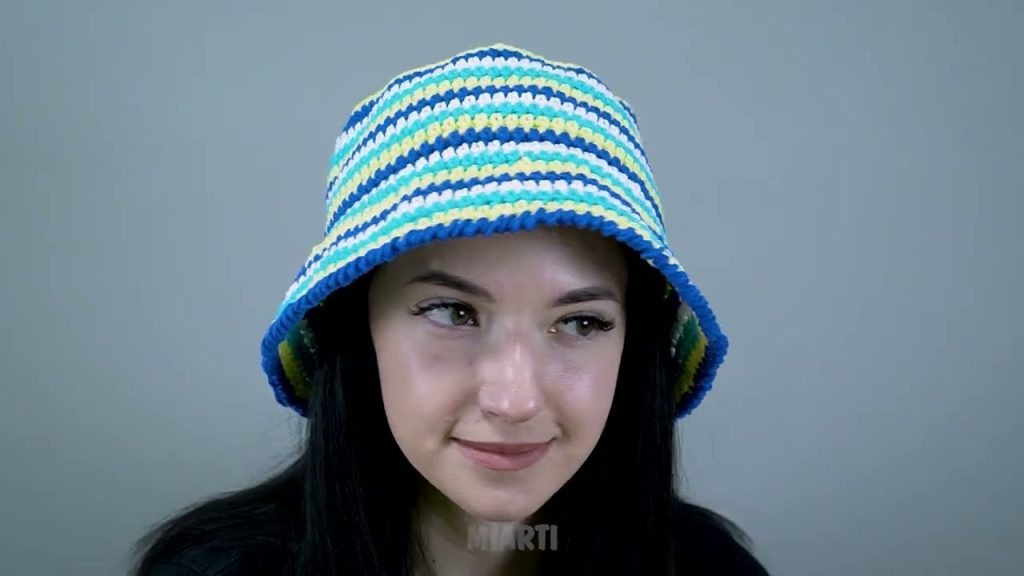
How to Crochet a Bucket Hat Easily – A Detailed Tutorial
Crocheting a bucket hat is a fun and rewarding project that’s perfect for beginners and experienced crocheters alike. Bucket hats are stylish, practical, and customizable in endless colors and sizes. In this tutorial, you’ll learn how to crochet a bucket hat step by step using simple stitches and techniques.
Materials You’ll Need
Before you start, gather the following supplies:
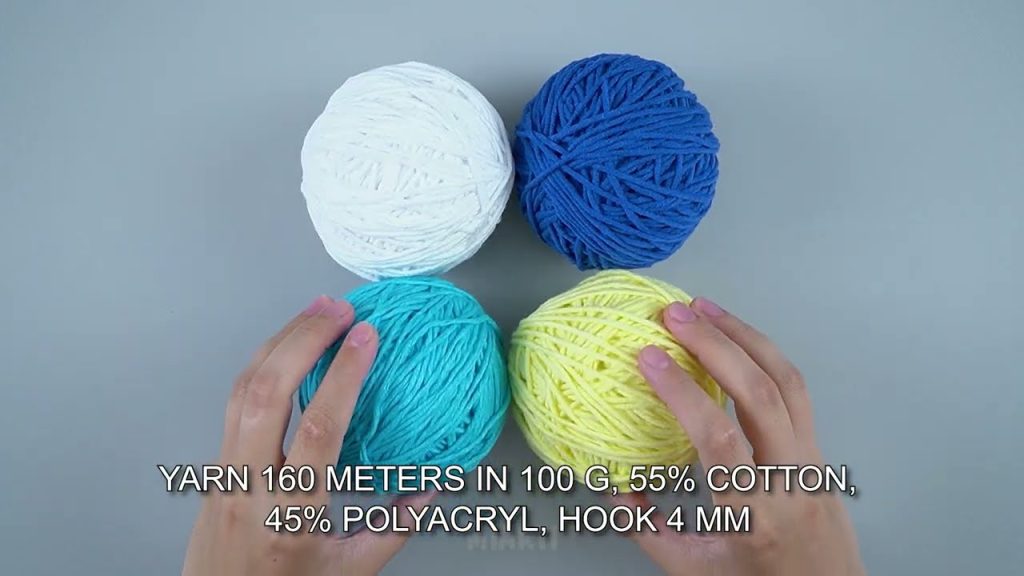
- Yarn: Medium-weight yarn (Category 4) works best for beginners. Cotton yarn is ideal for bucket hats because it holds its shape well.
- Crochet Hook: Usually 4.5 mm–5.5 mm (check your yarn label).
- Scissors
- Yarn Needle: For weaving in ends
- Stitch Marker: Optional, but helpful for keeping track of rounds
Crochet Stitches Used
This bucket hat uses basic stitches only:
- Slip Knot
- Chain (ch)
- Single Crochet (sc)
- Increase (inc): Two single crochets in the same stitch
- Slip Stitch (sl st)
Tip: This pattern is worked in continuous rounds, meaning you don’t join each round unless stated.
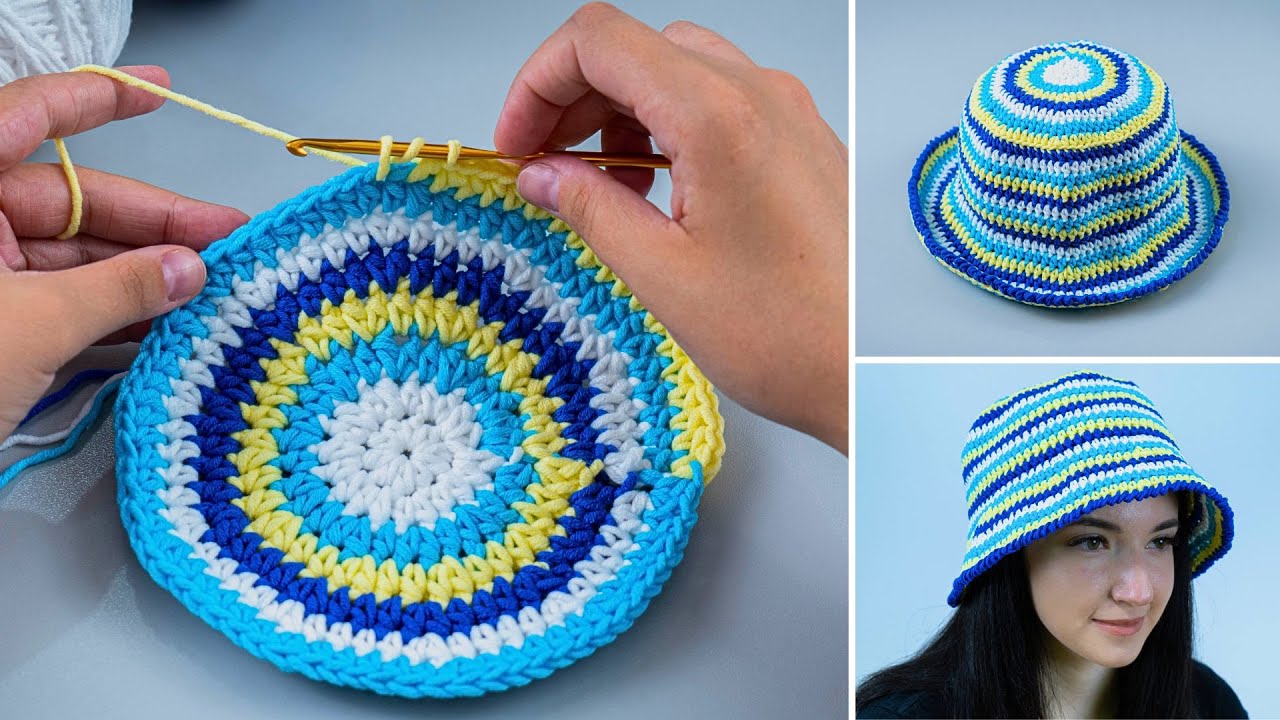
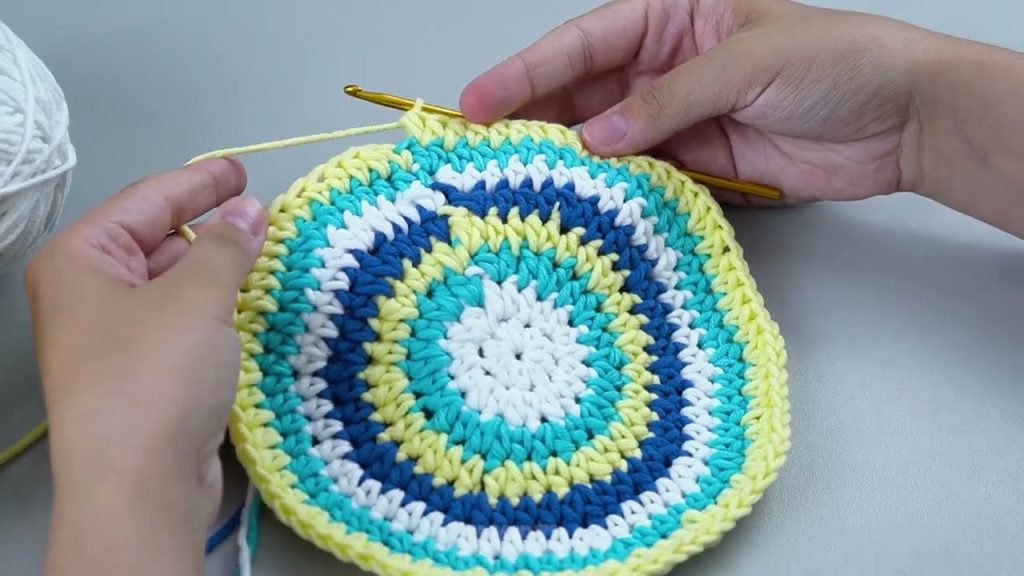
Step 1: Crochet the Crown (Top of the Hat)
The crown forms the flat circle at the top.
- Make a Magic Ring (or chain 4 and join with a slip stitch).
- Round 1: Crochet 6 single crochets into the magic ring. (6 stitches)
- Round 2: Increase in every stitch (2 sc in each stitch). (12 stitches)
- Round 3: 1 sc, inc – repeat around. (18 stitches)
- Round 4: 2 sc, inc – repeat around. (24 stitches)
- Round 5: 3 sc, inc – repeat around. (30 stitches)
Continue increasing in this pattern until the circle fits the top of your head comfortably. For an adult size, you’ll usually stop at 60–72 stitches.
Tip: The crown should lie flat. If it starts to curl, add more increases. If it ruffles, reduce increases.
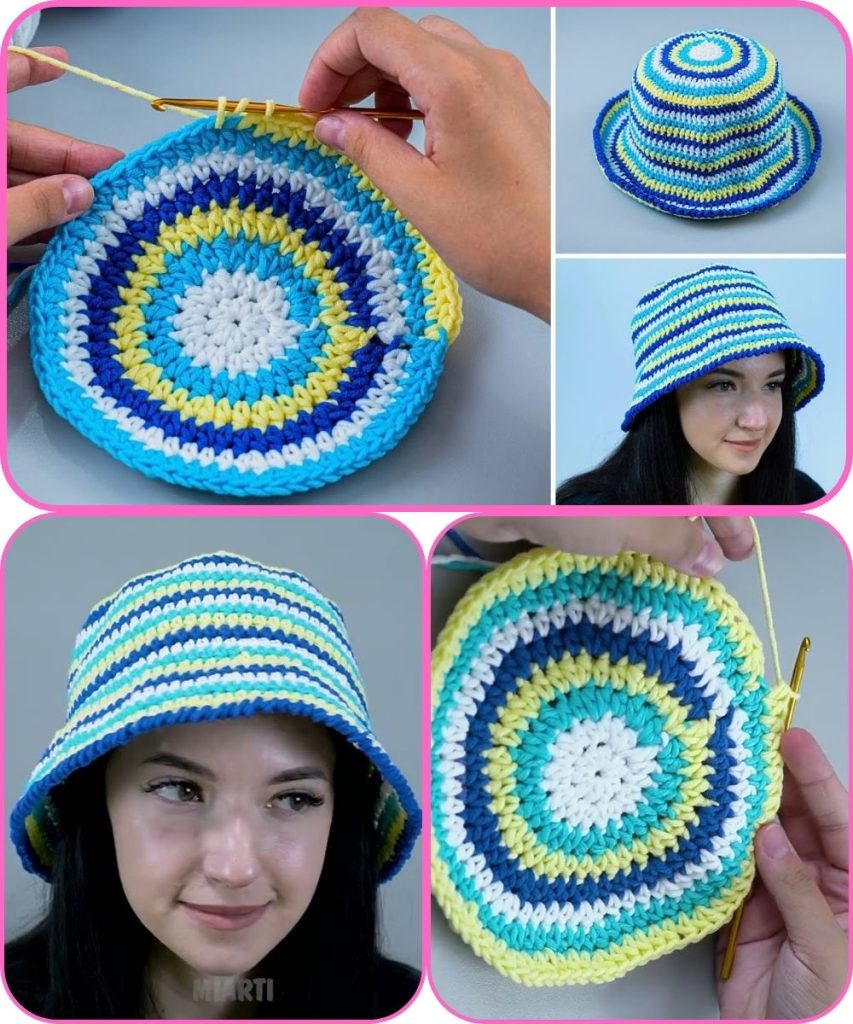
Step 2: Crochet the Body (Sides of the Hat)
Once the crown is wide enough, it’s time to build the height.
- Next Round: Single crochet in each stitch without increasing.
- Continue crocheting even rounds until the hat reaches just above your ears.
This section gives the hat its depth. Typically, this takes 8–12 rounds, depending on how deep you want the hat.
Step 3: Crochet the Brim
The brim creates the classic bucket hat shape.
- Brim Round 1: 5 sc, inc – repeat around.
- Brim Round 2: Single crochet in each stitch.
- Brim Round 3: 6 sc, inc – repeat around.
Repeat these rounds until the brim reaches your desired width (usually 2–3 inches). The increases allow the brim to gently flare outward.
Tip: For a stiffer brim, use tighter stitches or cotton yarn.
Step 4: Finish the Hat
- Slip stitch into the next stitch to finish.
- Cut the yarn, leaving a small tail.
- Use a yarn needle to weave in all loose ends securely.
Customization Ideas
- Color Changes: Switch yarn colors between sections for stripes.
- Texture: Use half-double crochet or double crochet for a different look.
- Size Adjustments: Add or reduce rounds in the crown and body.
- Decorations: Add a crochet flower, patch, or embroidery.
Final Thoughts
Crocheting a bucket hat is an easy and enjoyable project that helps build confidence and skill. With just basic stitches and simple shaping, you can create a fashionable accessory for any season. Practice with different yarns and colors to make each hat unique.
Happy crocheting! 🧶✨
If you want, I can also:
- Simplify this for absolute beginners
- Turn it into a YouTube script
- Create a printable pattern
- Adjust it for kids or babies
Watch tutorial: