 by
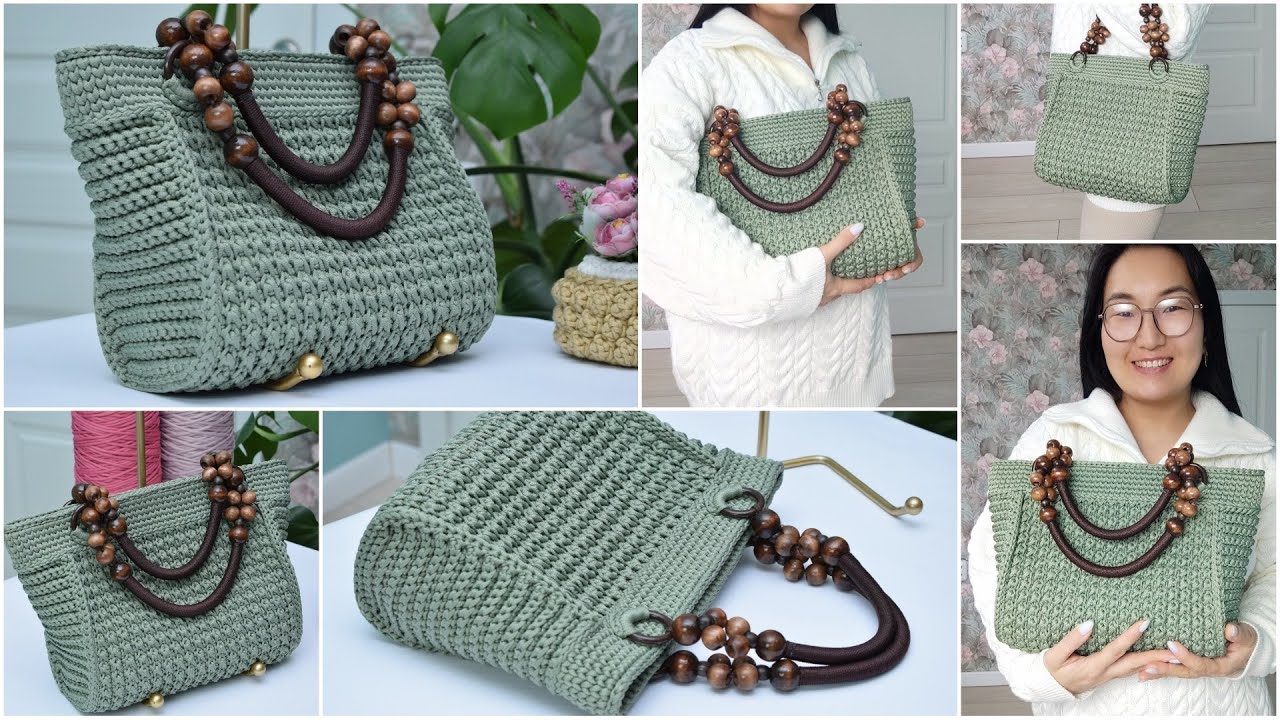
by Sure! Here’s a detailed, beginner-friendly crochet pattern for making a large tote bag using 3 mm yarn (e.g., cotton cord, macrame cord, or thick cotton yarn). This tote bag is durable, stylish, and perfect for everyday use.
🧶 Crochet Large Tote Bag with 3 mm Yarn
🪡 Skill Level:
Easy (Beginner Friendly)
You only need to know chain (ch), single crochet (sc), and half double crochet (hdc) stitches.
🧰 Materials Needed:
- Yarn: 3 mm cotton cord or macrame yarn (approx. 400–500 meters / 440–550 yards)
- Crochet Hook: 5 mm or 5.5 mm (depending on tension)
- Scissors
- Tapestry needle (for weaving ends)
- Optional: Stitch markers, magnetic snap, fabric lining
🧵 Finished Size:
Approx. 40 cm wide × 35 cm tall × 10 cm deep (16” × 14” × 4”)
You can easily adjust the size by changing the starting chain length or number of rows.
🪄 Pattern Instructions
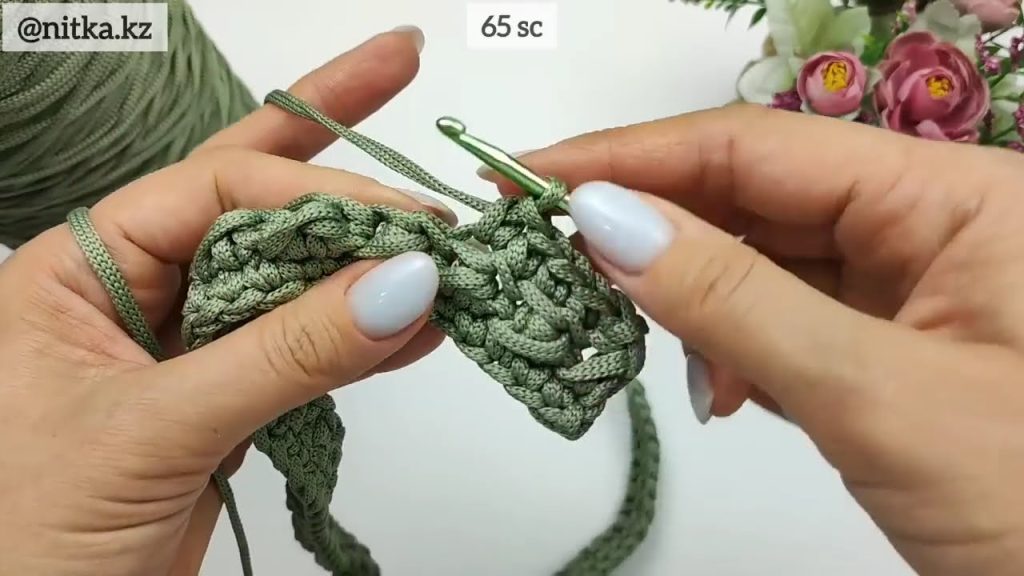
Step 1: Base (worked in rounds)
- Ch 45 (this will be the width of your bag).
- Round 1:
- Work 1 hdc in the 2nd ch from hook and in each ch across (total 44 hdc).
- In the last ch, work 3 hdc to round the corner.
- Continue working along the opposite side of the foundation chain, placing 1 hdc in each ch.
- In the last ch (which already has one hdc), add 2 hdc more to make the other corner.
- Join with sl st to the first hdc.
- (Total: about 92 stitches around.)
- Round 2–3:
- Ch 1, work 1 hdc in each st around, increasing 2 stitches at each end (to keep the oval flat).
- After 3 rounds, you’ll have an oval base approx. 10 cm wide.
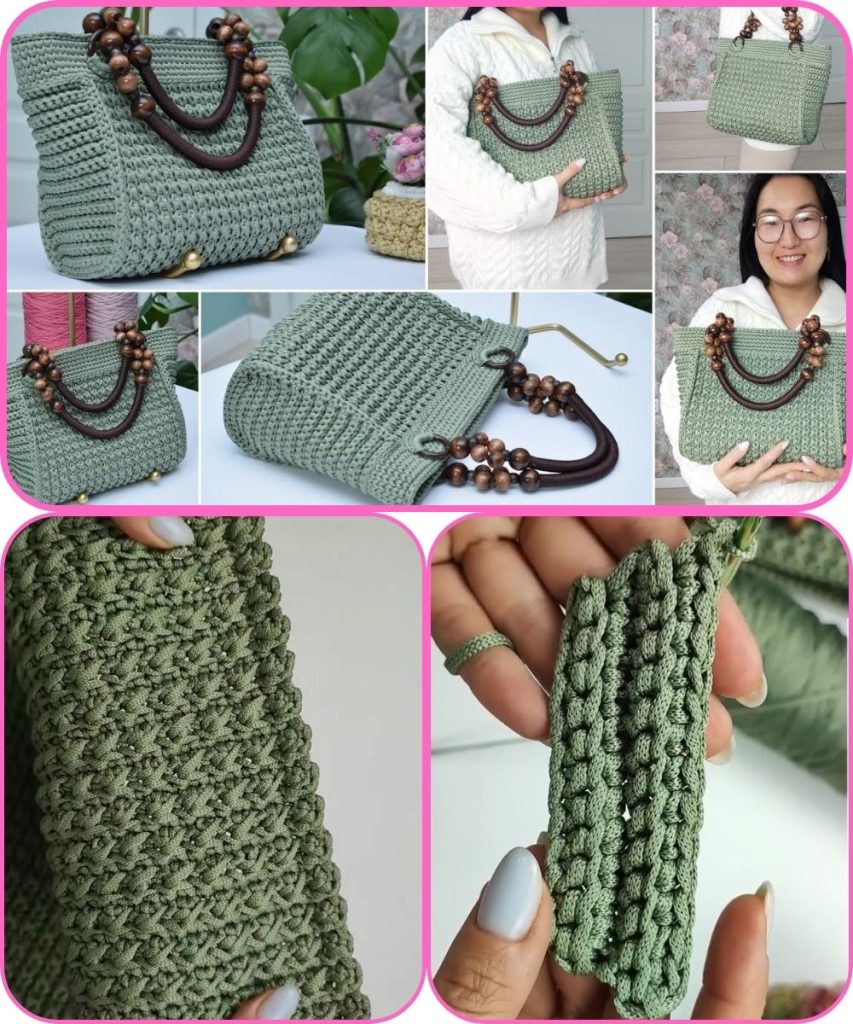
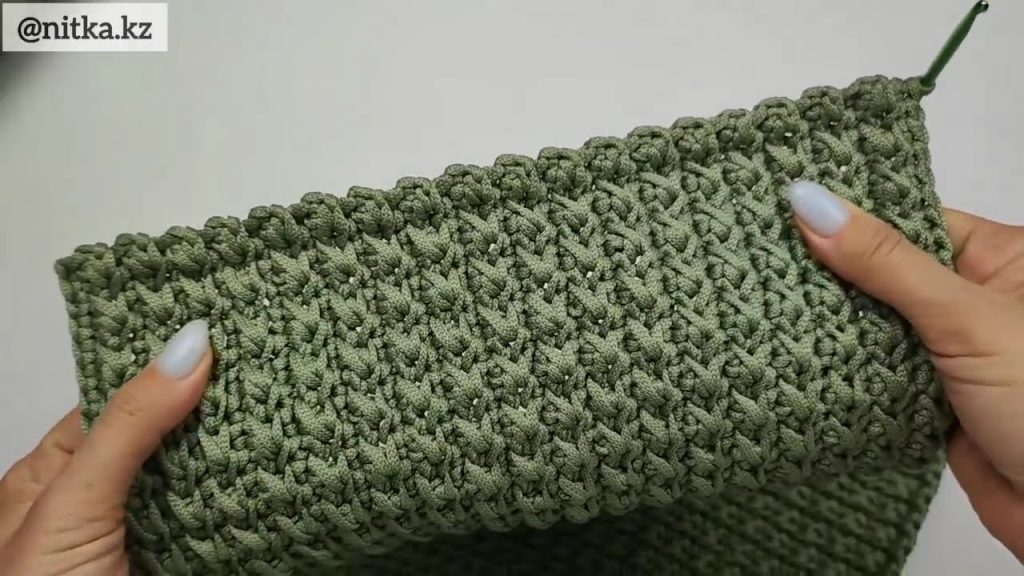
Step 2: Body of the Bag
- Round 4:
- Work 1 sc in the back loop only (BLO) in each stitch around. This creates a nice edge between the base and the sides.
- Join with sl st, ch 1.
- Round 5–25 (or until height desired):
- Work 1 hdc in each stitch around.
- Join with sl st, ch 1 at the end of each round.
- (You can switch to different stitches like moss stitch or single crochet if you want a different texture.)
Step 3: Handles
You can make built-in handles or attach separate ones.
Option A: Built-In Handles
- Round 26:
- Ch 1, hdc in next 10 sts, ch 25 (skip 20 sts) → this forms one handle hole.
- Hdc in next 22 sts, ch 25 (skip 20 sts) → second handle hole.
- Hdc in remaining stitches, join with sl st.
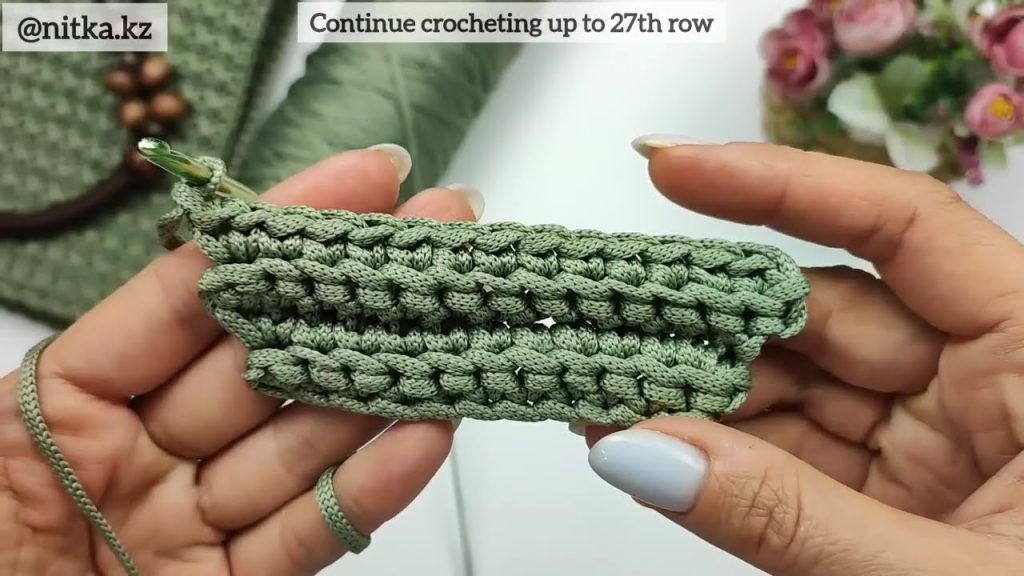
- Round 27:
- Work 1 hdc in each stitch and each chain around (to strengthen handles).
- Join with sl st, cut yarn, and weave in ends.
Option B: Separate Handles
- Crochet or braid two cords about 45 cm long each and sew them securely to the top of the bag.
Step 4: Finishing
- Weave in all loose ends neatly with a tapestry needle.
- (Optional) Add a fabric lining or button/magnetic snap for closure.
- Steam or block lightly to shape.
🌸 Customization Ideas
- Color blocking: Use 2–3 yarn colors for stripes.
- Texture: Try rows of puff stitches or granny stitch for pattern variation.
- Decor: Add tassels, a charm, or a leather tag.
- Reinforcement: Crochet a tight sc round at the top edge for extra sturdiness.
💡 Tips:
- If the bag’s base starts to curve upward, add more increases to keep it flat.
- Keep stitch counts consistent—use a stitch marker at round starts.
- For a more rigid structure, use a slightly smaller hook (4.5 mm).
Would you like me to include a simple diagram or chart of the base and handle placement (in crochet symbols)?
It can help you visualize the construction step-by-step.
Watch tutorial: