 by
by Absolutely! 🧶 Here’s a detailed, beginner-friendly guide to making the easiest and fastest crochet socks — cozy, customizable, and perfect for any skill level.
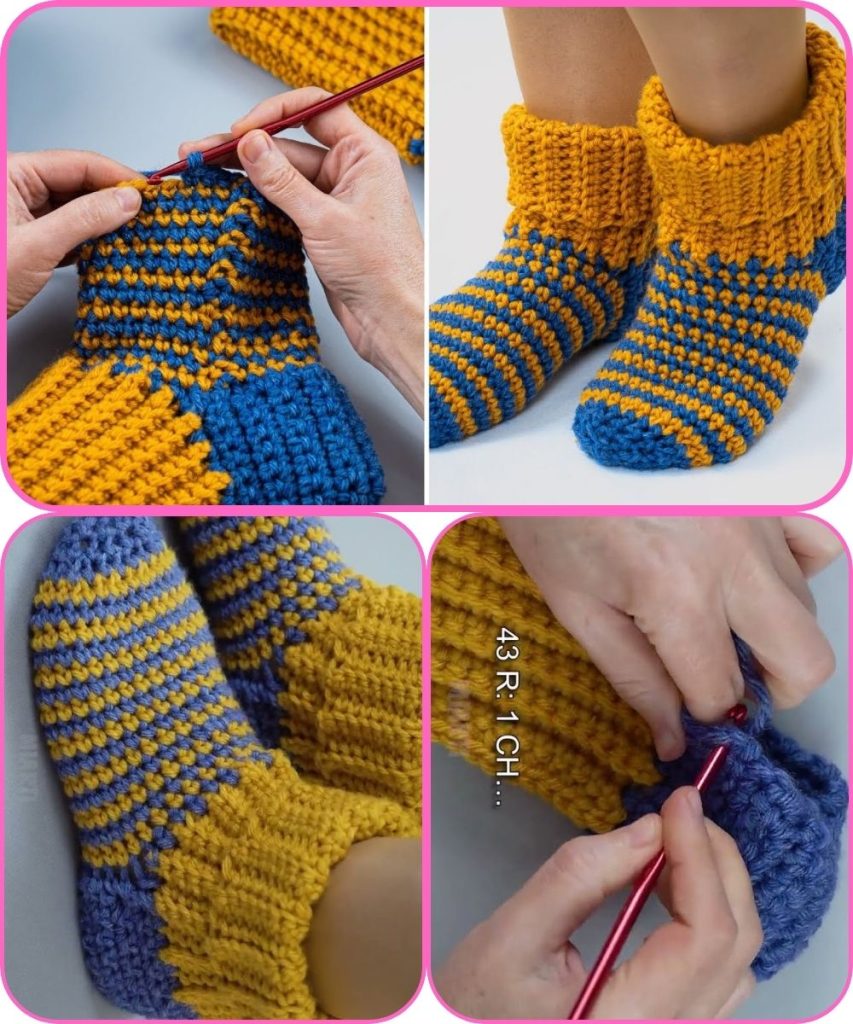
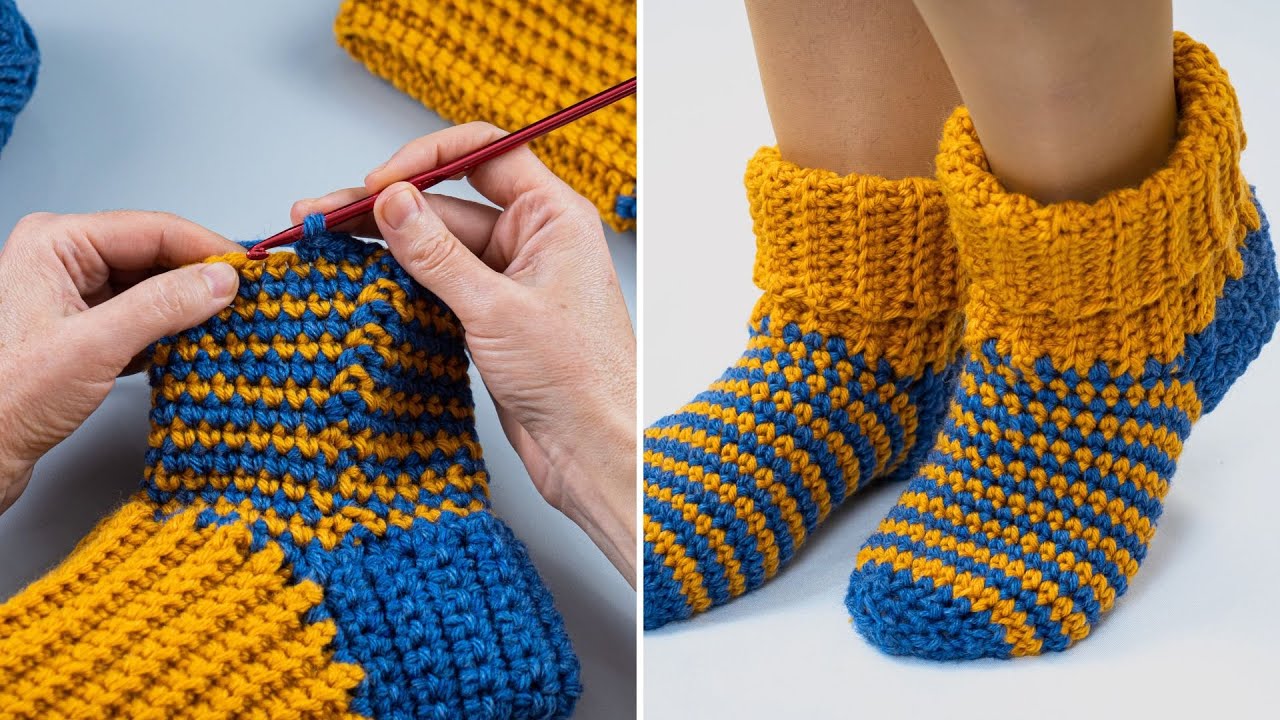
🧦 How to Make the Easiest and Fastest Crochet Socks
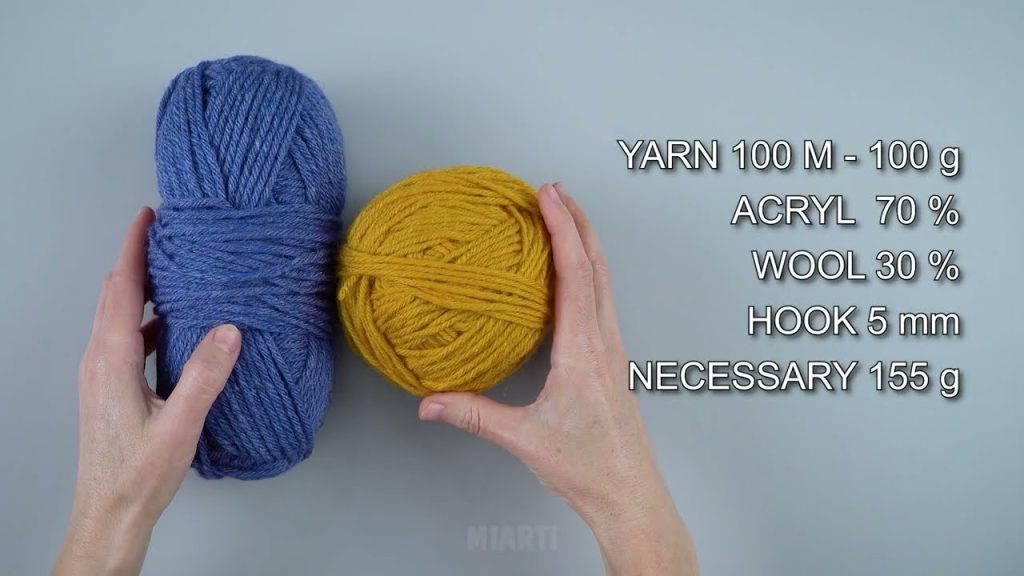
🧵 Materials You’ll Need
- Yarn: Medium (worsted) weight yarn or lightweight (#3) yarn for thinner socks
→ Acrylic or wool blends are ideal for warmth and stretch. - Crochet Hook: Size 4.0 mm (G) or 4.5 mm (7)
→ Check your yarn label for the best hook size. - Yarn needle for sewing ends
- Scissors
- Measuring tape
✨ Step-by-Step Instructions
Step 1: Measure Your Foot
Before starting, measure:
- Foot length (heel to toe)
- Foot circumference (around the widest part)
This ensures a comfy fit! You can adjust stitch counts to match your size.
Step 2: Make the Toe
We’ll start with a simple rectangle toe instead of complex shaping.
- Chain 10–12 (depending on your foot width).
- Row 1: Single crochet (SC) in the 2nd chain from hook and across. Chain 1, turn.
- Row 2–10: SC in each stitch across, chain 1, turn.
→ You’re creating a small rectangle that will wrap around your toes. - Join the ends: Fold the rectangle in half (short sides together) and slip stitch to join.
→ This forms a little tube for your toes.
Step 3: Work the Foot
- Round 1: Work 1 SC evenly around the edge of your toe tube. Join with a slip stitch.
- Round 2–12 (or as needed): Continue working in rounds of half double crochet (HDC).
→ Measure as you go — stop when the sock reaches the base of your ankle.
→ You can also switch to a new color for stripes!
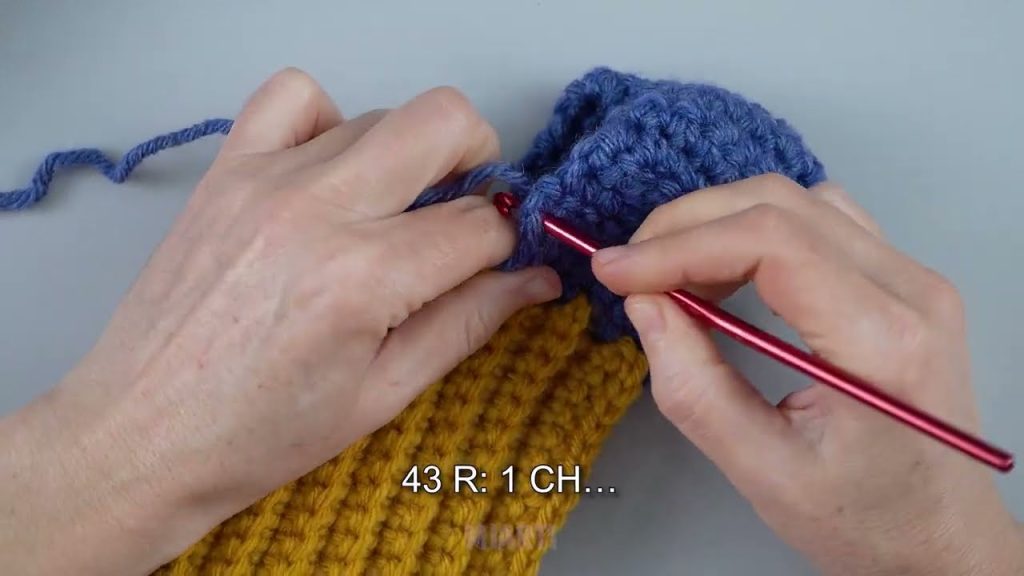
Step 4: Shape the Heel (the Easy Way!)
No complicated short rows here — we’ll use a flat rectangle heel flap.
- From your last join, count about ½ of your stitches.
- Work back and forth in rows of HDC across those stitches (not the full circle).
- Row 1–6: HDC across, chain 1, turn.
- Fold the heel flap in half and slip stitch the sides together to form a pocket.
- Rejoin yarn at the top edge of the heel.
Step 5: Crochet the Ankle & Cuff
- Work HDC stitches in rounds around the entire opening.
- Continue until the cuff is as tall as you like (usually 3–5 rounds).
- For a snug cuff, switch to single crochet in back loops only for the last 2 rounds — this makes it stretchy!
Step 6: Finishing Touches
- Fasten off and weave in all yarn ends with a yarn needle.
- Make your second sock the same way (count your rows for consistency).
- Try them on and admire your cozy handmade socks!
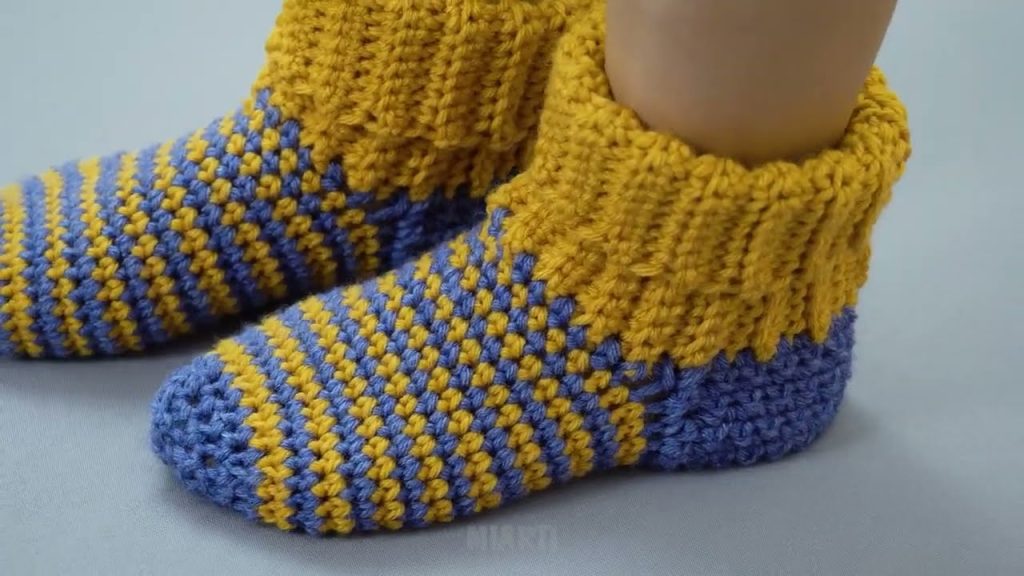
🧶 Optional Customizations
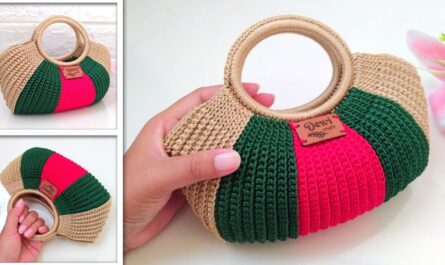
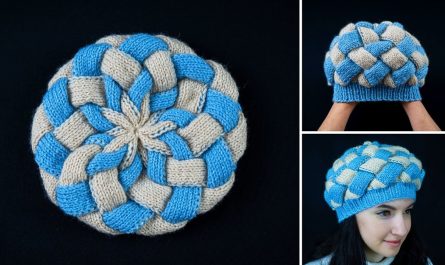
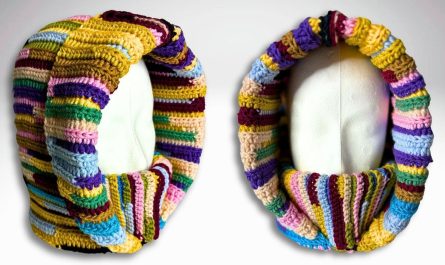
- Add stripes or color blocks by changing yarn colors between rounds.
- Use fuzzy yarn for slipper-style socks.
- Add non-slip dots (puffy fabric paint) to the soles if using them indoors.
- Make them longer by adding more ankle rows for boot socks.
🕒 Estimated Time
- Beginner: 2–3 hours per sock
- Intermediate: 1–1.5 hours per sock
🩷 Quick Tips
- Keep your tension even — tight stitches make socks stiff.
- Try on as you go to ensure a perfect fit.
- Wash your socks gently by hand or on a delicate machine cycle.
Would you like me to include a printable pattern format (like what you’d see in a crochet pattern PDF), with abbreviations and stitch guide?
I can make that next — perfect if you want to follow it while you crochet!
Watch tutorial: