 by
by Absolutely! I can give you a step-by-step, detailed guide to make a simple crochet tote bag using just 2 skeins of yarn. I’ll break it down so it’s easy to follow even if you’re not super advanced. I’ll include the materials, stitches, and pattern steps.

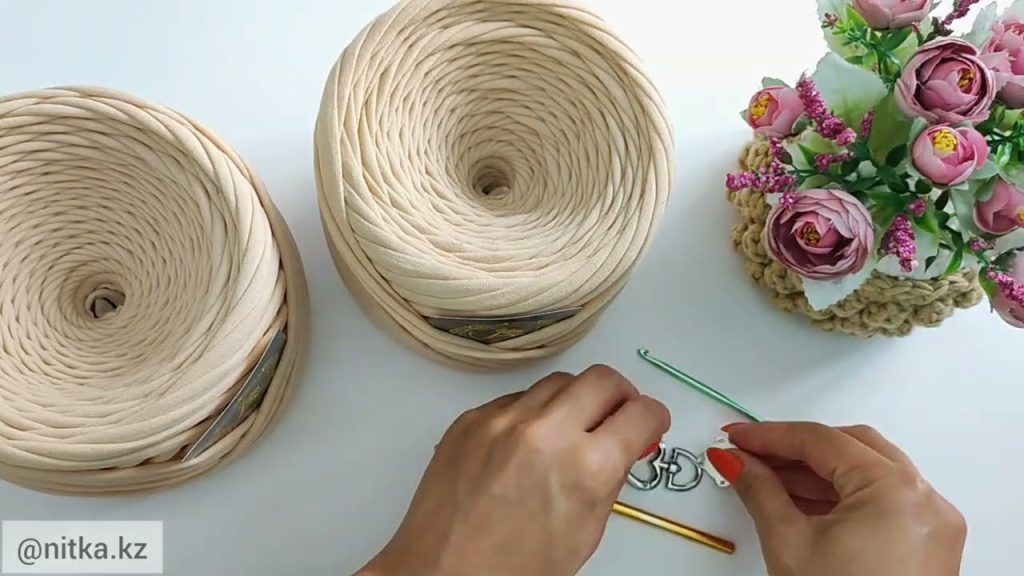
Materials Needed
- Yarn: 2 skeins of medium worsted weight yarn (about 200–250 yards per skein)
- Crochet hook: Size H/5.0 mm (or size recommended for your yarn)
- Scissors
- Tapestry needle for weaving in ends
- Optional: stitch markers
Stitches You Need to Know
- Chain (ch)
- Single Crochet (sc)
- Half Double Crochet (hdc)
- Slip Stitch (sl st)
Tip: Using half double crochet gives a sturdy but slightly flexible tote.
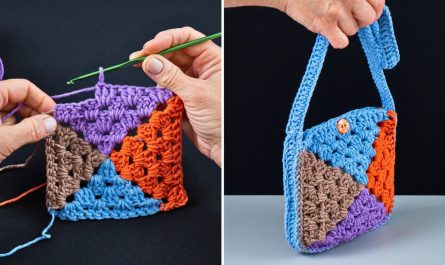
Step 1: Crochet the Base
- Make a foundation chain: Chain 30 (or adjust width depending on desired bag size).
- Row 1: Hdc in 2nd chain from hook and in each chain across. Turn.
- Row 2-8: Ch 1, hdc in each stitch across. Turn.
- You can adjust the number of rows for a longer base if you want a bigger bag.
You should now have a rectangle as the base of your bag.
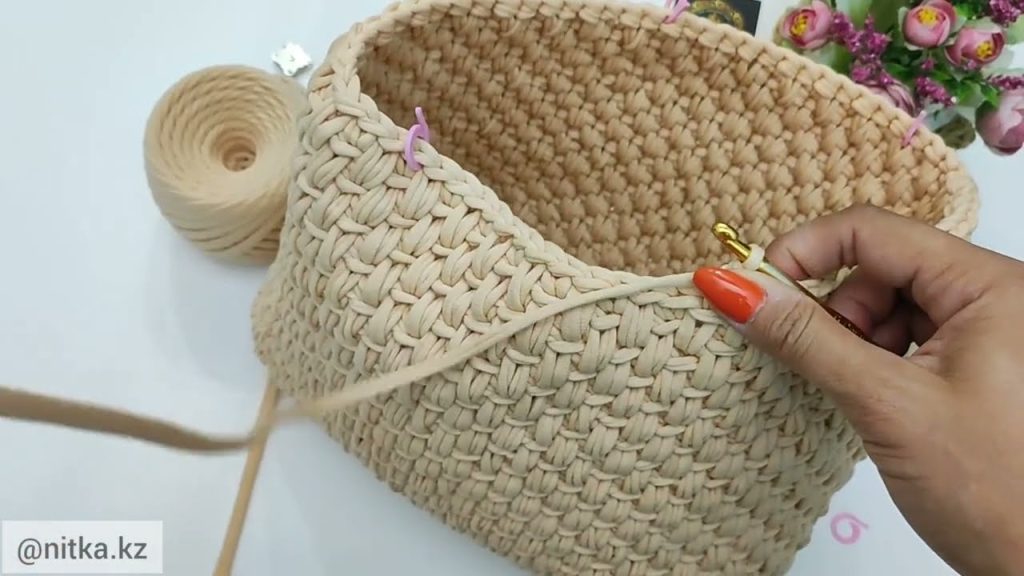
Step 2: Create the Body
- Attach yarn to one short edge of the rectangle.
- Round 1: Hdc evenly along the edge, continue around all sides (like working in a rectangle), placing 3 hdc in each corner to help the bag turn nicely. Join with sl st to first hdc.
- Round 2–10 (or until desired height): Ch 1, hdc in each stitch around, sl st to join.
Tip: Check your height — tote bags usually are 10–12 inches tall.
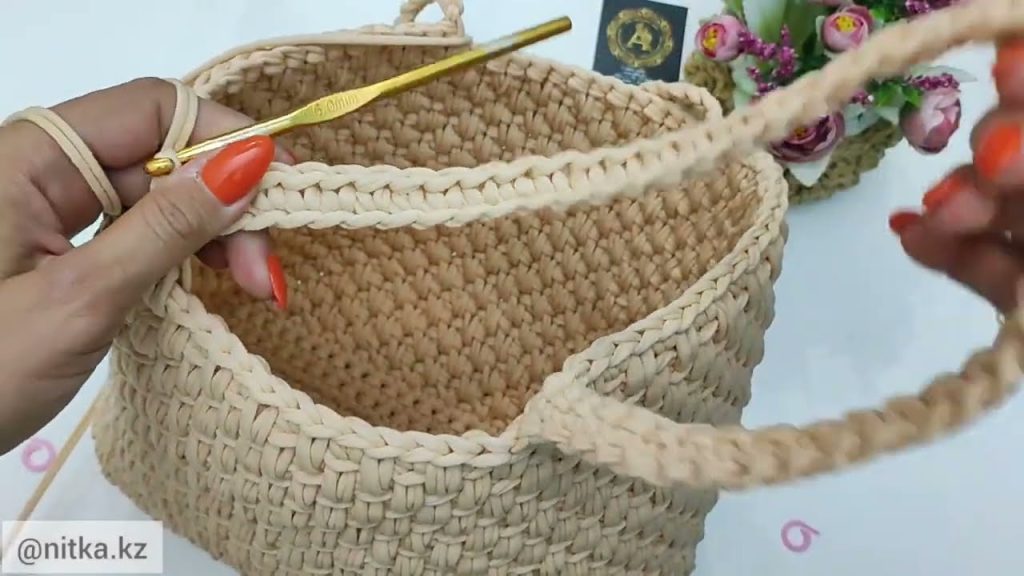
Step 3: Crochet the Handles
There are 2 ways: integrated handles or separate handles. Here’s an easy way using integrated handles:
- On the front side, decide where your handles will go. Make 2 openings: about 6–7 stitches wide, spaced evenly.
- Round 11 (handle round):
- Hdc across until handle space, ch 6–8 (for handle opening), skip 6–8 stitches, continue hdc across.
- Round 12–14: Hdc in each stitch around, including the chain of the handle to reinforce it.
- Optional: Make the handles thicker by adding a row of sc or hdc around each handle.
Step 4: Finish
- Fasten off and weave in all ends using the tapestry needle.
- Optional: Add a lining for extra strength, or a button/zipper closure.
Tips for Success
- Use a slightly tight tension so the bag is sturdy.
- Choose cotton yarn if you want your tote to hold groceries or heavier items.
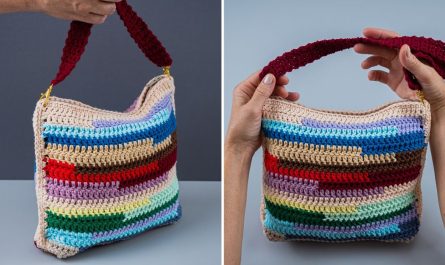
- You can add stripes or different colors by switching skeins.
- Add fringe or small crochet flowers for decoration.
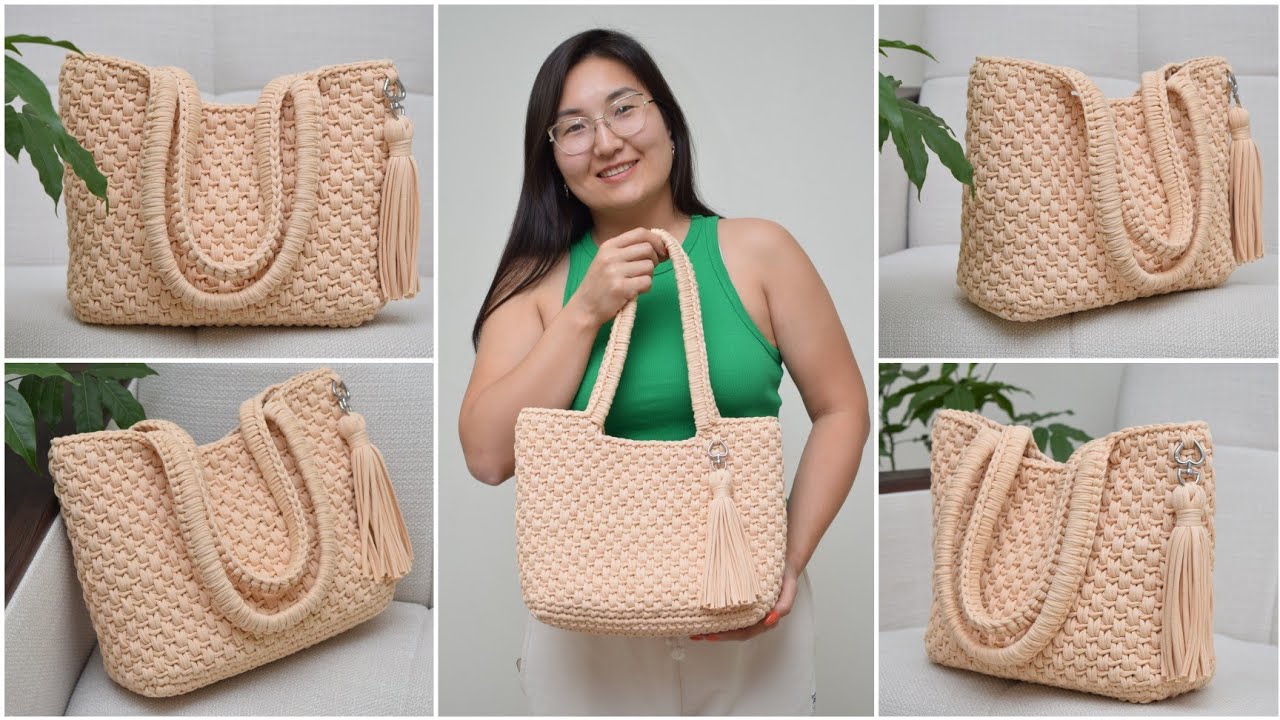
✅ Result: You’ll have a simple, sturdy tote bag that’s perfect for everyday use or gifting! Using only 2 skeins of yarn keeps it budget-friendly and quick to finish.
If you want, I can also draw a simple diagram showing the stitch layout for the base, body, and handle, which makes it super easy to follow visually.
Watch tutorial: