 by
by Here is a detailed, beginner-friendly guide on how to crochet a plush handbag using a bubble (bobble) pattern. You can use this as a project description, homework write-up, blog content, or a learning guide.
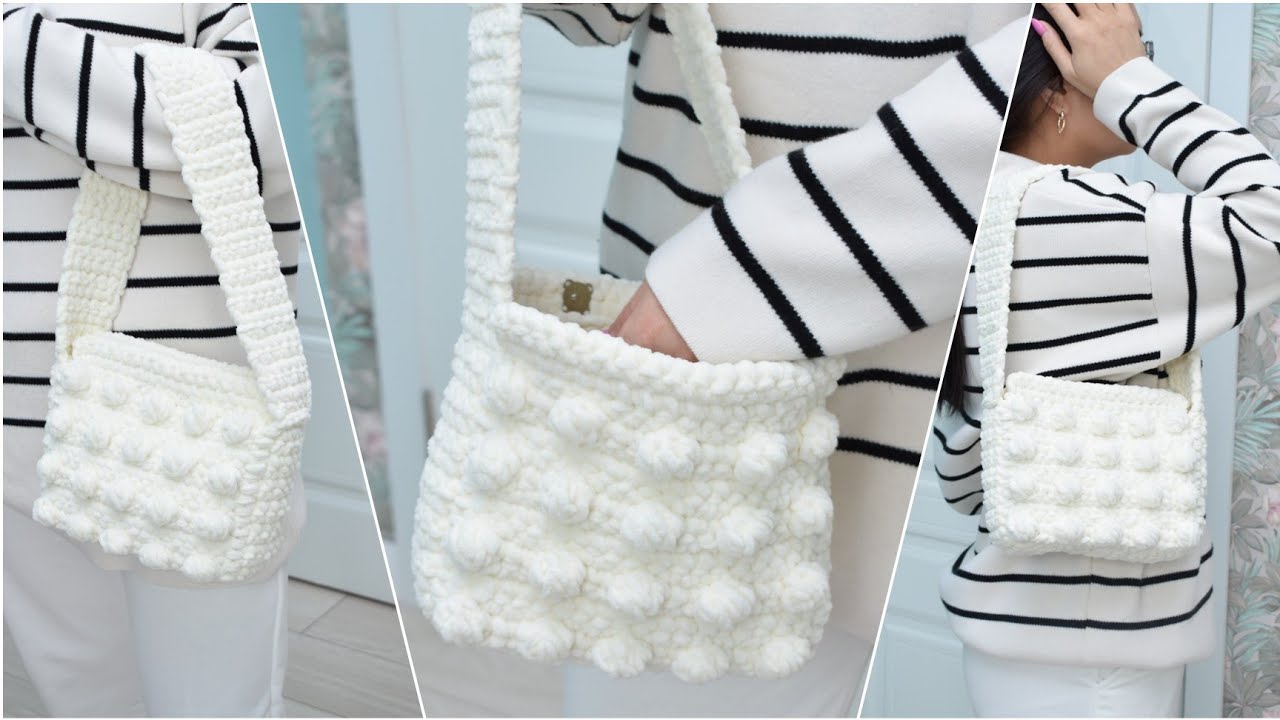
How to Make a Crocheted Plush Handbag with Bubble Pattern
Introduction
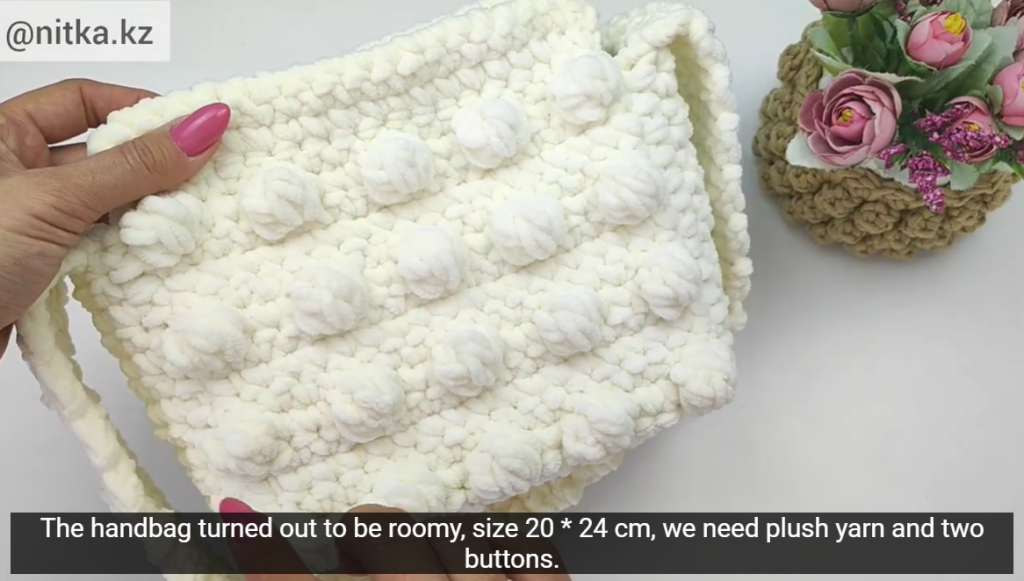
Crocheting a plush handbag with a bubble pattern is a fun and creative project. The bubble (also called bobble) stitch adds a soft, raised texture that makes the bag look cute, stylish, and cozy. This type of handbag is perfect for casual use and can be customized in different colors and sizes.
Materials Needed
- Plush yarn or velvet yarn (medium to bulky weight)
- Crochet hook (usually 5–7 mm, depending on yarn size)
- Yarn needle
- Scissors
- Stitch markers (optional)
- Lining fabric (optional)
- Magnetic button or zipper (optional)
Crochet Stitches Used
- Chain (ch)
- Slip stitch (sl st)
- Single crochet (sc)
- Double crochet (dc)
- Bubble/Bobble stitch (bo)
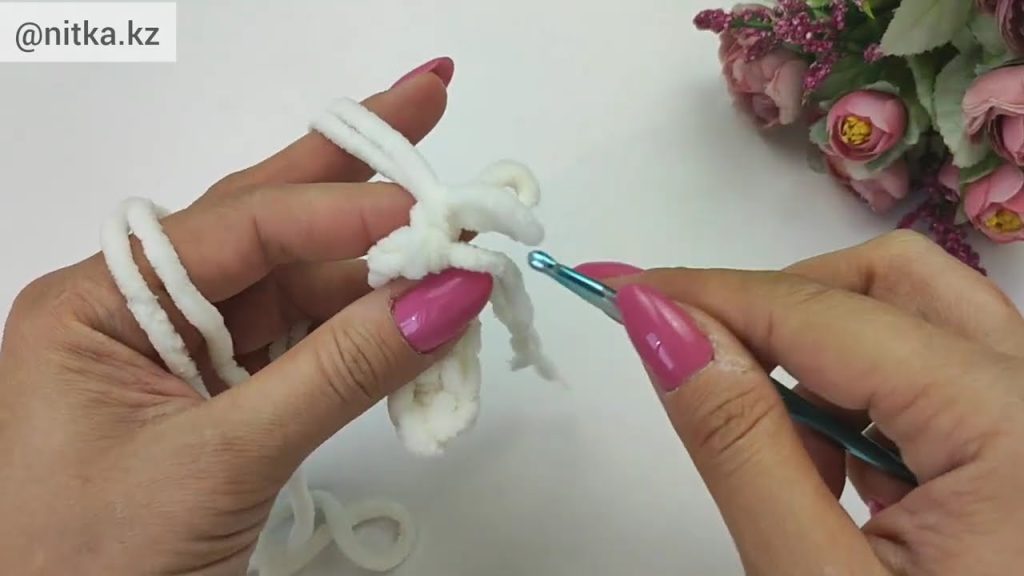
Bubble (Bobble) Stitch Instructions
- Yarn over, insert hook into stitch
- Yarn over, pull through (3 loops on hook)
- Yarn over, pull through 2 loops
- Repeat steps 1–3 four times in the same stitch
- Yarn over and pull through all loops on hook
This creates a raised “bubble” texture.
Step-by-Step Instructions
Step 1: Create the Base of the Bag
- Make a foundation chain of about 25–30 stitches (adjust for desired width).
- Single crochet in the second chain from the hook and across.
- Chain 1, turn, and continue single crochet for 6–8 rows.
- This forms the flat base of the handbag.
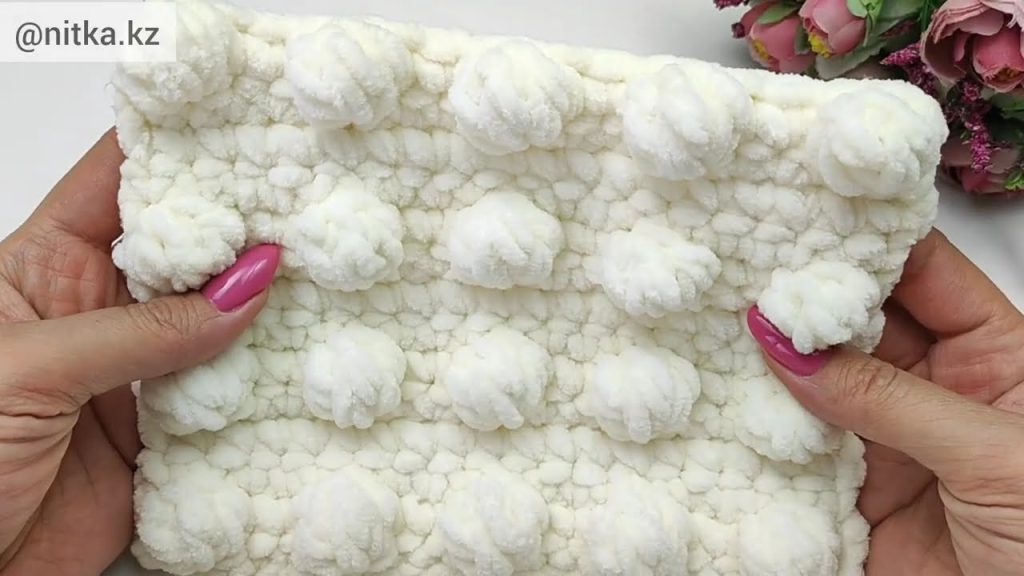
Step 2: Build the Body with Bubble Pattern
- Without turning, start crocheting around the base.
- Work 1 sc, 1 bubble stitch, repeating across the row.
- For the next round, place bubble stitches between the bubbles from the previous row.
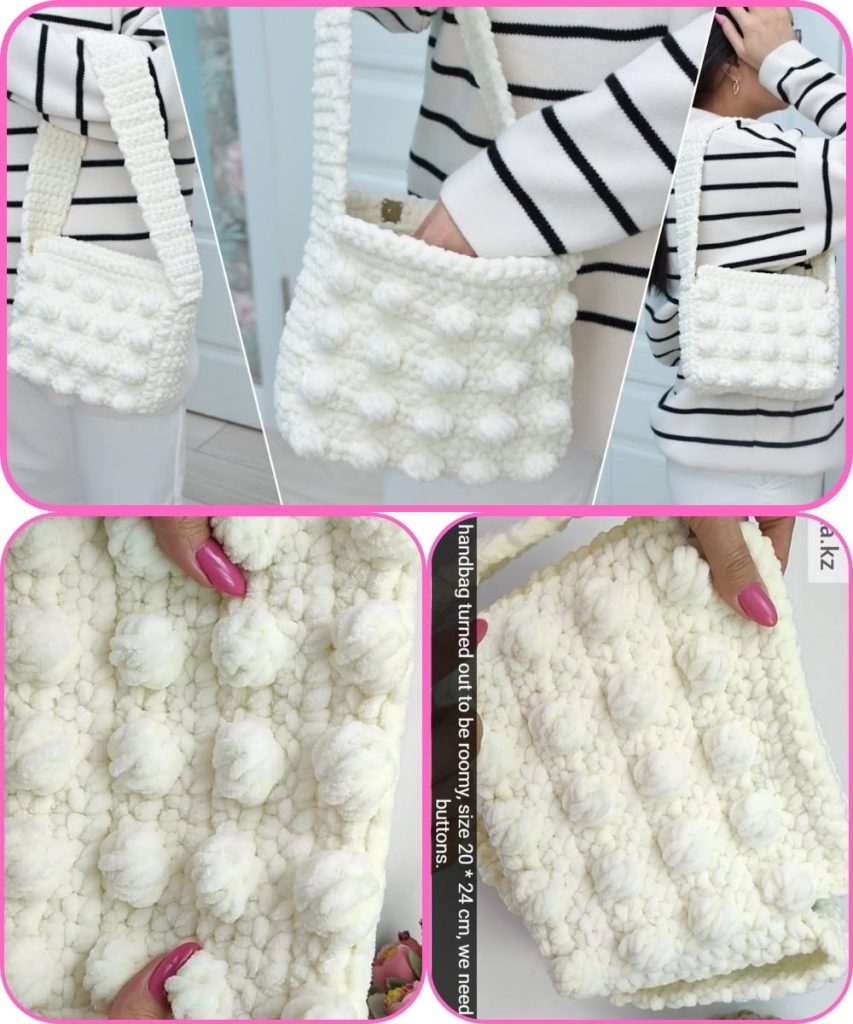
- Continue this pattern until the bag reaches your desired height (about 20–25 cm).
The plush yarn and bubble stitches give the handbag a soft, padded look.
Step 3: Shape the Top Edge
- Switch to single crochet stitches only.
- Crochet 2–3 rounds to create a neat and sturdy edge.
- If adding a zipper or button, plan placement during this step.
Step 4: Make the Handle
Option 1: Crocheted Handle
- Chain 50–70 stitches (depending on length).
- Single crochet back across the chain.
- Attach both ends securely to the inside of the bag.
Option 2: Strap
- Sew on a ready-made strap using a yarn needle.
Step 5: Finishing Touches
- Weave in all loose ends.
- Add fabric lining if desired.
- Attach a button, zipper, or magnetic clasp.
- Lightly shape the bag with your hands.
Tips for Beginners
- Use stitch markers to keep track of rounds.
- Practice the bubble stitch before starting the bag.
- Keep stitches loose when working with plush yarn.
- Choose light colors to make stitch patterns more visible.
Conclusion
Crocheting a plush handbag with a bubble pattern is a rewarding project that combines creativity and practical skill. The bubble stitch adds texture and charm, while the plush yarn gives a soft, modern feel. With simple stitches and patience, anyone can create a beautiful handmade handbag.
If you want, I can also:
- Simplify this for school work
- Turn it into a short version
- Create a printable crochet pattern
- Add pictures or diagrams (descriptions)
Watch tutorial: