 by
by Here’s a clear, beginner-friendly guide you can use or adapt. I’ll explain everything step by step and keep the stitch simple while still giving that 3D texture 😊
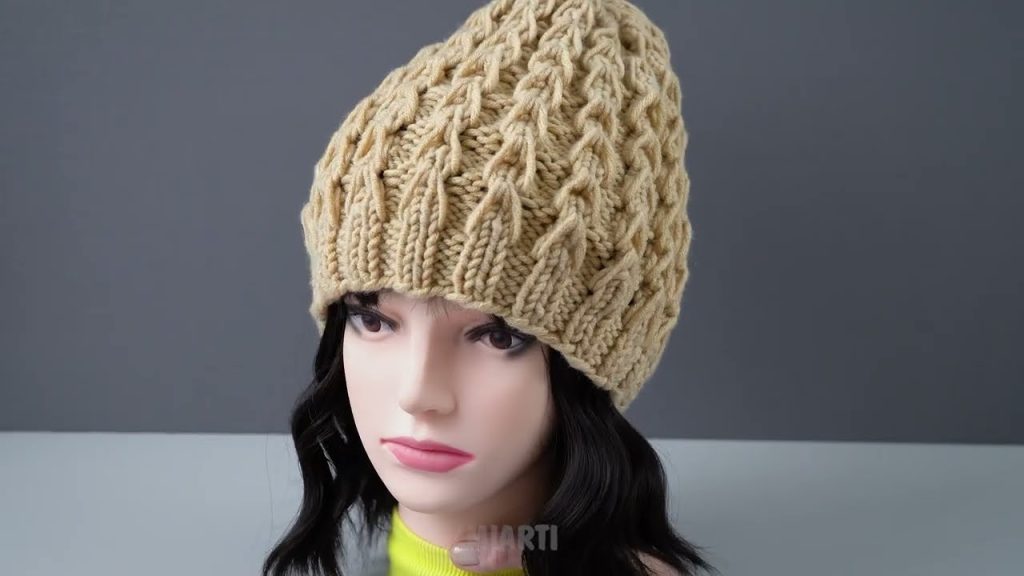
How to Make a Simple Crochet Hat with a 3D Stitch Pattern (Beginner Friendly)
This easy crochet hat is worked in the round and uses a 3D stitch (Puff Stitch) to create a soft, raised texture. It’s perfect for beginners who already know basic stitches like chain and single crochet and want to try something new.
Skill Level
Beginner–Easy
You should know:
- Chain (ch)
- Slip stitch (sl st)
- Single crochet (sc)
- Double crochet (dc)
Materials Needed
- Yarn: Medium weight (Category 4 / worsted weight)
- Hook: 5.0 mm (H/8) crochet hook
- Extras:
- Scissors
- Yarn needle (for weaving ends)
Crochet Abbreviations (US Terms)
- ch = chain
- sl st = slip stitch
- sc = single crochet
- dc = double crochet
- puff = puff stitch
- st(s) = stitch(es)
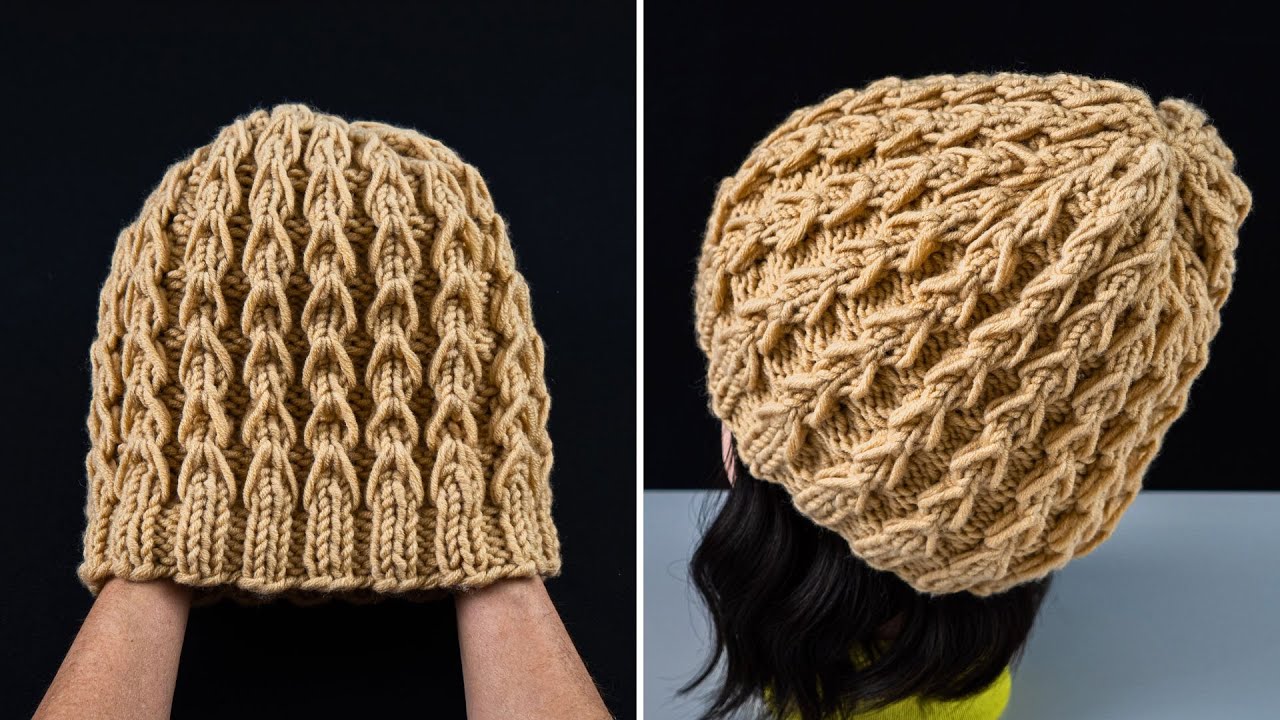
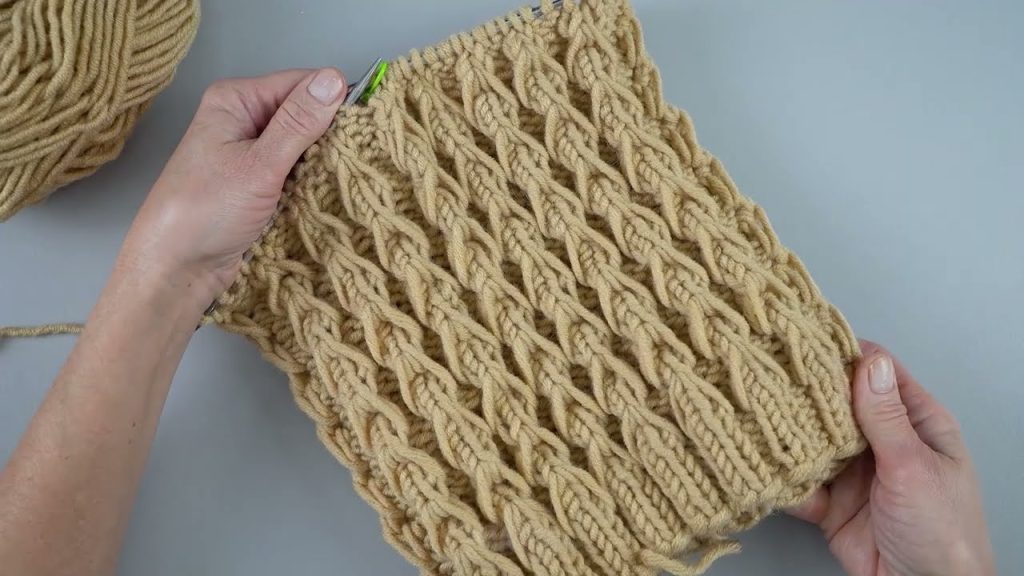
What Is a Puff Stitch?
A puff stitch is a simple 3D stitch made by pulling up several loops in the same stitch and closing them together. It creates a soft, raised “puff” that gives your hat texture and warmth.
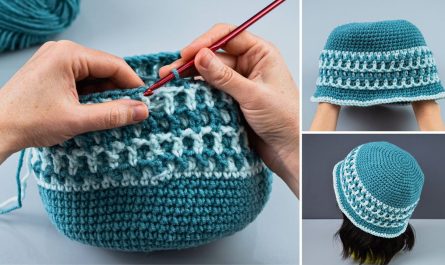
Step 1: Make the Magic Ring
- Create a magic ring.
- Chain 1 (does not count as a stitch).
- Work 10 double crochet (dc) into the ring.
- Pull the ring tight and slip stitch to the first dc to join.
👉 You now have the top center of your hat.
Step 2: Increase Round
- Chain 1.
- Work 2 dc in each stitch around.
- Slip stitch to join.
You should now have 20 stitches.
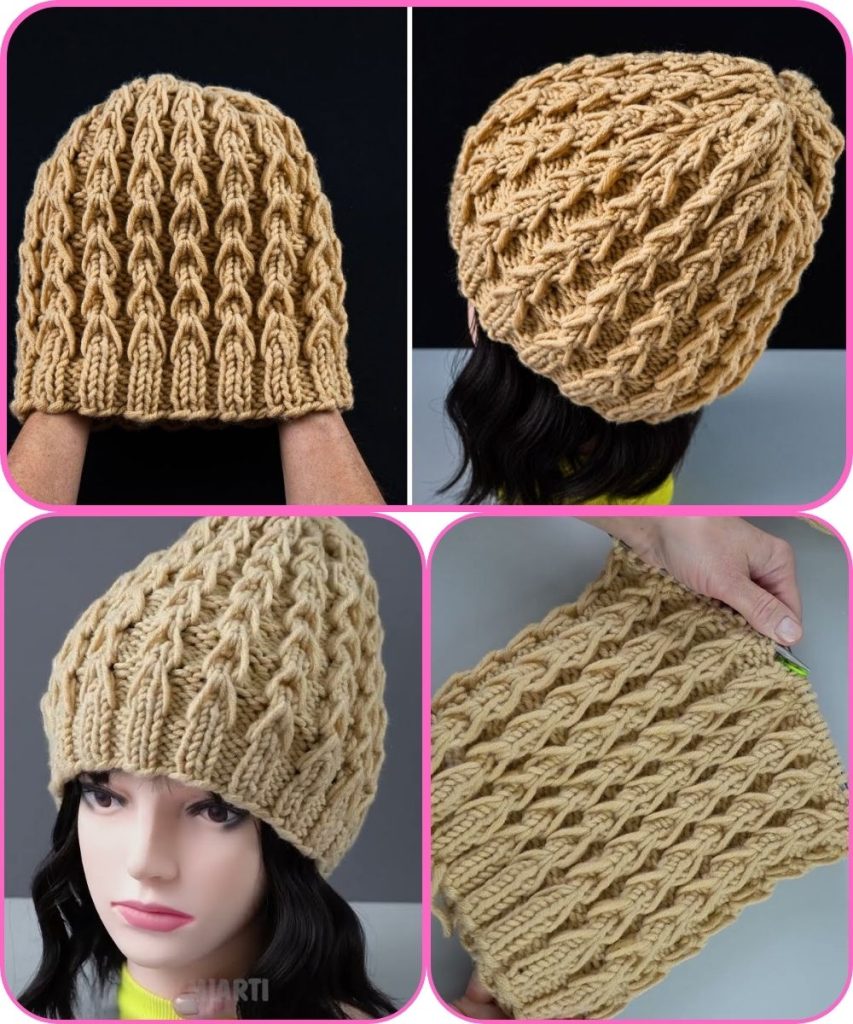
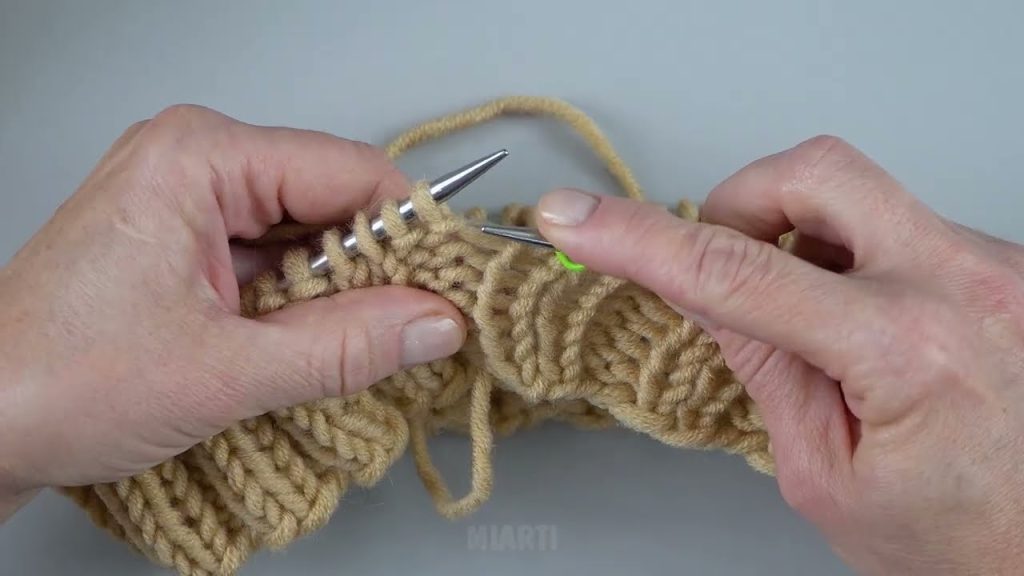
Step 3: Begin the 3D Puff Stitch Pattern
- Chain 1.
- In the first stitch, make 1 puff stitch.
- Chain 1.
- Skip 1 stitch, then make 1 puff stitch in the next stitch.
- Repeat around.
- Slip stitch to join.
✨ You’ll start seeing the raised texture forming.
Step 4: Continue Building the Hat
- Repeat the puff stitch round for several rows.
- Keep working puff stitch + chain 1, skipping stitches between puffs.
- Continue until the hat measures about:
- 6–7 inches tall for a child
- 8–9 inches tall for an adult
👉 Try the hat on as you go to check the fit.
Step 5: Create the Hat Brim (Simple & Neat)
- Chain 1.
- Work 1 single crochet (sc) in every stitch and chain space around.
- Do 2–3 rounds of single crochet.
- Slip stitch to join and fasten off.
This gives the hat a clean edge and helps it hold its shape.
Step 6: Finish the Hat
- Cut yarn, leaving a small tail.
- Pull through the final loop.
- Use a yarn needle to weave in all loose ends.
🎉 Your crochet hat is complete!
Beginner Tips
- Use light-colored yarn so you can see stitches clearly.
- Don’t pull puff stitches too tight—keep them fluffy.
- Count stitches every round to keep the hat even.
- Practice puff stitches on a small swatch first if needed.
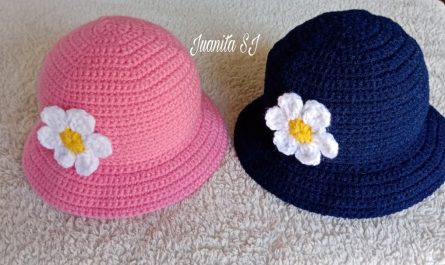
Customization Ideas
- Add a pom-pom on top
- Change yarn colors every few rows
- Use bulky yarn for a thicker winter hat
If you want, I can also:
- Simplify this into a short pattern
- Adjust it for kids or adults
- Switch the puff stitch to another 3D stitch (bobble or popcorn)
Watch tutorial: