 by
by Here is a clear, detailed, and beginner-friendly guide you can use for a blog post, tutorial, or pattern description.
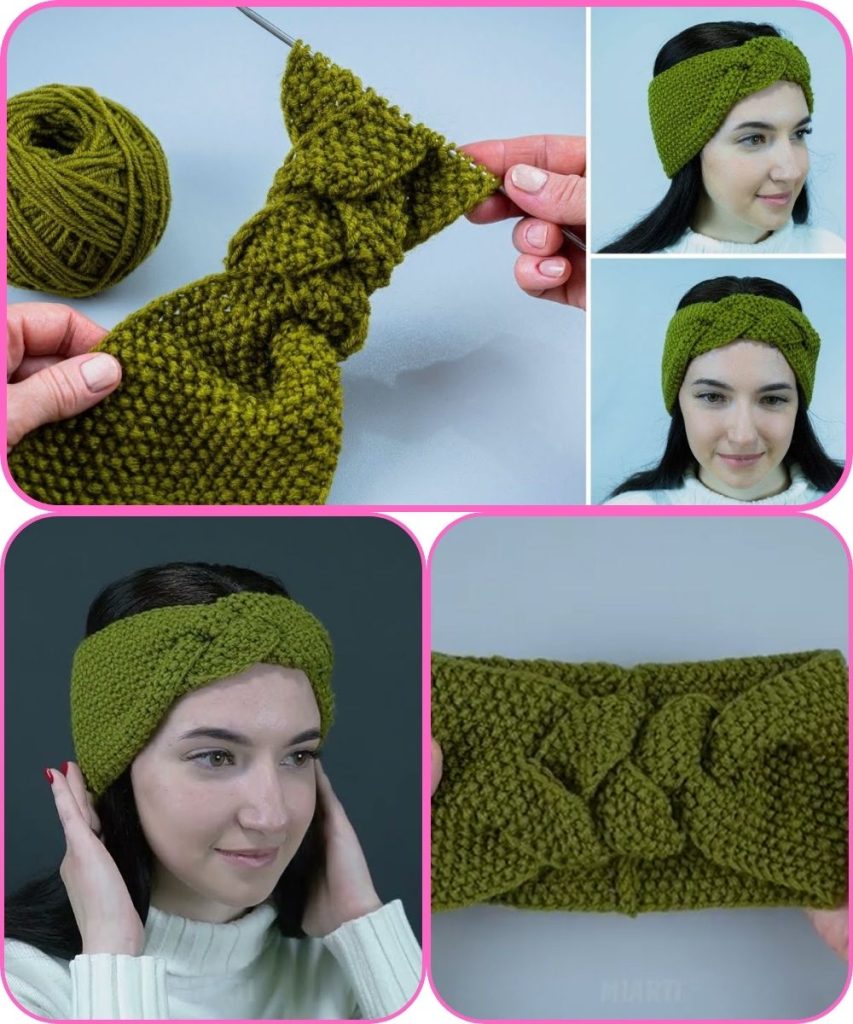
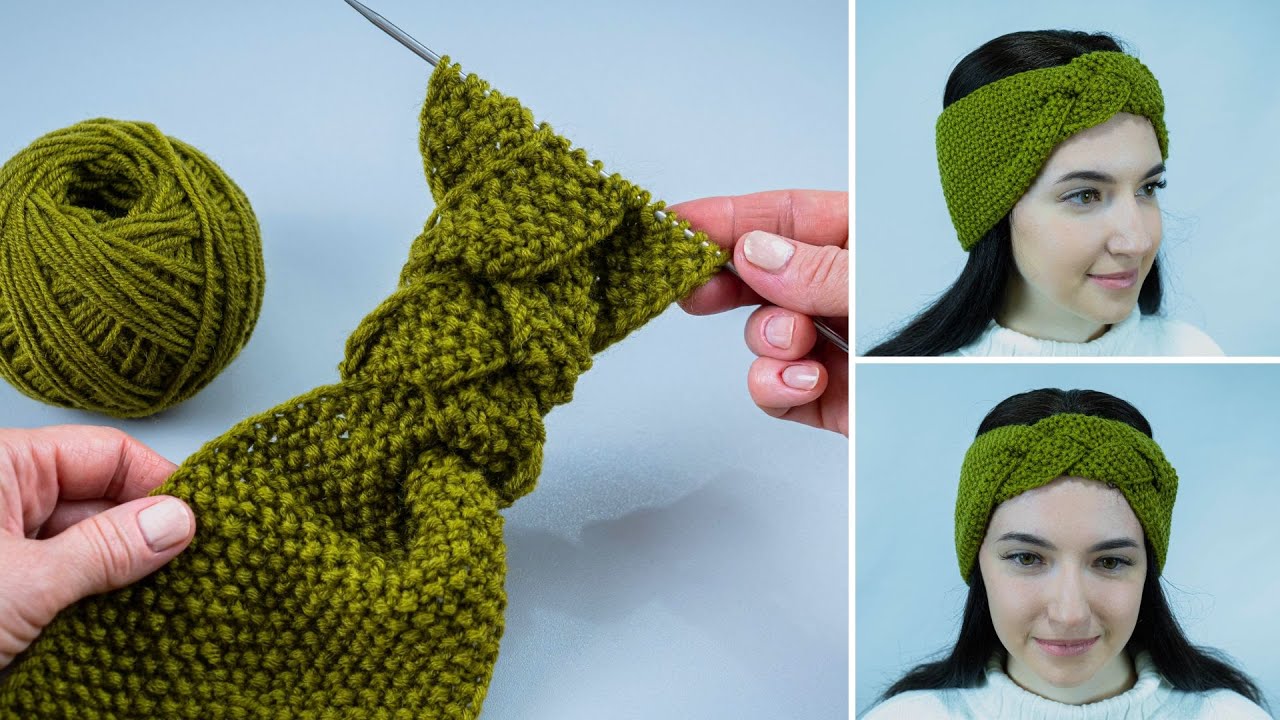
How to Make a Simple Headband with a Wave Pattern – Even a Beginner Can Handle It!
A crochet headband with a wave pattern looks beautiful and textured, yet it is surprisingly easy to make. Even beginners can handle this project because it uses basic stitches arranged in a simple repeating pattern. The wave effect adds a stylish touch without making the process complicated.
This project is perfect for learning stitch rhythm while creating a practical and fashionable accessory.
Why This Headband Is Great for Beginners
- Uses basic crochet stitches
- Simple repeating pattern
- Small and fast project
- Easy to adjust for any head size
- Great for practicing tension and stitch counting
- Requires only a small amount of yarn
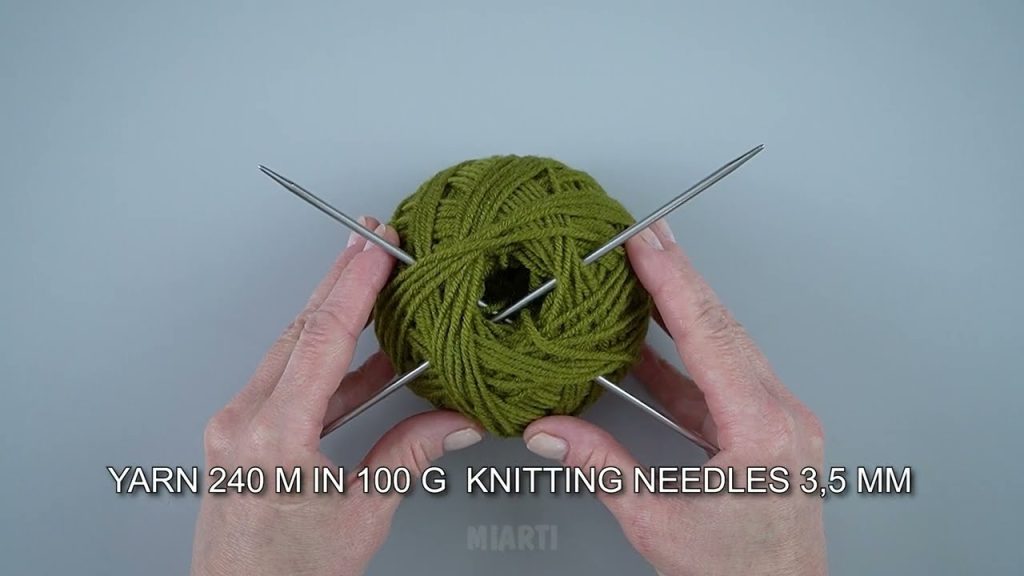
Materials You’ll Need
Prepare these simple supplies before you begin:
- Yarn: Medium-weight (worsted) yarn
– Soft acrylic, cotton, or wool blend - Crochet Hook: 4–5 mm (check yarn label)
- Scissors
- Yarn Needle
Stitches and Skills Used
This project uses beginner-friendly stitches:
- Chain stitch (ch)
- Single crochet (sc)
- Double crochet (dc)
- Slip stitch (sl st)
If you know how to chain, single crochet, and double crochet, you can make this headband.
Step-by-Step Instructions
Step 1: Decide the Headband Size
For an adult headband:
- Length: 50–55 cm (20–22 inches)
- Width: 6–9 cm (2.5–3.5 inches)
You can adjust these measurements for children by making it shorter.
Step 2: Make the Foundation Chain
- Chain a number of stitches that is a multiple of 6
(For example: 30, 36, or 42 chains) - This multiple helps the wave pattern form evenly
👉 Tip: Keep your foundation chain loose to avoid curling.
Step 3: Start the Wave Pattern
Row 1:
- Single crochet in the second chain from the hook
- Single crochet across the row
- Chain 1, turn
Row 2 (Wave Row):
- Skip 2 stitches, 5 double crochet in the next stitch
- Skip 2 stitches, single crochet in the next stitch
- Repeat across the row
- Chain 1, turn
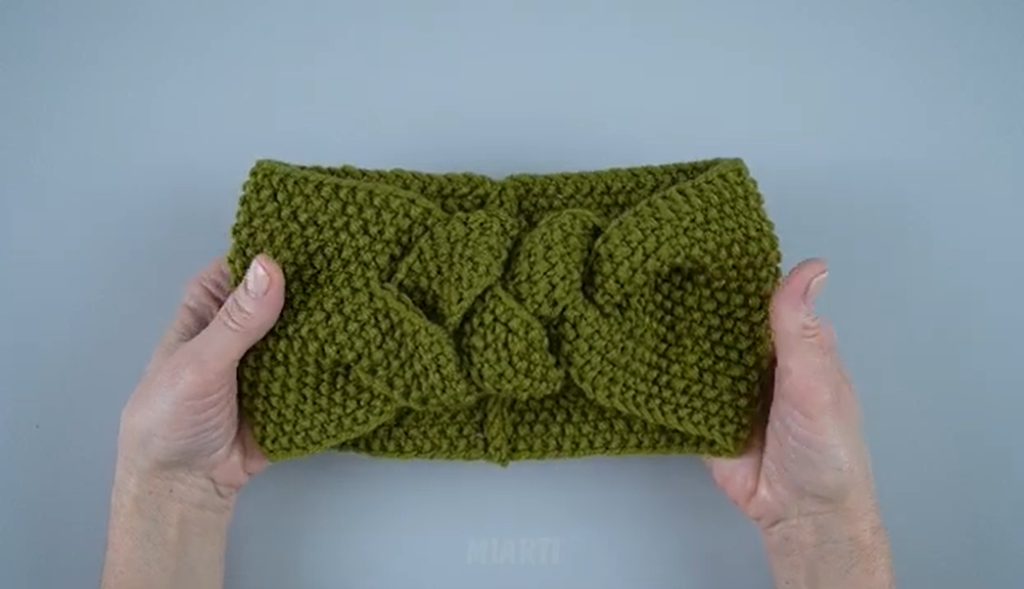
This creates the raised “wave” shape.
Step 4: Continue the Pattern
Row 3:
- Single crochet across the entire row
- Chain 1, turn
Repeat Rows 2 and 3 until the headband reaches the desired length.
👉 Tip: Ending with a single-crochet row gives the headband a neat edge.
Step 5: Join the Ends
You have two easy options:
Option 1: Sew Together
- Place short ends together
- Sew neatly using a yarn needle
Option 2: Slip Stitch Join
- Hold ends together
- Slip stitch through both layers across the edge
Step 6: Finish Off
- Fasten off yarn
- Weave in all loose ends securely
- Gently stretch and shape the headband
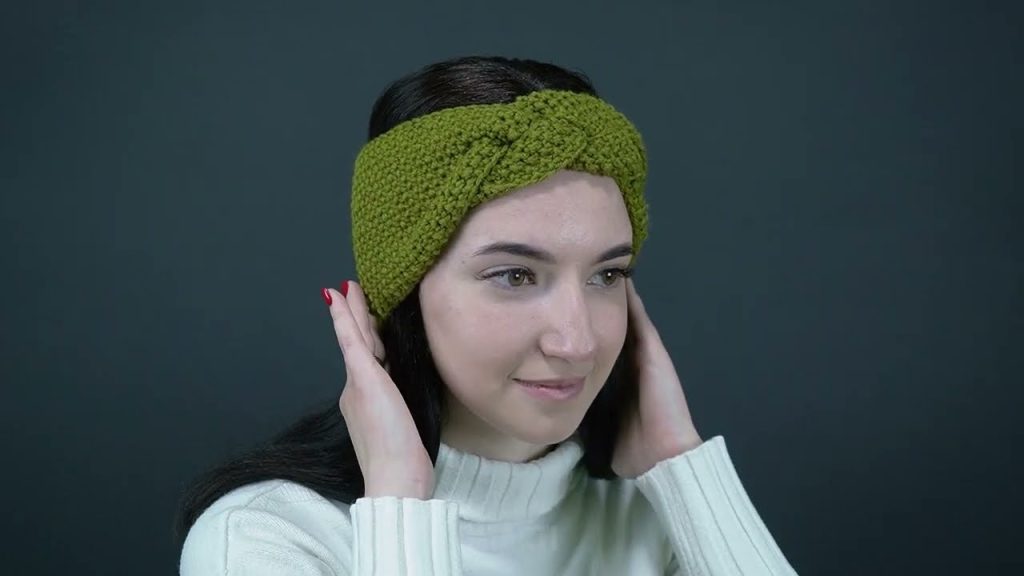
Your wave-pattern headband is now complete!
Easy Customization Ideas
- Use two colors for a bold wave effect
- Make it wider by adding more pattern rows
- Twist once before joining for a modern style
- Add a small crochet flower or button
Beginner Tips for Best Results
- Count stitches to keep waves even
- Use soft yarn for comfort
- Practice the wave row on a small swatch first
- Don’t worry if waves aren’t perfect—handmade texture is part of the charm
Final Thoughts
A simple headband with a wave pattern is a wonderful beginner crochet project that looks far more advanced than it really is. With easy stitches and a repeating design, you can confidently create a stylish accessory in a short amount of time.
Once you finish one, you’ll want to make more in different colors for every season!
If you’d like, I can also:
- Create a short printable pattern
- Adjust this for baby or child sizes
- Turn it into a step-by-step photo guide
- Design a matching scarf or ear warmer
Watch tutorial: