 by
by Here’s a complete, beginner-friendly guide to making a very simple crochet hat. This project uses only basic stitches, works up quickly, and is perfect for someone new to crochet 🧶🎩
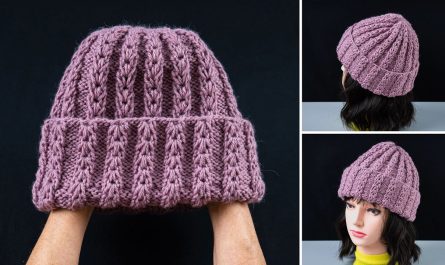
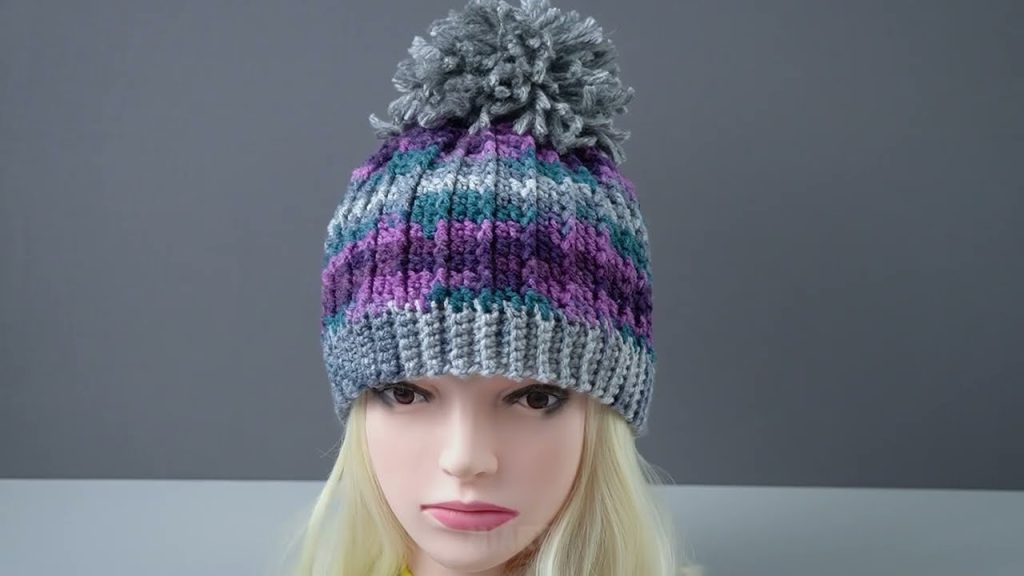
How to Make a Very Simple Crochet Hat – Beginner Tutorial
Skill Level
Beginner (no experience needed beyond basic stitches)
Finished Size
- Adult medium: Fits most heads (20–22 inches / 51–56 cm)
- Adjustable for children or larger sizes
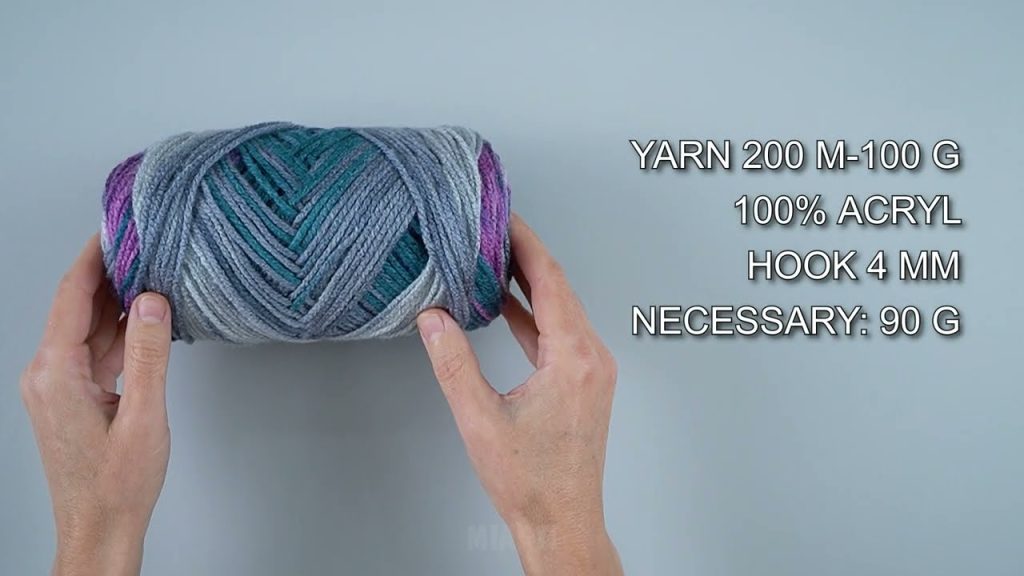
Materials Needed
- Yarn: Medium weight yarn (Category 4 / worsted weight)
Cotton or acrylic yarn works well
👉 Bright colors make it fun! - Crochet hook: 5 mm (H/8)
- Yarn needle for weaving in ends
- Scissors
- Stitch marker (optional, helps mark rounds)

Basic Crochet Stitches Used
- ch – chain
- sc – single crochet
- sl st – slip stitch
- st(s) – stitch(es)
This hat uses only single crochet (sc), making it perfect for beginners.
Step-by-Step Instructions
Step 1: Make the Magic Ring (or Start Chain)
- Magic ring method:
- Make a loop with the yarn, then crochet 6 single crochets into the ring.
- Pull the yarn tail to close the ring tightly.
- Alternative: Chain 4 and join with a slip stitch to form a ring, then crochet 6 sc into the ring.
Step 2: Increase the First Round
- Round 1: Crochet 2 sc in each stitch around → 12 stitches
Step 3: Increase the Second Round
- Round 2: 1 sc in next stitch, 2 sc in next stitch → repeat around → 18 stitches
Step 4: Continue Increasing
- Round 3: 1 sc in next 2 stitches, 2 sc in next stitch → repeat around → 24 stitches
- Round 4: 1 sc in next 3 stitches, 2 sc in next stitch → repeat around → 30 stitches
Continue increasing this way until the circle fits the top of your head (~7–8 inches / 18–20 cm diameter).
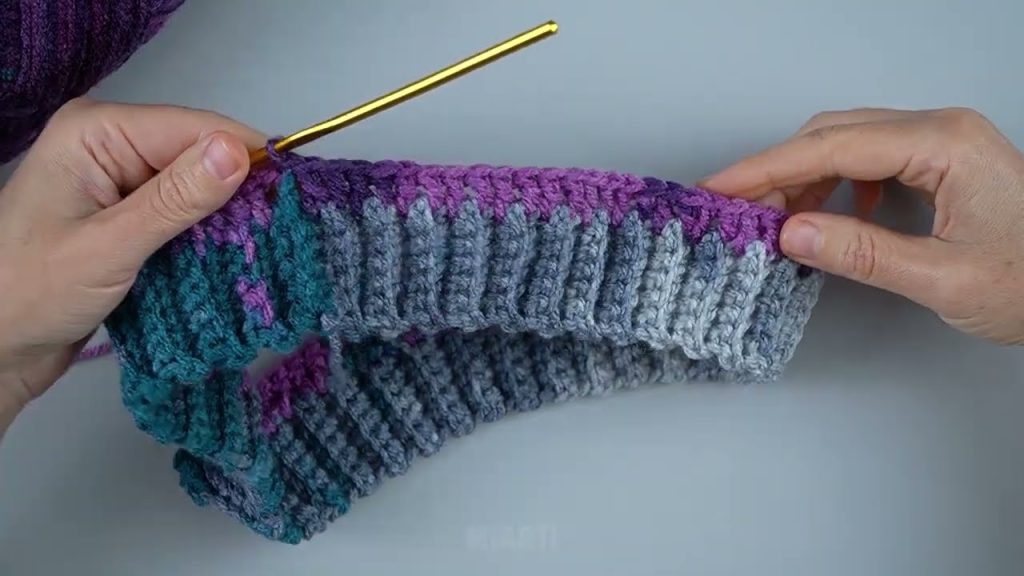
Step 5: Crochet the Body of the Hat
- Once the top is wide enough, single crochet in each stitch around without increasing.
- Continue until the hat reaches about 7 inches (18 cm) from the top to the bottom edge (or desired length).
Step 6: Finish the Hat
- Cut the yarn and pull through the last loop.
- Use a yarn needle to weave in all loose ends.
Optional Customizations
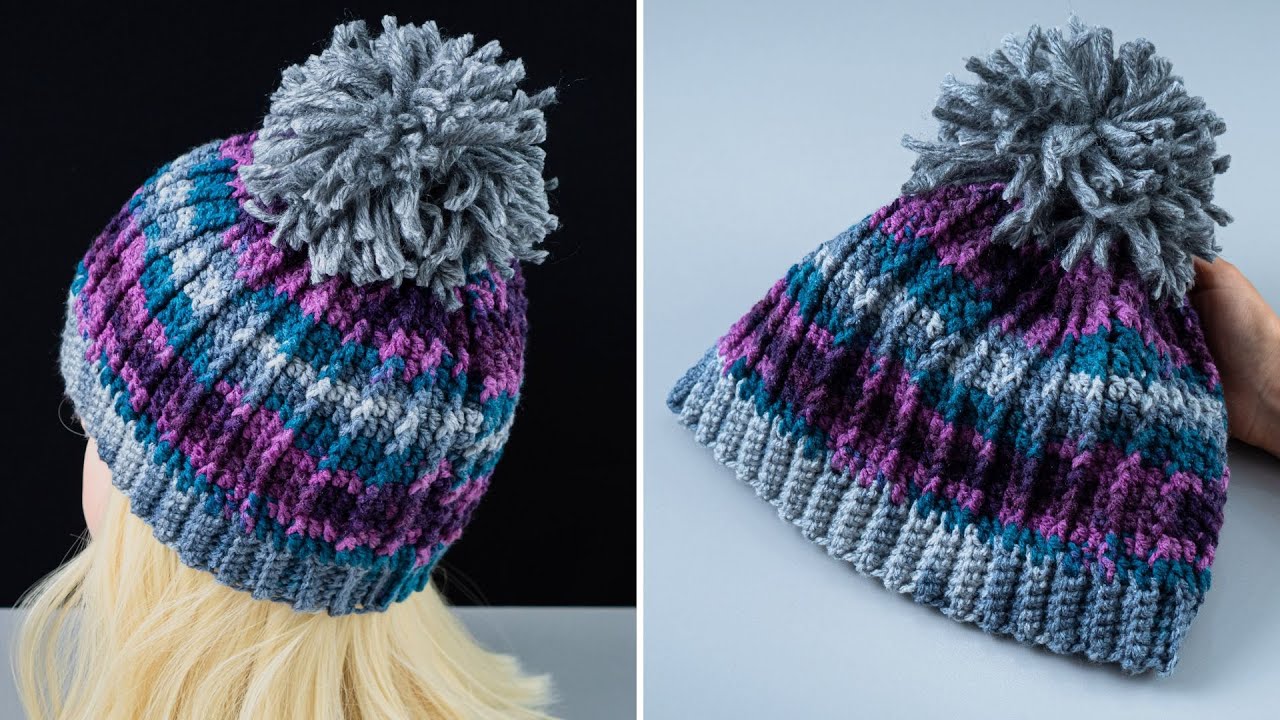
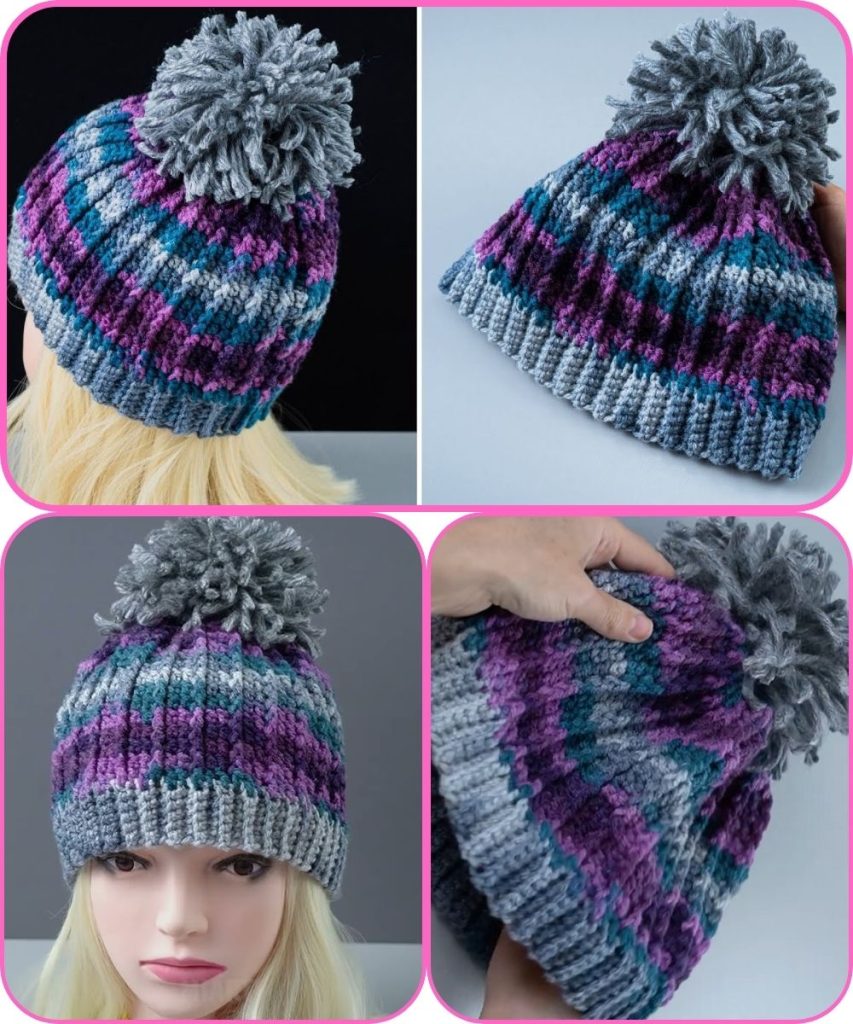
- Add a pom-pom on top
- Use striped yarn for color changes
- Make a slouchy style by crocheting longer
- Add a ribbed edge: alternate front post and back post single crochet around the bottom
Beginner Tips
- Use light-colored yarn so you can see your stitches
- Keep your stitches loose and even for comfort
- Count stitches carefully during increases
- Practice a few rounds on a small swatch if needed
Quick Adjustments
- Smaller hat: stop increasing earlier
- Larger hat: continue increasing 1–2 more rounds
- Children’s size: start with a smaller magic ring and fewer increases
🎉 Congratulations! You’ve made a simple, cozy crochet hat perfect for everyday wear, gifts, or experimenting with colors.
I can also make a super-easy one-page printable beginner pattern with clear rounds and stitch counts if you want it ready to follow step by step.
Watch tutorial: