 by
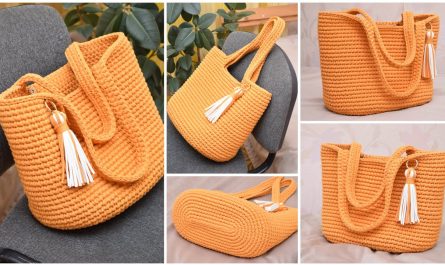
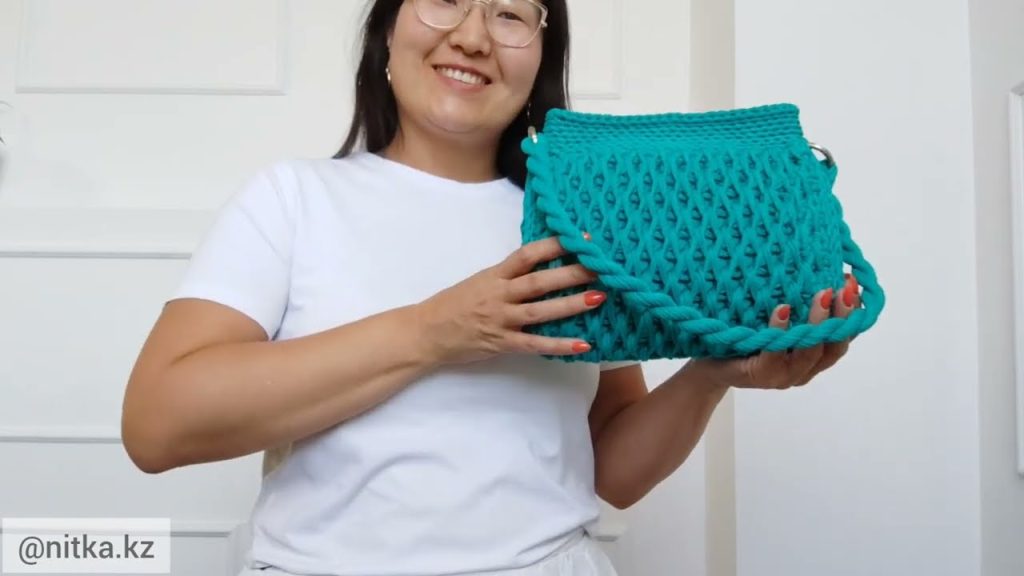
by Absolutely! Let’s go step by step. I’ll give you a detailed guide for making an amazing crochet handbag with a honeycomb pattern, including materials, stitches, and step-by-step instructions. This style looks intricate but is very achievable once you get the hang of the honeycomb stitch.
Materials You’ll Need
- Yarn:
- Medium-weight cotton or acrylic yarn (size 4 / worsted weight).
- Choose a color that suits your style. You can even use two colors for a striped effect.
- Crochet Hook:
- Usually, a 5 mm (H) hook works well with worsted weight yarn.
- Bag Handles:
- Wooden, metal, or crocheted handles, depending on preference.
- Accessories:
- Yarn needle (for weaving in ends).
- Scissors.
- Optional: lining fabric and sewing needle/thread if you want a fabric lining.
Basic Stitches Used
- Chain (ch)
- Slip Stitch (sl st)
- Single Crochet (sc)
- Half Double Crochet (hdc)
- Front Post Double Crochet (fpdc) – this creates the raised honeycomb texture.
- Back Post Double Crochet (bpdc)
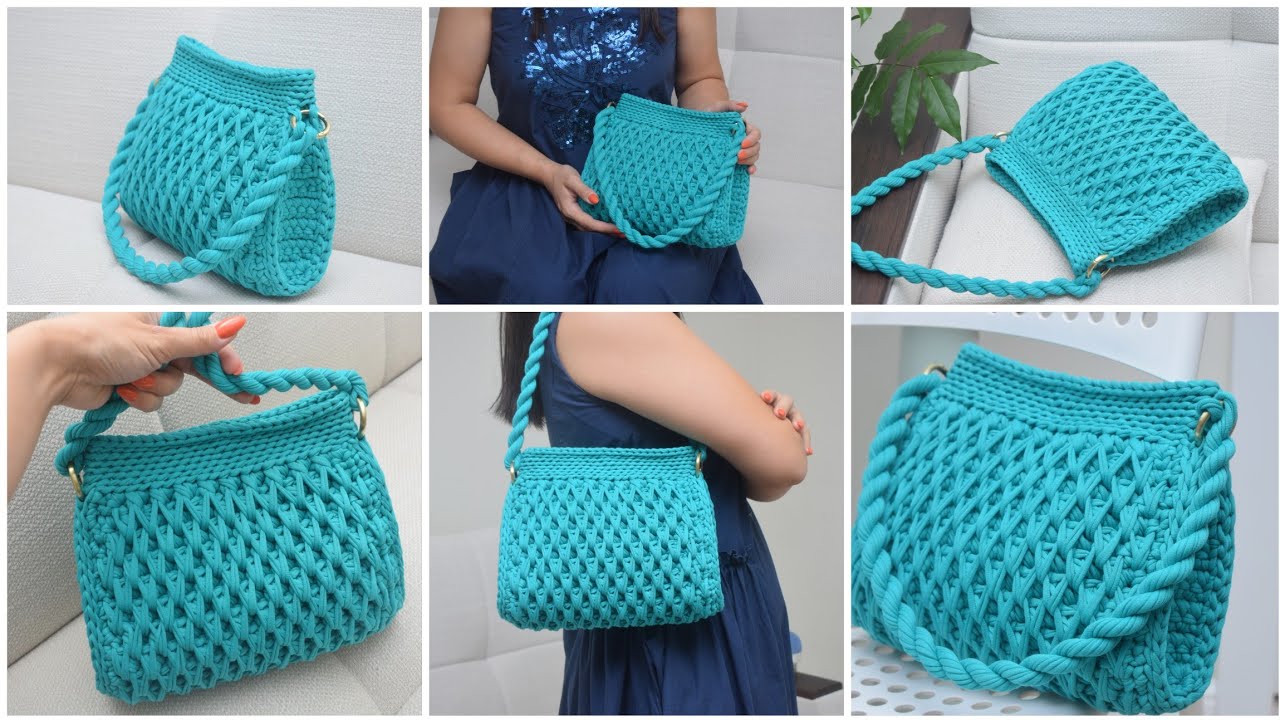
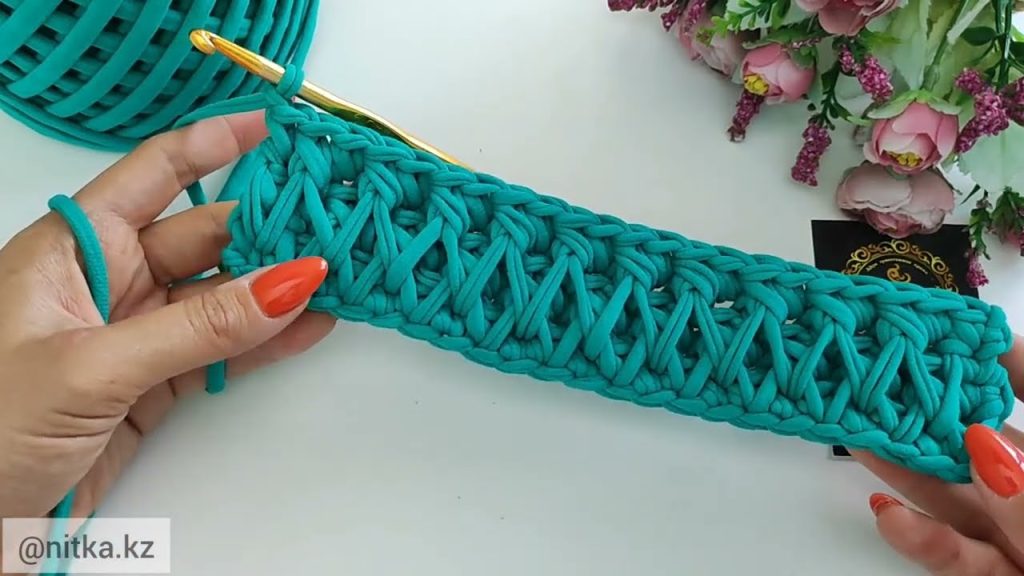
The honeycomb stitch is mainly made by alternating front post and back post stitches to create that 3D effect.
Honeycomb Stitch Pattern
The honeycomb stitch typically involves repeating fpdc and bpdc in a specific order:
Row 1: Double crochet across (foundation row).
Row 2: Fpdc around next stitch, bpdc around next stitch repeat across row.
Row 3: Fpdc around the next fpdc from the row below, bpdc around the next bpdc repeat across.
Repeat Row 3 to continue the honeycomb texture.
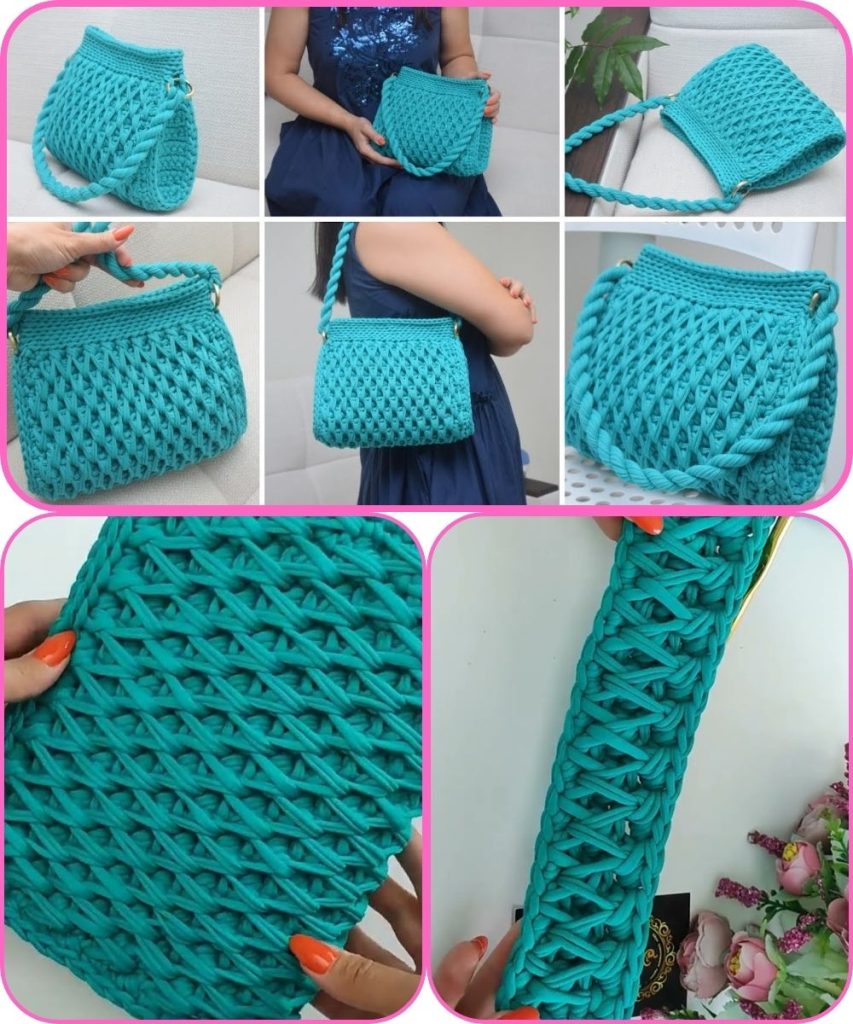
Tip: Work tightly to get the honeycomb to pop nicely.
Step-by-Step Instructions to Make the Bag
Step 1: Base of the Bag
- Start with a foundation chain. Length depends on how wide you want your bag. Example: chain 36 for a small bag.
- Work one row of sc across to give the base stability.
- Crochet rows of sc until the base is rectangular and reaches your desired bag width (e.g., 3-4 inches).

Step 2: Start the Honeycomb Pattern
- Switch to your honeycomb stitch.
- Work rows of fpdc and bpdc as per honeycomb pattern, keeping the stitch count consistent with your base.
- Continue until the height of the bag is your desired size (usually 8-10 inches).
Step 3: Shaping the Bag (Optional)
- If you want a tapered or rounded top, gradually decrease stitches on the edges by skipping 1-2 stitches at each end.
- Otherwise, keep straight sides for a classic rectangular tote.
Step 4: Adding Handles
- Attach handles by either:
- Crocheting directly onto the bag (sl st around the handle).
- Sewing purchased handles with yarn or thread.
- Ensure handles are symmetrical and securely fastened.
Step 5: Finishing Touches
- Weave in all loose yarn ends with a yarn needle.
- Optional: line the bag with fabric for durability and to prevent small items from slipping through holes.
- You can also add a button or magnetic closure for extra functionality.
Tips for a Professional Finish
- Keep even tension while working the honeycomb stitch; it gives a neat 3D look.
- Blocking the finished bag can make the honeycomb texture pop.
- Use cotton yarn for a structured bag that holds its shape.
- Experiment with color combinations—a contrasting color for the honeycomb posts can really stand out.
If you want, I can also make a full diagram and row-by-row chart for a medium-sized honeycomb crochet handbag, which would make it much easier to follow visually.
Watch tutorial: