 by
by Of course! Here’s a detailed, beginner-friendly guide written in clear, simple language that you can use for a blog, tutorial, or pattern intro.
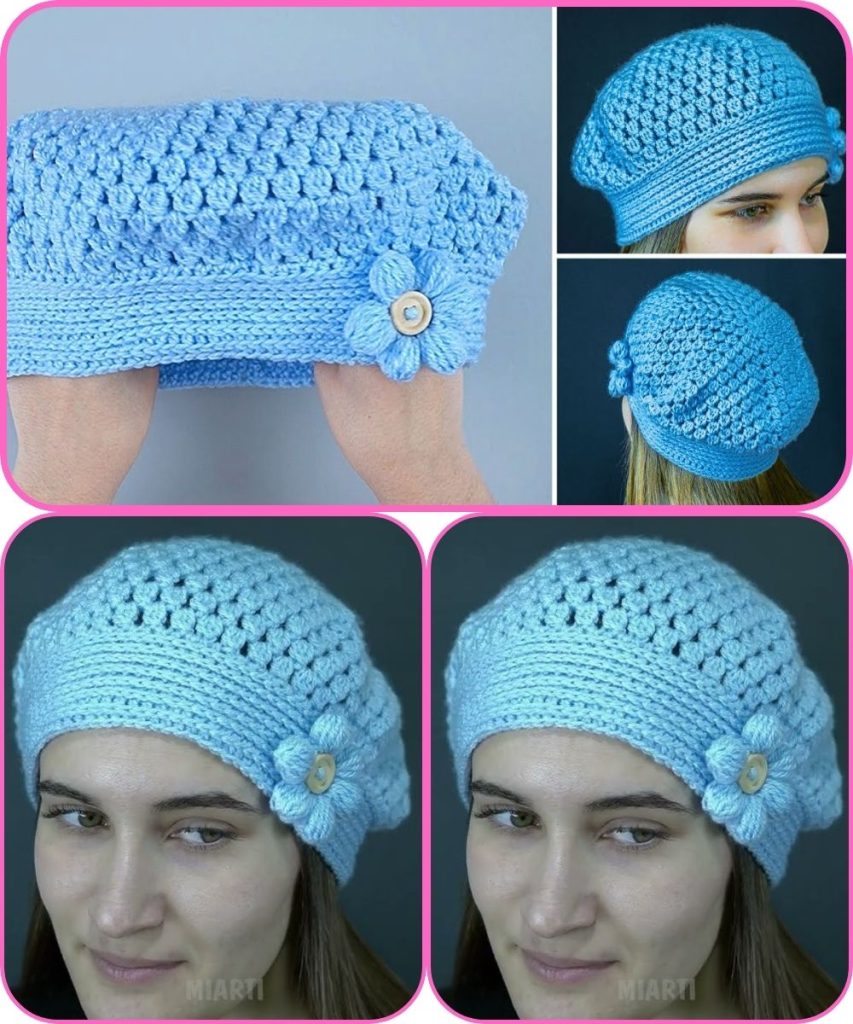
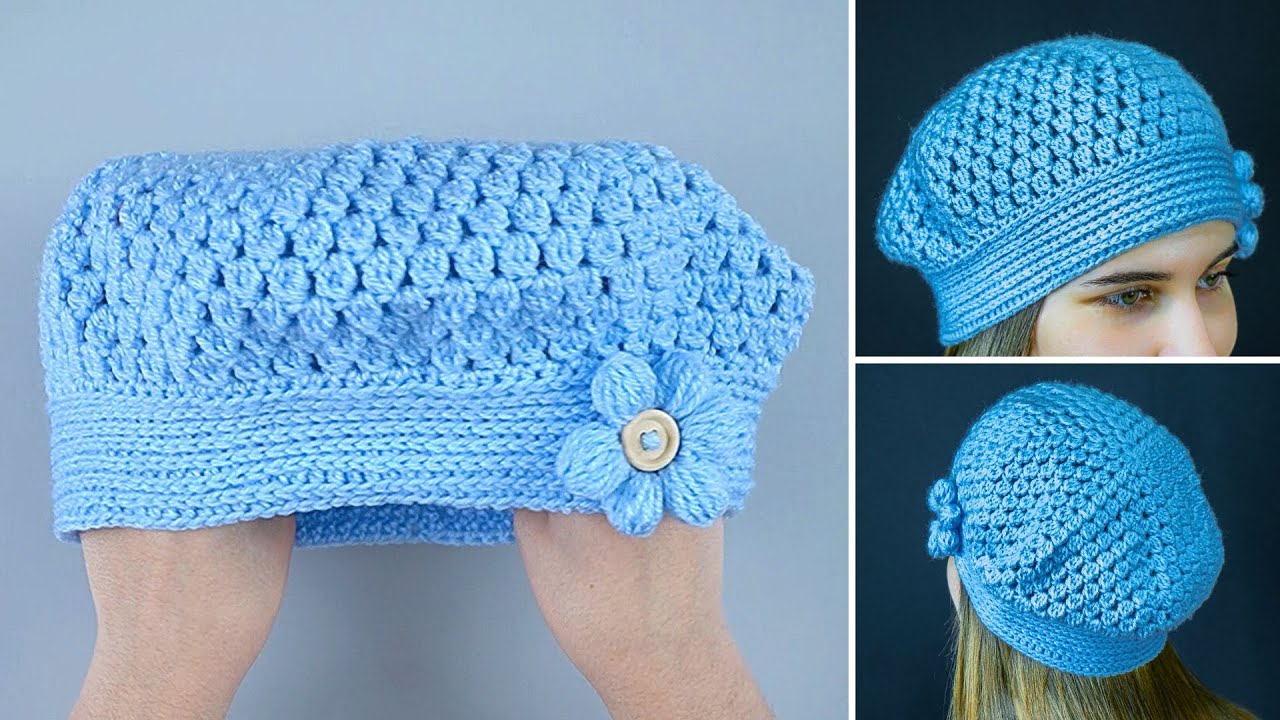
How to Make a Beautiful Crochet Beret for Beginners – Easy & Fun! 🧶✨
A crochet beret is a timeless and stylish accessory that’s surprisingly easy to make—even if you’re a beginner. This project uses simple stitches, works in the round, and can be finished in just a few hours. With soft yarn and a little patience, you’ll have a beautiful handmade beret you’ll love to wear or gift.
🧵 Materials You’ll Need
- Soft yarn (light worsted or DK weight works best)
- Crochet hook (4–5 mm, depending on yarn)
- Scissors
- Yarn needle
- Stitch marker (optional)
💡 Choose soft, flexible yarn so the beret drapes nicely on your head.
📘 Basic Stitches Used
This beret is perfect for beginners because it uses only basic stitches:
- Magic ring (or chain ring)
- Chain (ch)
- Slip stitch (sl st)
- Double crochet (dc)
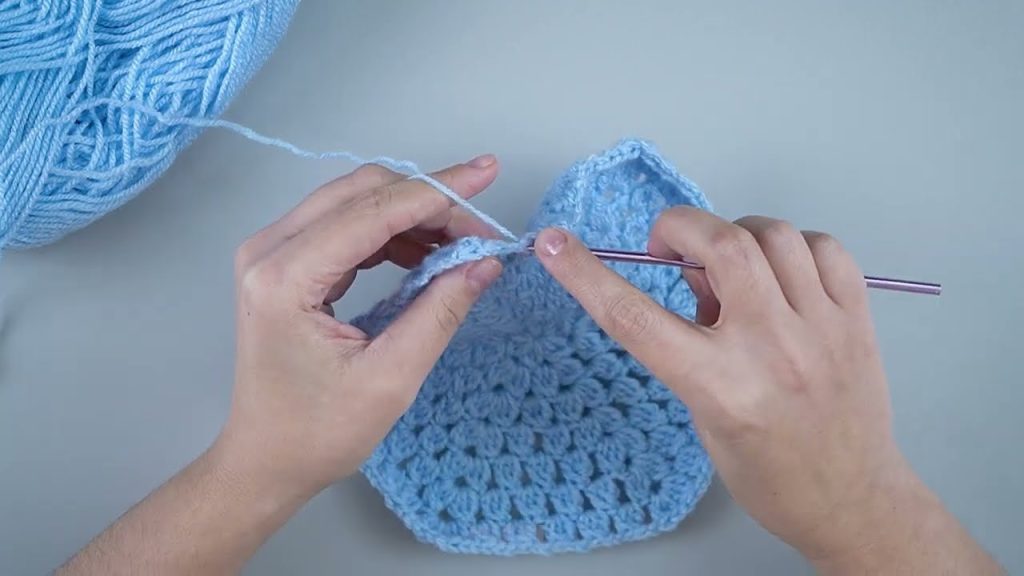
🪄 Step-by-Step Instructions
Step 1: Start with the Center
- Make a magic ring (or chain 4 and join with a slip stitch).
- Chain 3 (counts as the first double crochet).
- Work 11 double crochet (dc) into the ring.
- Join with a slip stitch at the top of the chain 3.
👉 You should have 12 stitches in total.
Step 2: Increase to Form the Beret Shape
To make the beret wide and flat, you’ll increase evenly in each round.
Round 2:
- Chain 3, 2 dc in each stitch around
- Join with slip stitch (24 stitches)
Round 3:
- Chain 3, 1 dc in next stitch, 2 dc in next stitch
- Repeat around (36 stitches)
Round 4:
- Chain 3, 2 dc, 2 dc in next stitch
- Repeat around (48 stitches)
👉 Continue increasing until the circle measures 10–11 inches (25–28 cm) in diameter.
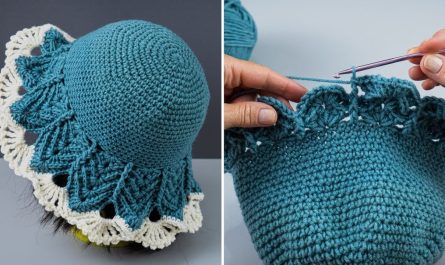
Step 3: Shape the Sides
- Stop increasing.
- Crochet 1 dc in each stitch around.
- Work 2–3 rounds to let the beret gently curve downward.
This creates the soft, classic beret shape.
Step 4: Decrease for the Headband
Now we make the beret fit snugly.
- Chain 2.
- Dc2tog (double crochet two stitches together), 2 dc
- Repeat around.
- Try it on as you go to check the fit.
- Crochet 2–3 rounds of single crochet (sc) for a neat, stretchy edge.
Step 5: Finish the Beret
- Cut yarn and fasten off.
- Weave in all loose ends with a yarn needle.
- Lightly stretch and shape the beret by hand.
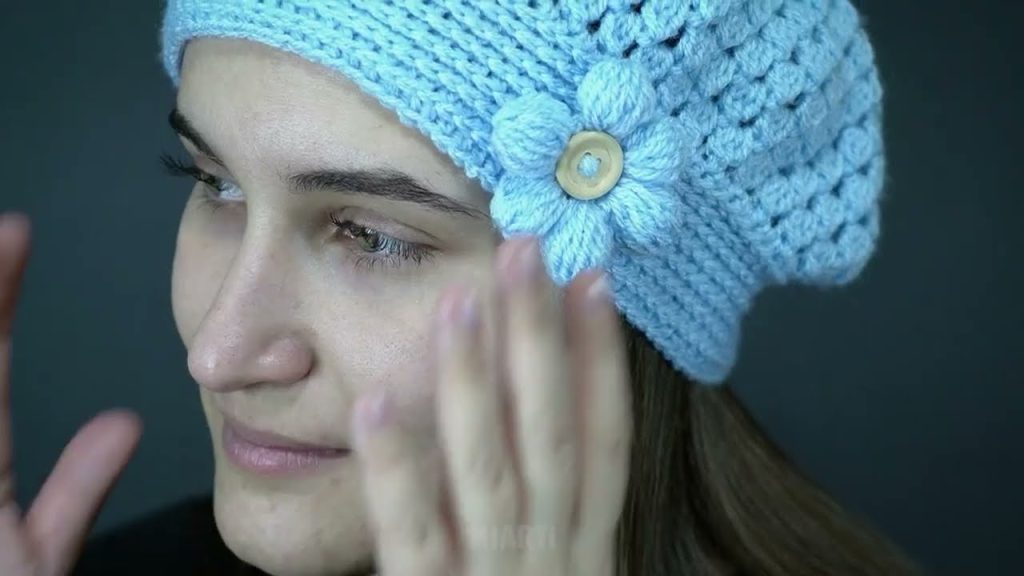
Optional: Add a small stem at the center using chain stitches for a classic French beret look 🇫🇷
🌸 Beginner Tips
- Use a stitch marker to keep track of rounds.
- Don’t worry if it’s not perfect—berets are forgiving!
- Practice double crochet before starting.
- Adjust size by adding or reducing increase rounds.
🎉 Final Thoughts
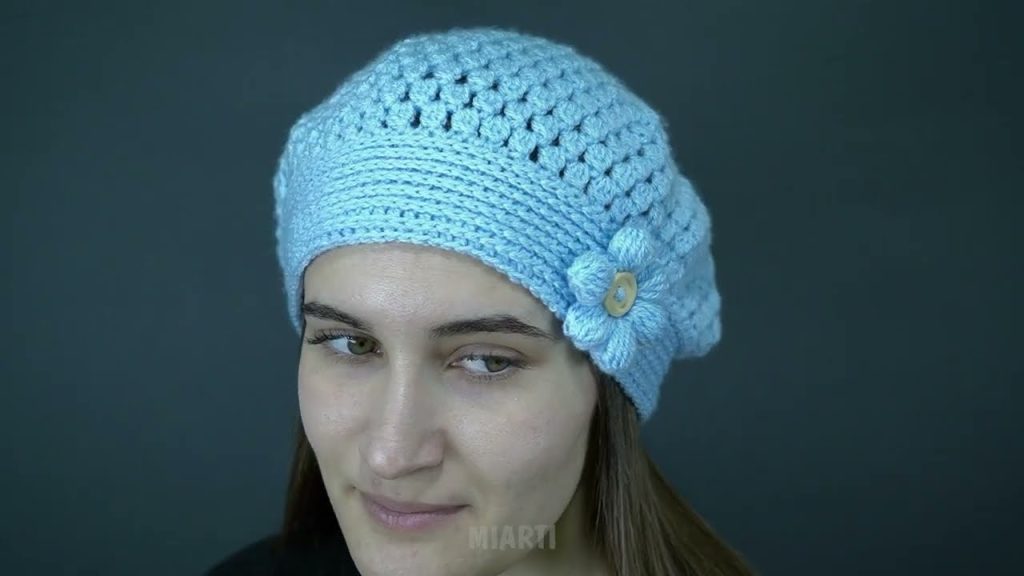
This beautiful crochet beret is a perfect beginner project that looks impressive but is easy to make. You can customize it with different colors, textures, or decorations to match your style. Once you’ve made one, you’ll want to make more!
If you’d like, I can:
- Simplify this into a short crochet pattern
- Rewrite it for a video tutorial
- Adjust it for kids or different head sizes
Watch tutorial: