by
by Absolutely! I can give you a detailed, step-by-step tutorial on how to crochet a cap or beret. I’ll make it easy to follow even if you’re a beginner. Let’s go step by step.
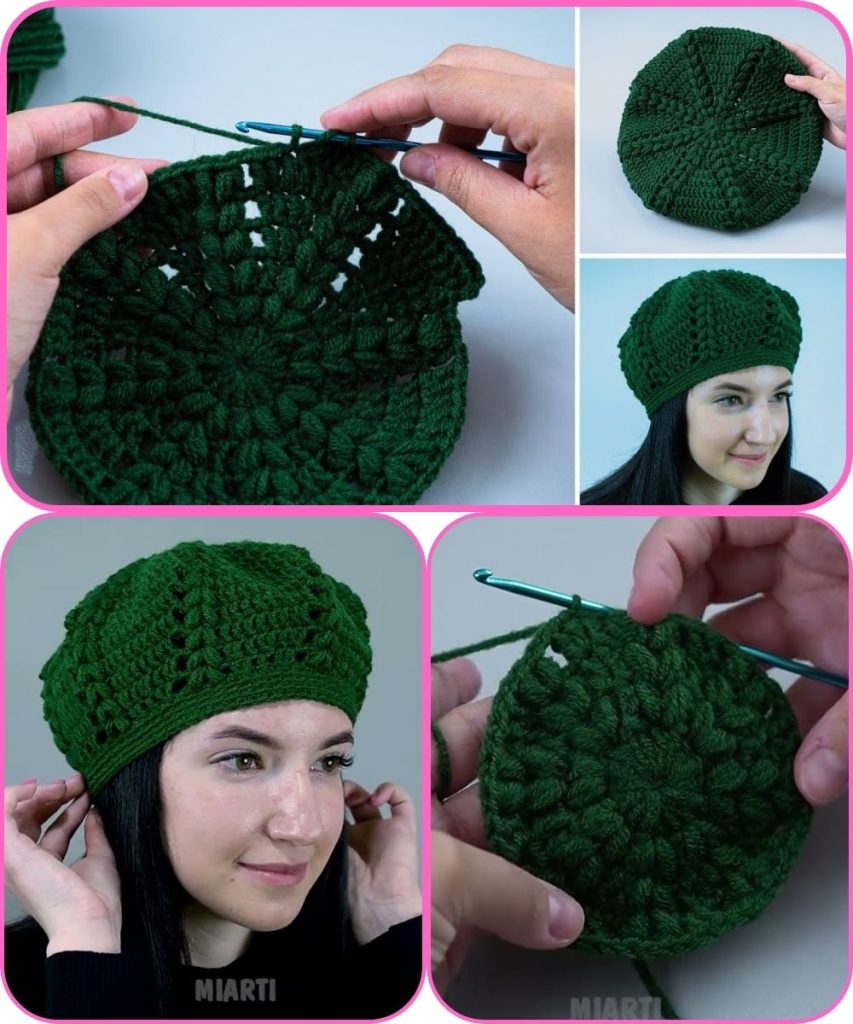
How to Crochet a Cap/Beret – Detailed Tutorial
Materials Needed
- Yarn: Medium-weight yarn (worsted weight) works well. You can use acrylic, cotton, or wool.
- Crochet Hook: Use a hook size suitable for your yarn (usually 5mm – 6mm for worsted weight).
- Scissors
- Tapestry Needle: For weaving in ends.
- Stitch Marker (optional): To keep track of rounds.
Step 1: Choose Your Size
Berets are usually slightly loose on the head. Here’s a general guide for adult head circumference:
- Small: 54–56 cm (21–22 in)
- Medium: 57–59 cm (22–23 in)
- Large: 60–62 cm (23–24 in)
Measure the head first and decide how wide you want the beret to be.
Step 2: Make a Magic Ring (or Chain 4)
- Start with a magic ring (also called adjustable ring). This creates a tight, hole-free center.
- If you don’t know how to do a magic ring:
- Chain 4.
- Join with a slip stitch to form a small ring.
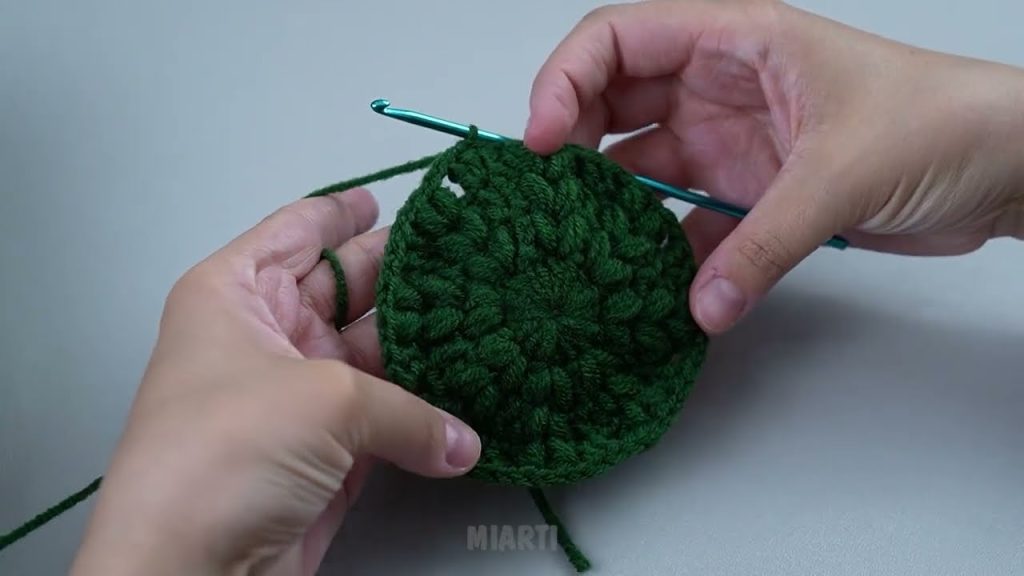
Step 3: First Round – Make the Center of the Beret
- Chain 3 (counts as the first double crochet).
- Crochet 11 double crochets (dc) into the ring.
- Join with a slip stitch to the top of the chain 3.
- You should now have 12 stitches in the round.
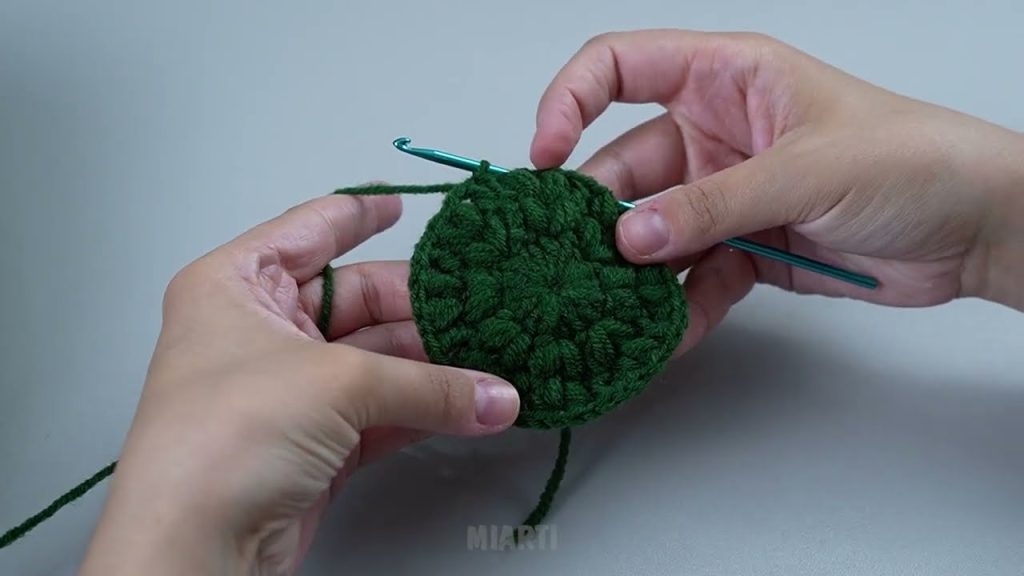
Step 4: Increase Rounds – Expand the Circle
The top of the beret is flat, so we gradually increase stitches.
Round 2:
- Chain 3 (counts as first dc).
- 1 dc in the same stitch.
- 2 dc in each stitch around.
- Join with slip stitch.
- Total stitches: 24
Round 3:
- Chain 3.
- 1 dc in the next stitch, 2 dc in the next stitch.
- Repeat around.
- Total stitches: 36
Round 4:
- Chain 3.
- 1 dc in the next 2 stitches, 2 dc in the next stitch.
- Repeat around.
- Total stitches: 48
Tip: Keep increasing until your circle is about 2–3 inches smaller than the head circumference. This is because the sides will stretch a little when worn.
Step 5: Body of the Beret
Now we stop increasing and start building the sides.
- Chain 3 (counts as first dc).
- Dc in each stitch around.
- Join with slip stitch.
- Repeat this for 8–12 rounds (depending on how deep you want the beret).
- For a slouchy look, crochet more rounds; for a snug cap, crochet fewer.
Step 6: Optional Ribbed Edge
To make the beret stay on your head:
- Switch to half-double crochet (hdc) or single crochet (sc).
- Crochet 2–3 rounds around the bottom.
- You can also use a front post/back post ribbing technique for a stretchy edge.
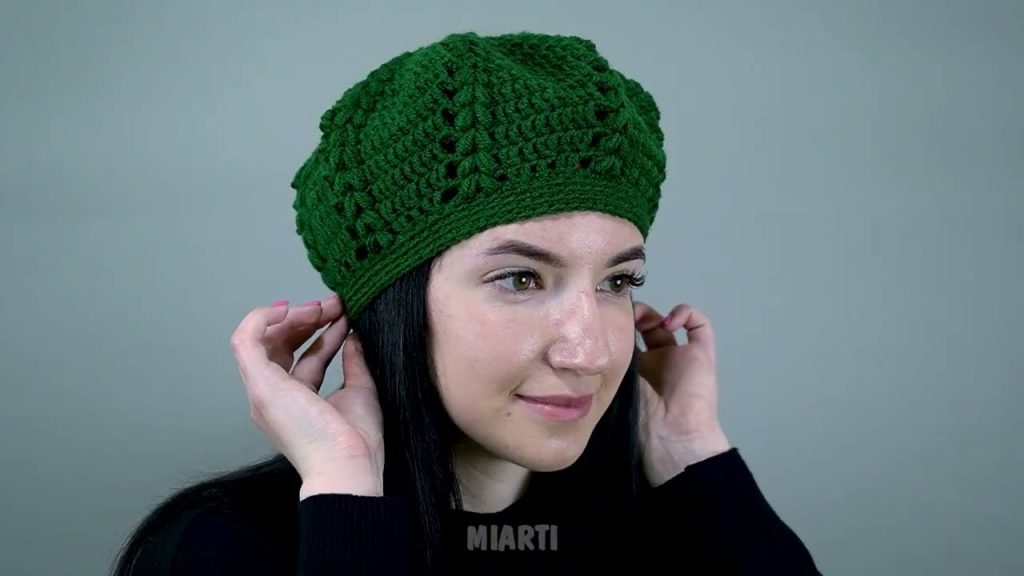
Step 7: Finishing
- Fasten off your yarn.
- Weave in the ends using a tapestry needle.
- Optional: Lightly block your beret to shape it. Stretch the top flat and allow the sides to hang slightly.
Tips for Customization
- Add a pompom: Sew a small pompom to the top for a cute touch.
- Change stitch: Use half double crochet (hdc) for a denser fabric or shell stitch for a decorative beret.
- Yarn choice: Wool keeps warmth, cotton is breathable. Acrylic is easy to care for.
Summary
- Make a magic ring.
- Crochet the center circle, increasing gradually.
- Stop increasing and build the body.
- Add a ribbed edge if needed.
- Finish and customize.
If you want, I can draw a simple diagram with all the rounds labeled so it’s much easier to follow visually—it’s almost like a map for your beret.
Watch tutorial: