 by
by Here is a clear, detailed, beginner-friendly guide you can use as a blog post, tutorial, or video description.
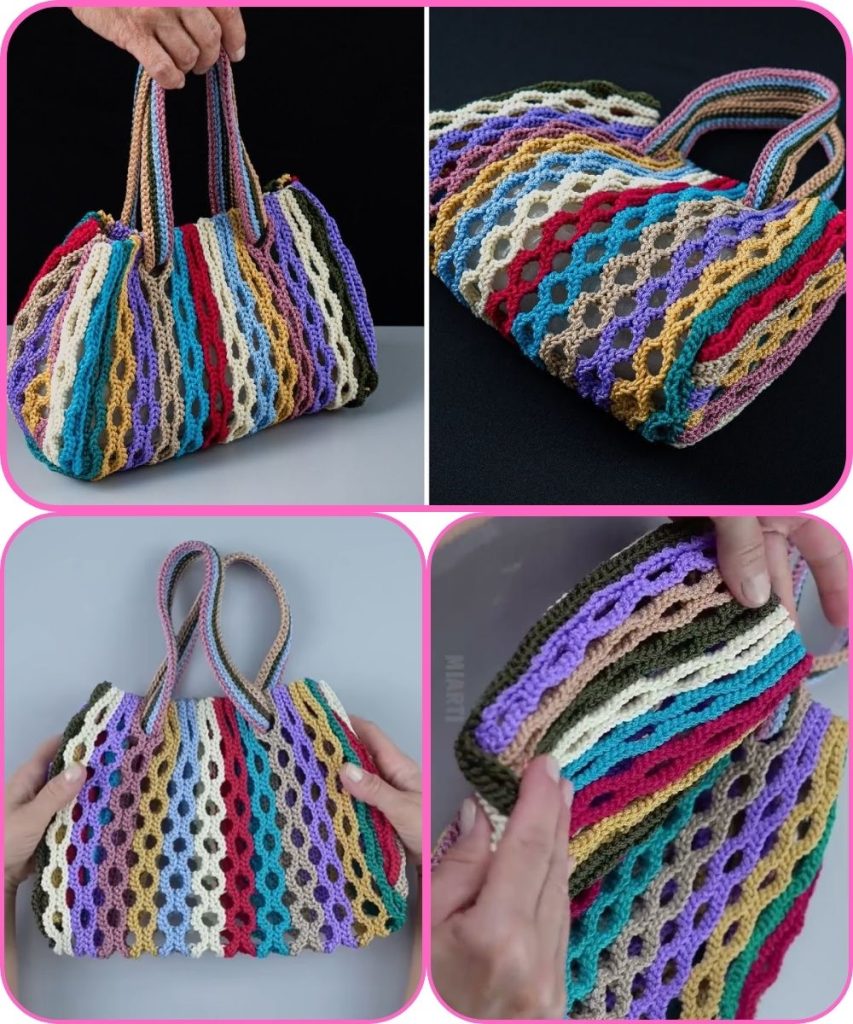
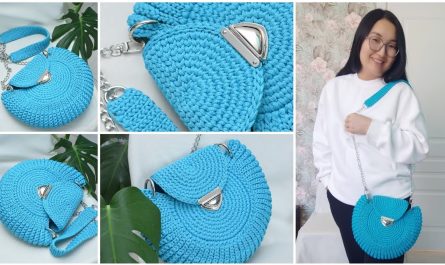
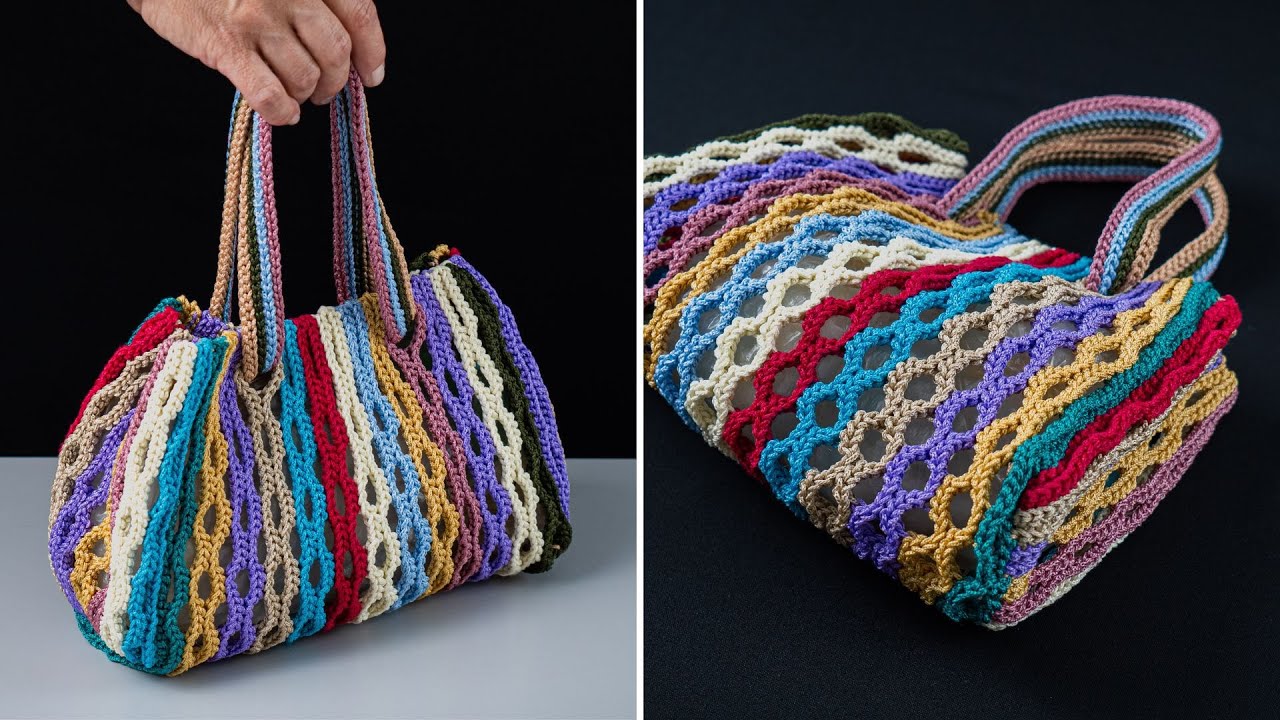
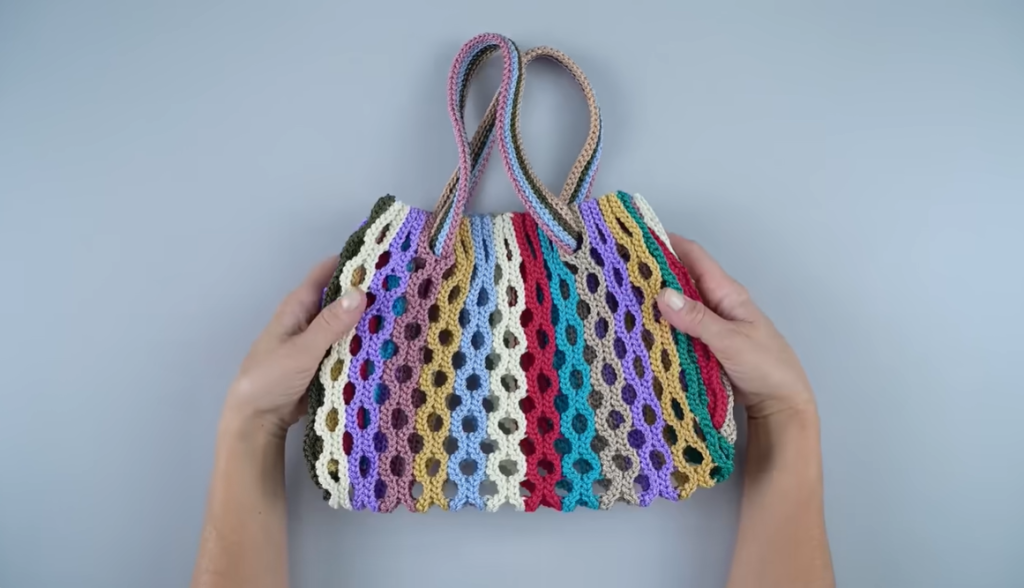
How to Crochet a Multicolor Bag from Yarn Scraps Easily
Crocheting a multicolor bag from yarn scraps is a fun, eco-friendly, and creative project. It helps you use leftover yarn, experiment with colors, and make a unique handmade bag. This project is perfect for beginners and experienced crocheters alike.
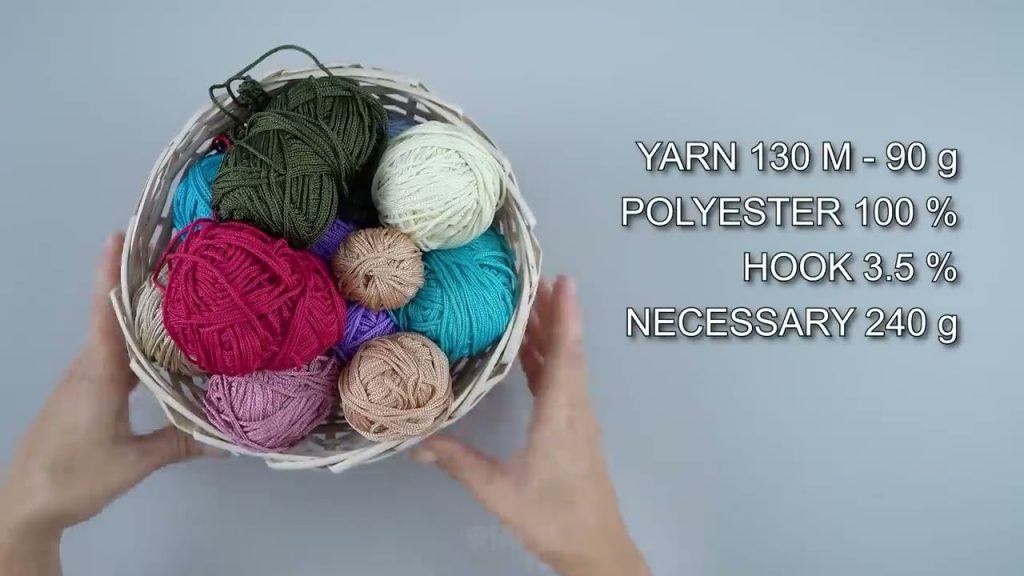
Materials Needed
- Yarn scraps in different colors (medium weight yarn works best)
- Crochet hook (size 4–5 mm or suitable for your yarn)
- Scissors
- Yarn needle
- Stitch marker (optional)
- Fabric lining (optional, for extra strength)
Basic Stitches Used
- Chain stitch (ch)
- Single crochet (sc)
- Slip stitch (sl st)
- Double crochet (dc) – optional for texture
If you know these basic stitches, you’re ready to begin!
Step 1: Plan Your Color Scheme
You can:
- Change colors every row for a striped look
- Combine similar colors for a gradient effect
- Join scraps randomly for a playful, patchwork style
There’s no right or wrong—this is what makes scrap yarn projects special!
Step 2: Create the Bag Base
- Start with a magic ring or chain 4 and join with a slip stitch.
- Crochet single crochet stitches into the ring.
- Increase evenly in each round to form a flat circle or oval.
- Continue increasing until the base reaches your desired size (about 8–10 inches wide).
👉 Tip: Place a stitch marker at the beginning of each round.
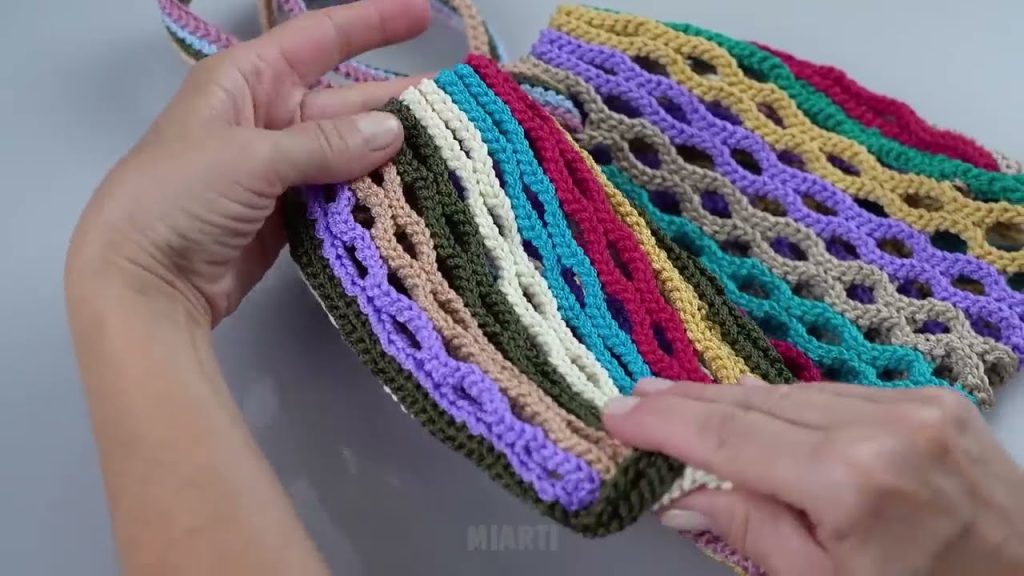
Step 3: Build the Bag Body
- Stop increasing and crochet evenly around.
- Change yarn colors whenever one scrap ends.
- Use single crochet for a sturdy bag or double crochet for a lighter, flexible texture.
- Continue until the bag reaches your preferred height.
Step 4: Secure Color Changes
- Finish each color with a slip stitch.
- Join the new color by pulling it through the last loop.
- Weave in yarn ends as you go to keep the bag neat.
Step 5: Add Handles
Option 1: Crochet Handles
- Choose two opposite sides of the bag.
- Chain 30–40 stitches.
- Attach to the bag with single crochet.
- Repeat for the second handle.
- Reinforce by crocheting another row over the handles.
Option 2: Attach Ready-Made Handles
- Sew or crochet them securely to the bag.
Step 6: Finishing Touches
- Weave in all loose ends using a yarn needle.
- Add a lining if the bag will carry heavy items.
- Optional decorations: tassels, buttons, crochet flowers, or pom-poms.
Tips for Success
- Use similar yarn weights to keep stitches even.
- Tight stitches make a stronger bag.
- Don’t worry about color perfection—scrap bags look best when they’re bold and creative!
- Blocking the bag can help it hold shape.
Why Make a Scrap Yarn Bag?
✔ Eco-friendly
✔ Budget-friendly
✔ Unique and customizable
✔ Great for gifting or selling
A multicolor crochet bag made from yarn scraps is not just a project—it’s a creative expression. Every bag tells a story through its colors and textures. Enjoy the process and have fun crocheting!
If you’d like, I can also:
- Simplify this for beginners
- Turn it into a video script
- Add pattern instructions
- Rewrite it for SEO or blogging
Watch tutorial: