 by
by Below is a clear, detailed, and beginner-friendly tutorial you can use as a blog post, pattern, or video script for making a crochet hat with a simple relief stitch pattern.
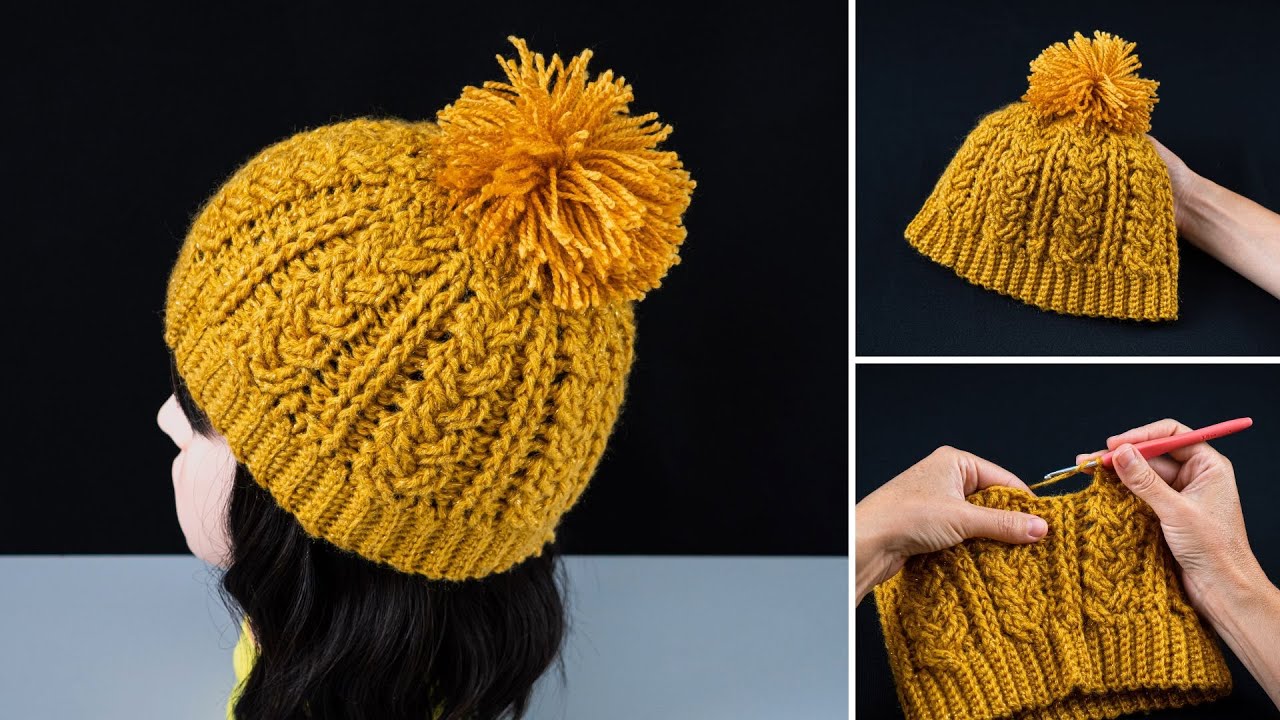
How to Make a Crochet Hat with a Relief Stitch Pattern (Simple & Easy)
A crochet hat with a relief stitch pattern looks textured and professional, yet it’s surprisingly easy to make. Relief stitches (also called post stitches) create beautiful raised lines that add depth and warmth to your hat. This tutorial uses simple front post and back post stitches, making it perfect for confident beginners.
Skill Level
Beginner to Easy Intermediate
Materials Needed
- Medium-weight yarn (Category 4 – acrylic or wool blend recommended)
- Crochet hook: 5.0 mm (H-8) or size needed for gauge
- Scissors
- Yarn needle
- Stitch marker (optional)
Crochet Abbreviations (US Terms)
- ch – chain
- sl st – slip stitch
- sc – single crochet
- dc – double crochet
- fpdc – front post double crochet
- bpdc – back post double crochet
- st(s) – stitch(es)
- rep – repeat
Hat Size (Adult – Adjustable)
- Circumference: 20–22 inches
- Height: 8–9 inches
You can adjust size by changing the starting chain or number of rounds.
Step 1: Start with the Hat Brim
Foundation Chain
- Chain 11.
Row 1
- Sc in the 2nd chain from hook and across.
- Ch 1, turn.
Row 2
- Sc in back loop only (BLO) across.
- Ch 1, turn.
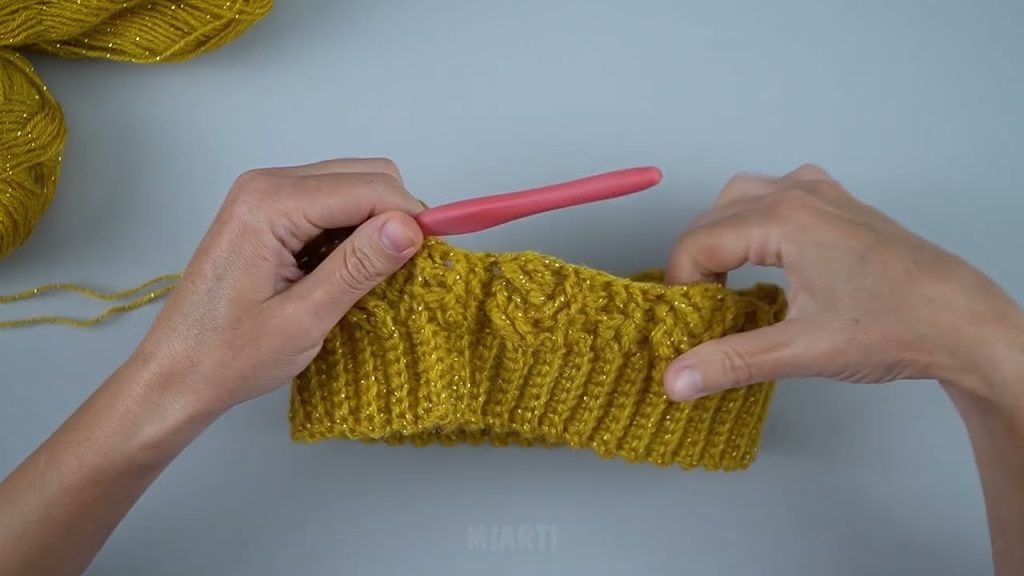
Rows 3–60 (or until it fits around your head)
- Repeat Row 2.
Fasten off and sew the short edges together to form a ring.
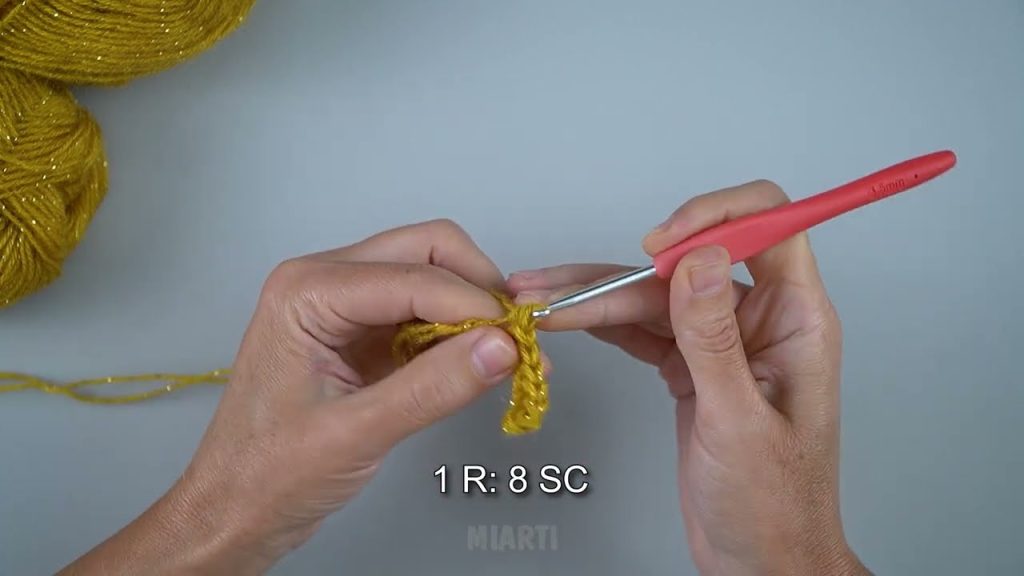
Step 2: Join the Hat Body
- Attach yarn along one edge of the brim.
- Sc evenly around the brim (about 60 stitches).
- Join with sl st.
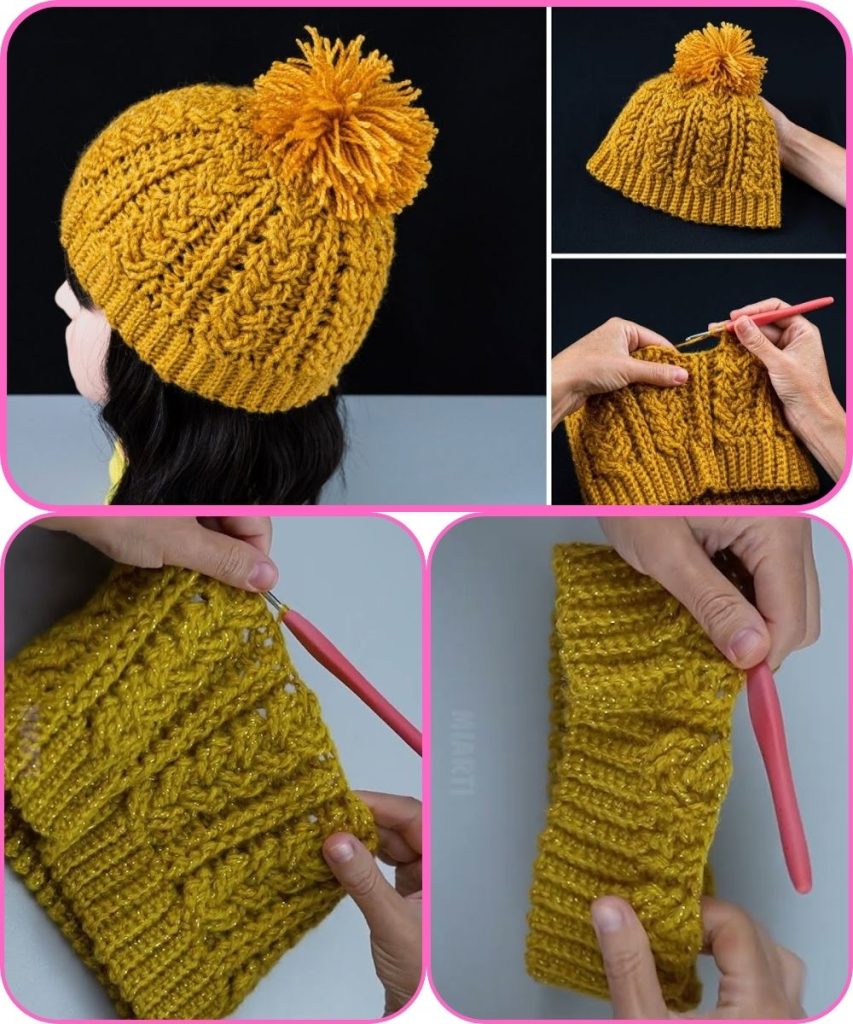
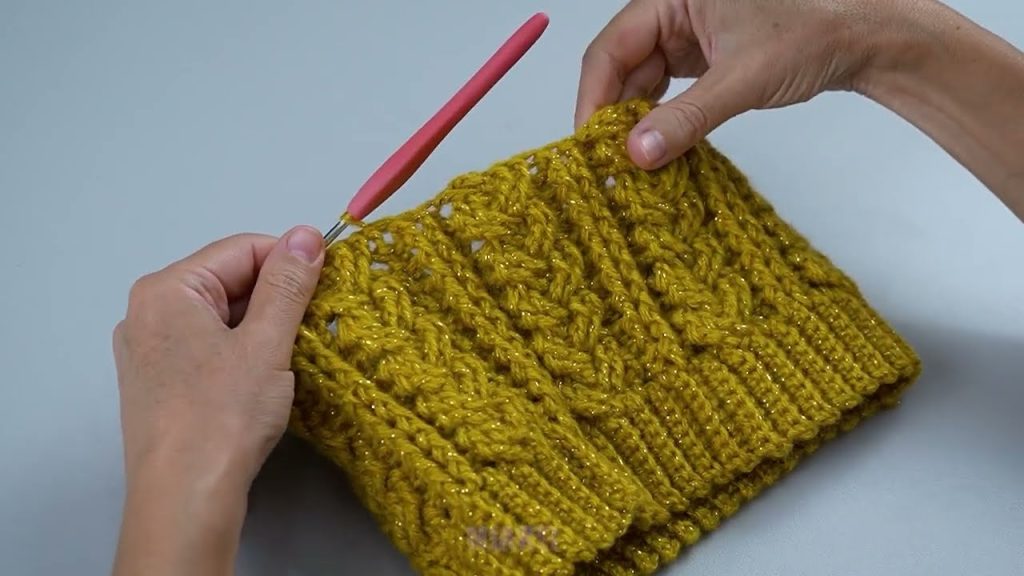
Step 3: Create the Relief Stitch Pattern
Round 1
- Ch 2 (counts as first dc).
- Dc in each stitch around.
- Join with sl st.
Round 2 (Relief Stitch Round)
- Ch 2.
- Fpdc in next stitch, bpdc in next stitch.
- Repeat around.
- Join with sl st.
Round 3
- Ch 2.
- Dc in each stitch around.
- Join with sl st.
Rounds 4–10
- Repeat Rounds 2 and 3.
This alternating pattern creates a simple raised ribbed texture.
Step 4: Shape the Top of the Hat (Crown Decreases)
Round 11
- Ch 2.
- Dc 2 together across every 5 stitches.
- Join with sl st.
Round 12
- Ch 2.
- Dc 2 together across every 4 stitches.
- Join.
Round 13
- Ch 2.
- Dc 2 together across every 3 stitches.
Fasten off, leaving a long tail.
Step 5: Close the Hat
- Thread yarn tail onto a yarn needle.
- Weave through the remaining stitches.
- Pull tight to close the top.
- Secure and weave in ends.
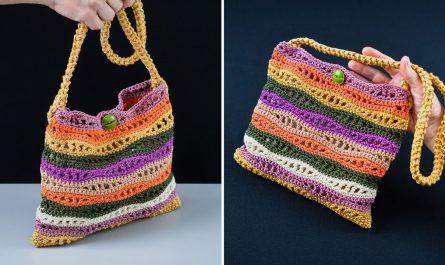
Optional Finishing Touches
- Add a pom-pom on top
- Use two colors for extra texture
- Fold up the brim for a slouchy look
- Add a leather tag or button
Final Notes
This simple relief stitch crochet hat is warm, stretchy, and stylish—perfect for everyday wear or gifting. Once you master the relief stitch pattern, you can easily apply it to scarves, cowls, and sweaters too.
If you’d like, I can:
- Convert this into a PDF crochet pattern
- Write a YouTube or Instagram tutorial script
- Adjust sizing for kids or babies
- Simplify the relief stitch explanation even more
Watch tutorial: