 by
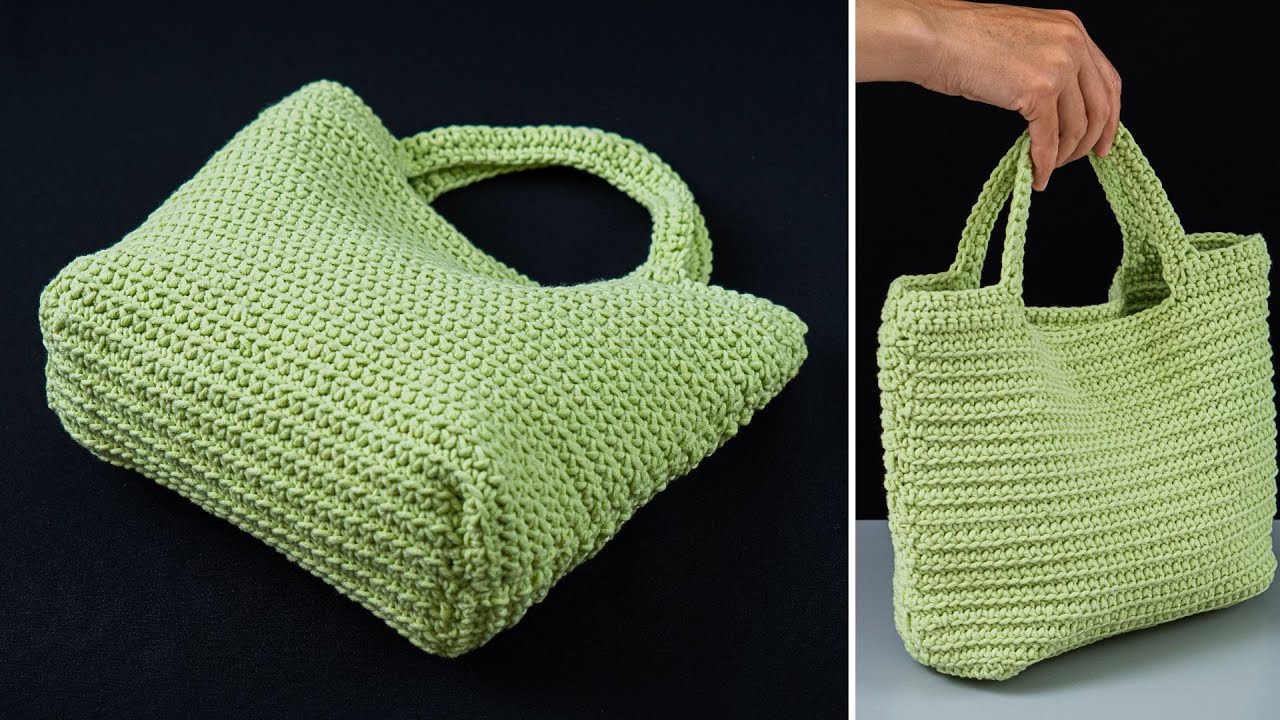
by Here’s a detailed, step-by-step tutorial on how to crochet a simple tote bag, perfect for beginners. This project uses basic stitches only and works up quickly, giving you a useful and stylish bag 🧶✨
How to Crochet a Simple Tote Bag – Beginner Tutorial
Skill Level
Beginner (no prior experience needed beyond basic stitches)
Finished Size
Approx. 12 inches wide × 12 inches tall
(Easy to adjust larger or smaller)
Materials Needed
- Yarn: Medium weight yarn (Category 4 / worsted weight)
- Cotton yarn is recommended for strength
- Bright colors make it fun!
- Crochet hook: 5 mm (H/8)
- Yarn needle (for weaving in ends)
- Scissors
- Stitch marker (optional, helps keep track)
Basic Crochet Stitches Used
- ch – chain
- sc – single crochet
- sl st – slip stitch
- st(s) – stitch(es)
This bag uses only single crochet, making it super easy for beginners.
Step-by-Step Instructions
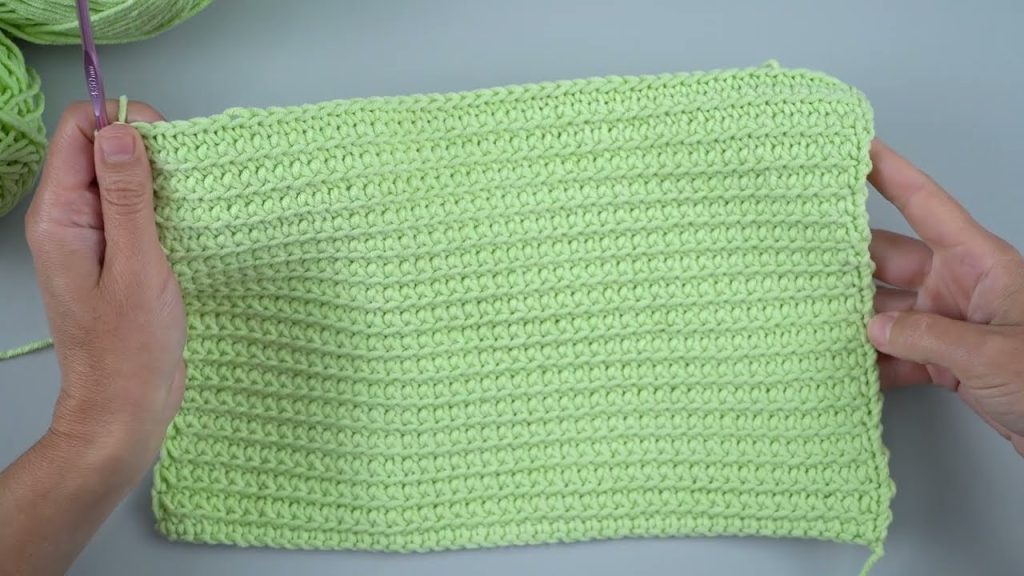
Step 1: Make the Base
- Chain 26 (or desired width)
- This chain forms the bottom of the bag.
- Single crochet in the 2nd chain from the hook, then continue single crochet across the row.
- In the last chain, place 3 single crochets.
- Continue along the opposite side of the chain, single crocheting into each stitch.
- In the final stitch, place 2 single crochets and join with a slip stitch.
✔ You now have a simple oval base.
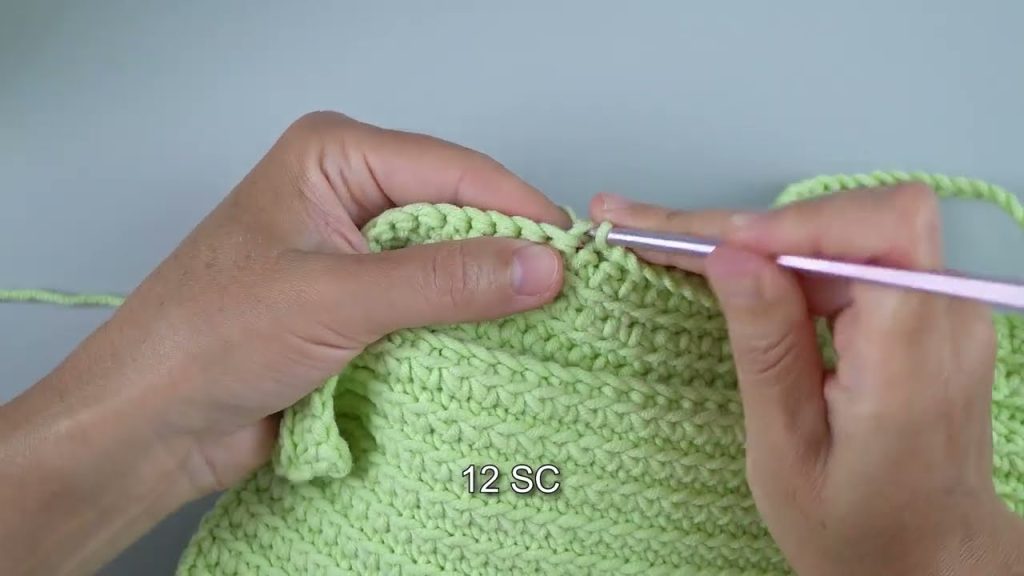
Step 2: Build the Body
- Chain 1 (does not count as a stitch).
- Single crochet around the entire base.
- Join with a slip stitch at the start of the round.
- Repeat this round until the bag is about 12 inches tall (or desired height).
Tip: Use a stitch marker to mark the start of each round.
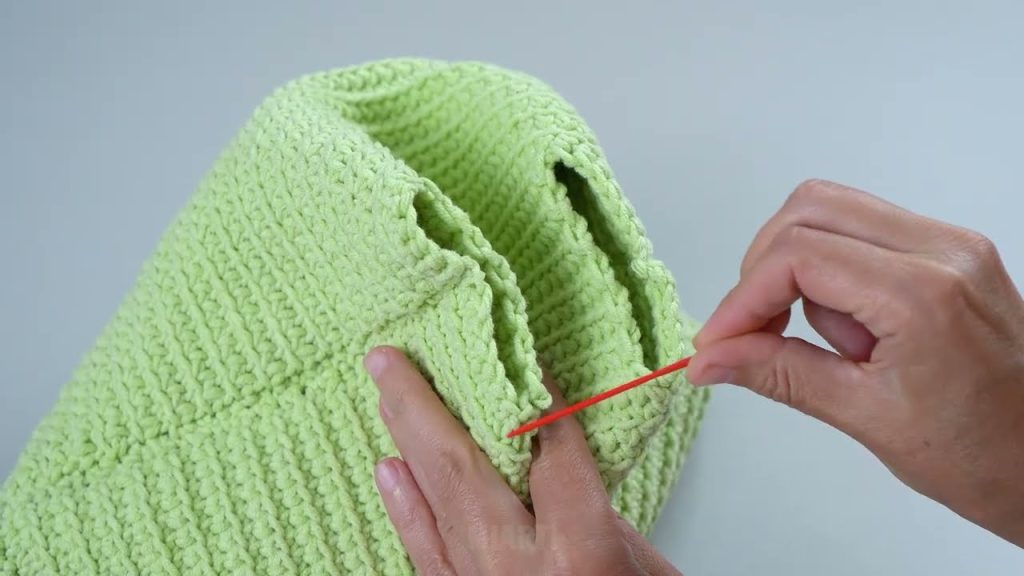
Step 3: Add Handles
- Crochet single stitches along the side until you reach where the handle should start.
- Chain 20 (or desired length for handle).
- Skip 8 stitches, then single crochet into the next stitch.
- Continue along the side to the next handle placement and repeat.
Do the same for the opposite side.
Step 4: Strengthen Handles
- Chain 1
- Single crochet around the entire bag, making sure to work stitches over the handle chains.
- Repeat one more round for extra durability.
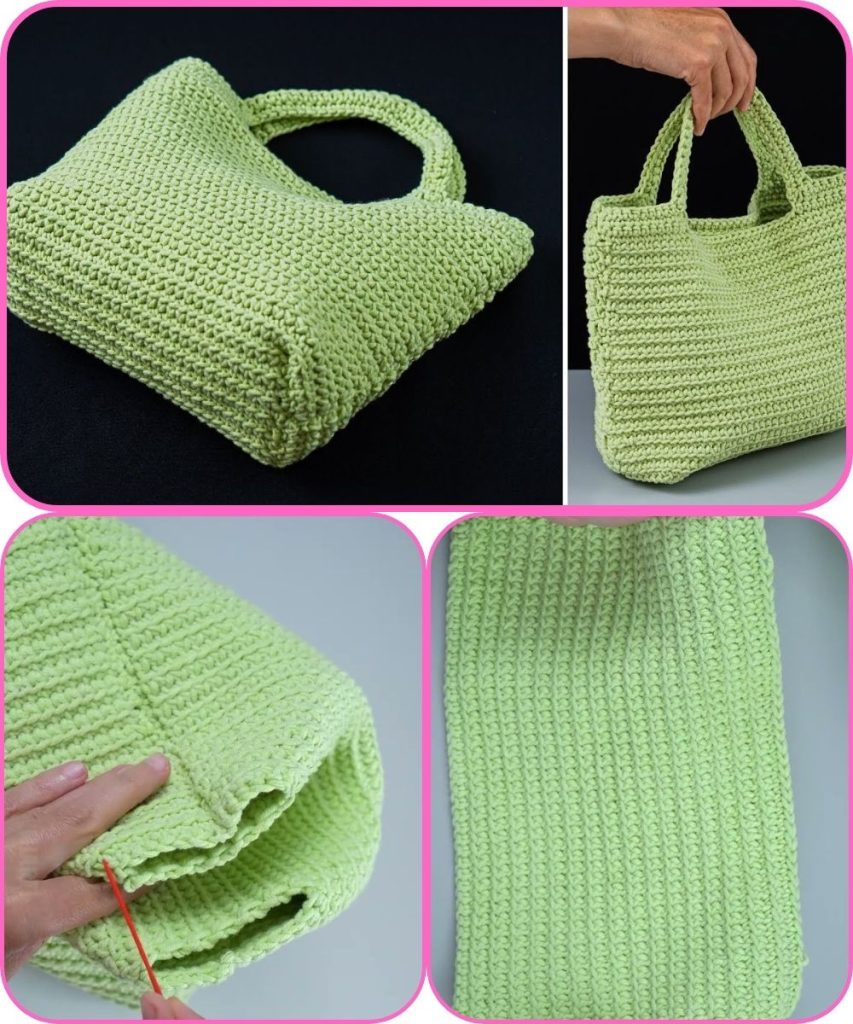
Step 5: Finish the Bag
- Cut the yarn and pull through the last loop.
- Use a yarn needle to weave in all loose ends.
- Adjust the bag shape lightly if needed.
Customization Ideas
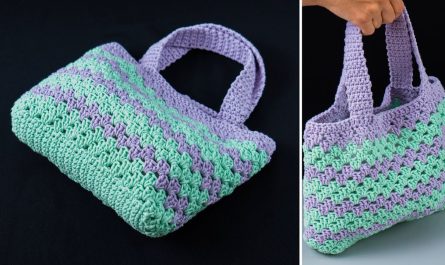
- Use two colors or striped yarn for a fun look
- Add a simple border at the top
- Sew on a button, label, or applique
- Make a smaller version for kids or a larger market bag
Tips for Beginners
- Keep your stitches loose and relaxed
- Use light-colored yarn to see stitches clearly
- Count stitches occasionally to ensure sides are straight
- Practice a few rows on a swatch first if needed
🎉 Congratulations! You’ve just crocheted a simple, sturdy tote bag that’s perfect for shopping, school, or everyday use.
I can also make a super-simple one-page printable pattern with stitch counts and rounds, so it’s even easier to follow step by step.
Watch tutorial: