 by
by Here’s a detailed, beginner-friendly guide on how to knit a hat quickly, designed so even beginners can handle it and have a cozy, stylish hat in a short time.
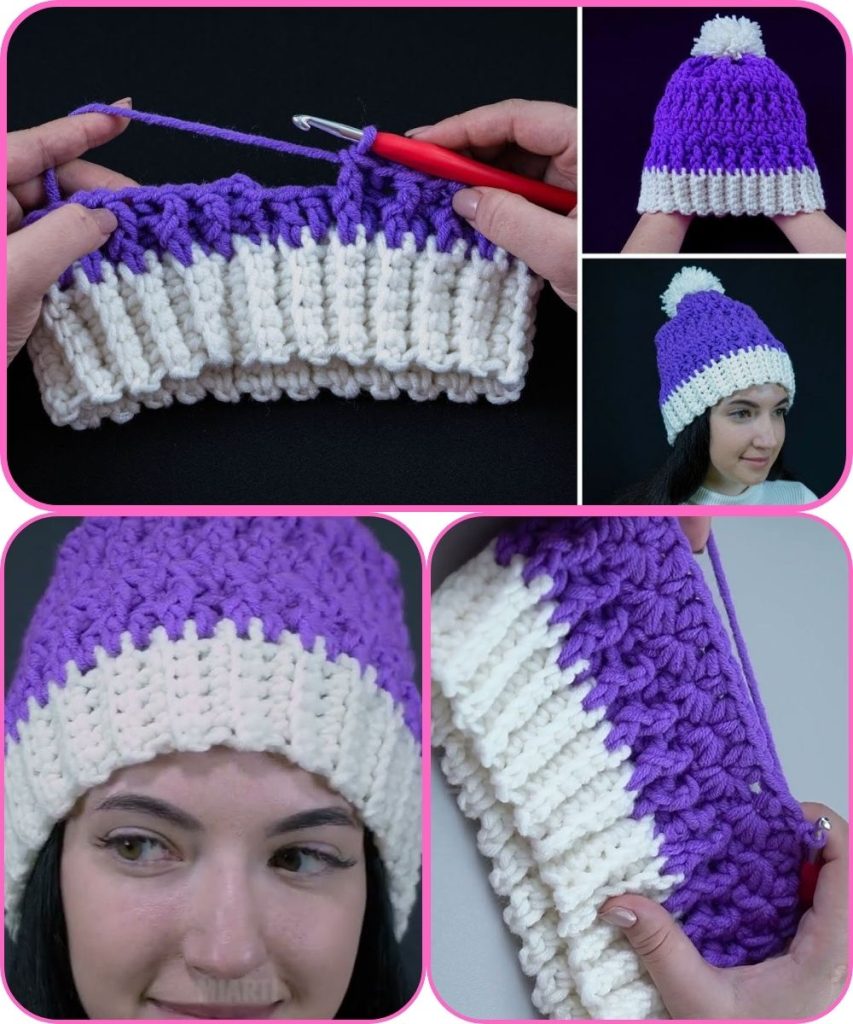
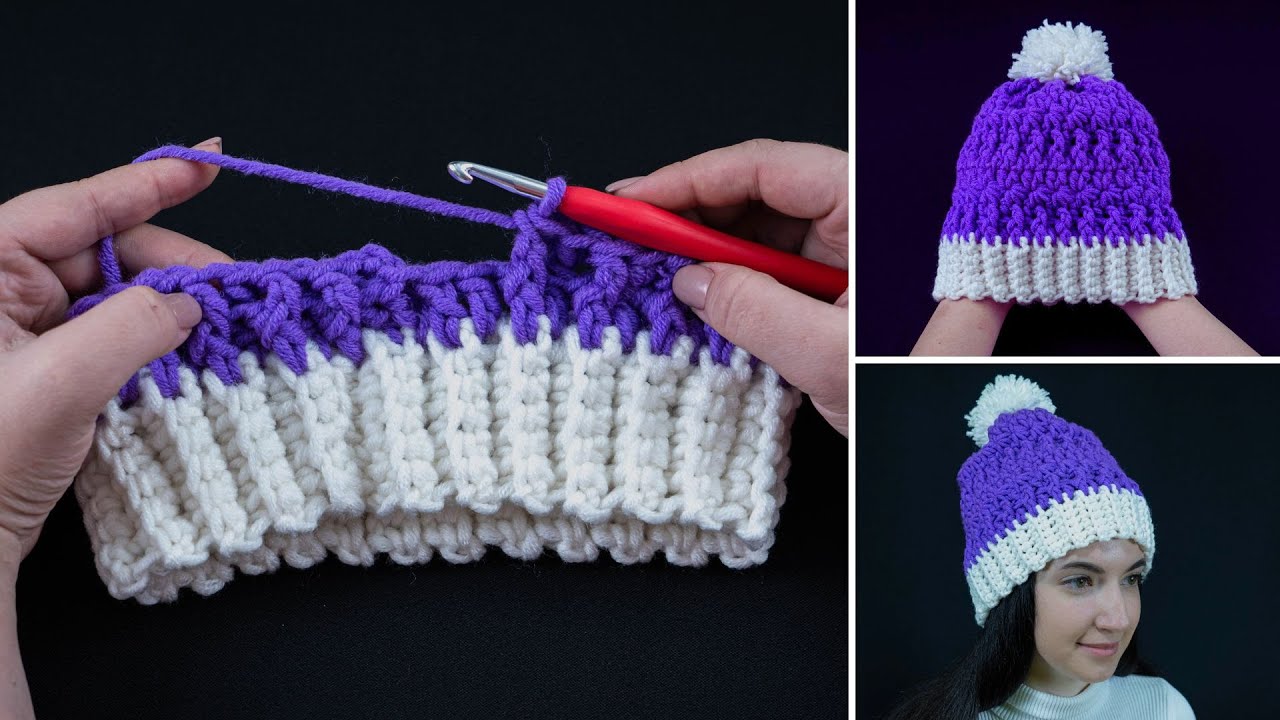
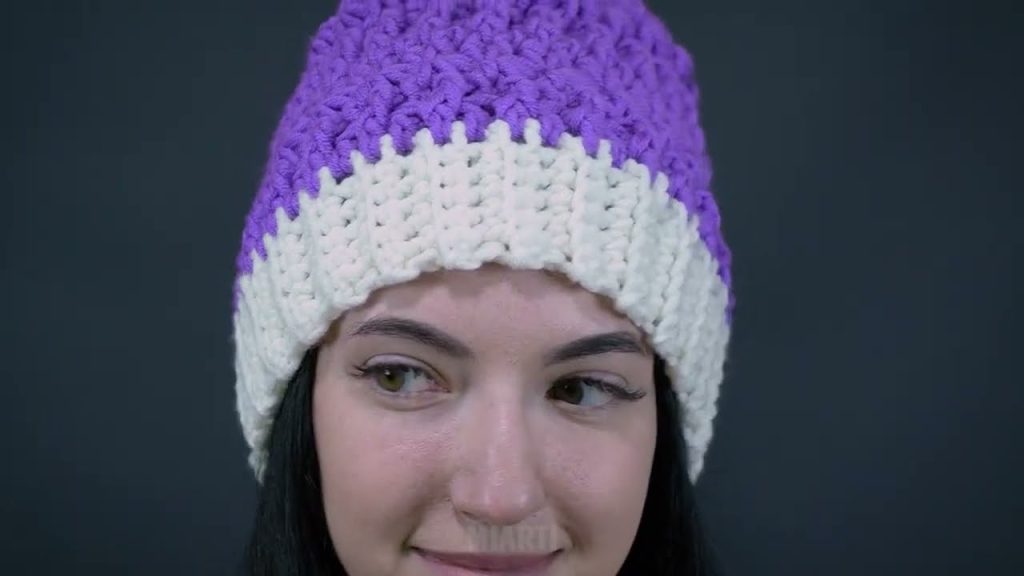
How to Make a Quick Knit Hat – Beginner-Friendly Tutorial
Knitting a hat can be fast, fun, and satisfying, especially with simple stitches and bulky yarn. This tutorial focuses on making a warm, wearable hat using basic knitting techniques that anyone can handle.
Materials Needed
- Yarn: Bulky or super bulky yarn (makes the hat faster and warmer)
- Knitting Needles: 5–8 mm circular needles (16–20 inches) or double-pointed needles for the top
- Scissors
- Yarn Needle for weaving in ends
- Stitch Marker (optional)
Basic Knitting Stitches Used
- Cast On – to start the project
- Knit (k) – basic stitch
- Purl (p) – for ribbing if desired
- K2tog (knit two together) – for decreasing the crown
- Bind Off – to finish
These are all beginner-friendly stitches.
Step 1: Cast On
- For an adult hat, cast on 40–50 stitches (adjust depending on yarn thickness and desired hat size).
- Use a loose cast-on to make the brim stretch comfortably.
- Join in the round if using circular needles, being careful not to twist stitches. Place a stitch marker to mark the beginning of the round.
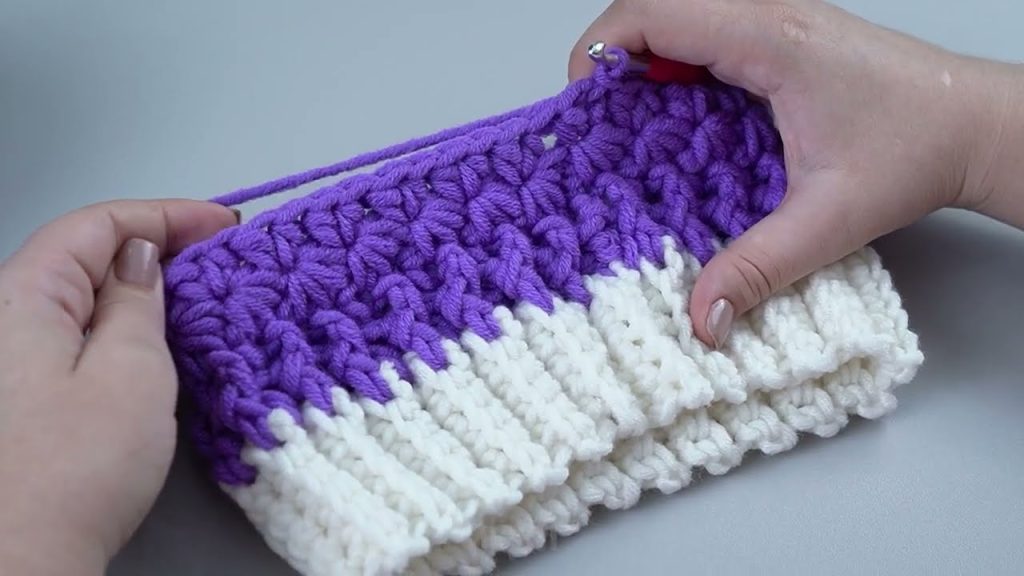
Step 2: Knit the Brim
- Work k1, p1 ribbing (or k2, p2 for thicker ribbing) for 5–7 cm.
- Ribbing keeps the hat snug and adds a stretchy, comfortable edge.
Step 3: Knit the Body of the Hat
- After ribbing, knit all stitches in stockinette stitch (knit every stitch in the round).
- Continue until the hat measures 15–18 cm from the cast-on edge (or desired height).
For a slouchy hat, make it longer.
Step 4: Shape the Crown
- Begin decreasing gradually to close the top of the hat:
- Round 1: K8, k2tog repeat around
- Round 2: Knit all stitches
- Round 3: K7, k2tog repeat around
- Continue decreasing every other round until 6–10 stitches remain
- Cut the yarn, leaving a long tail.
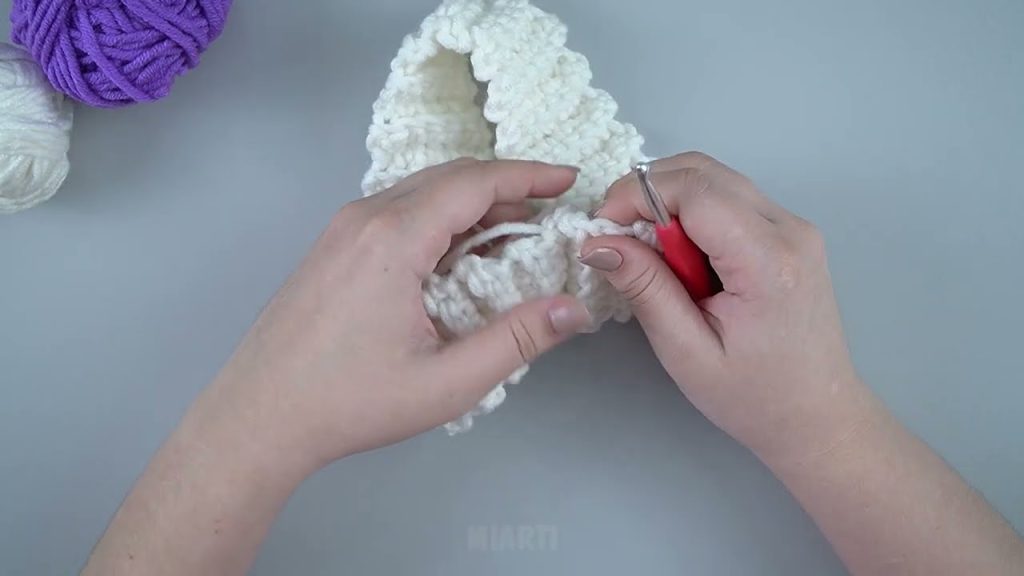
Step 5: Finish the Hat
- Thread the tail through the remaining stitches with a yarn needle.
- Pull tight to close the top.
- Weave in all loose ends neatly.
- Optional: Add a pom-pom made from the same yarn for extra style.
Tips for Beginners
- Bulky yarn speeds up the process and makes the hat warmer.
- Keep tension even for a smooth, uniform hat.
- Use a stitch marker to keep track of rounds and decreases.
- Measure against your head to ensure proper size.
Variations and Customization
- Slouchy Hat: Add 2–4 extra cm before starting decreases.
- Striped Hat: Alternate colors every few rounds.
- Textured Hat: Use purl stitches or knit-purl patterns for subtle texture.
- Chunky Ribbing: Use k2, p2 or k3, p3 ribbing for a thicker, cozier edge.
Why This Hat Is Perfect for Beginners
- Uses basic knit and purl stitches only
- Quick to complete, especially with bulky yarn
- Easy to customize in size, texture, and color
- Functional, warm, and stylish
Final Thoughts
A quick knit hat is a perfect beginner project. With simple ribbing, stockinette stitch, and easy crown decreases, anyone can make a professional-looking hat in a few hours. Once comfortable, you can experiment with slouchy styles, stripes, textures, or pom-poms to make your hat unique.
I can also create:
- A diagram showing round-by-round decreases for the crown
- A step-by-step beginner-friendly printable pattern
- Tips for adjusting size for kids, adults, or oversized styles
Watch tutorial: