 by
by Here’s a clear, beginner-friendly guide you can use as a blog post, tutorial, or learning resource.

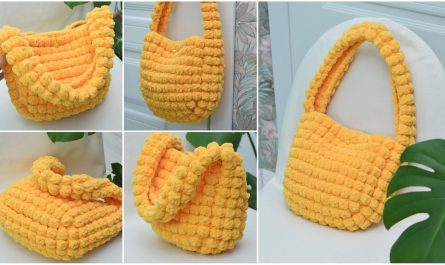
How to Make a Crochet Hat Quickly and Easily
Even a Beginner Can Handle It!
Crocheting a hat is one of the best beginner projects. It’s small, practical, and teaches essential crochet skills without feeling overwhelming. With just a few basic stitches and simple steps, you can create a cozy, stylish hat in under an hour once you get the hang of it.
What You’ll Need
Before you start, gather these simple supplies:
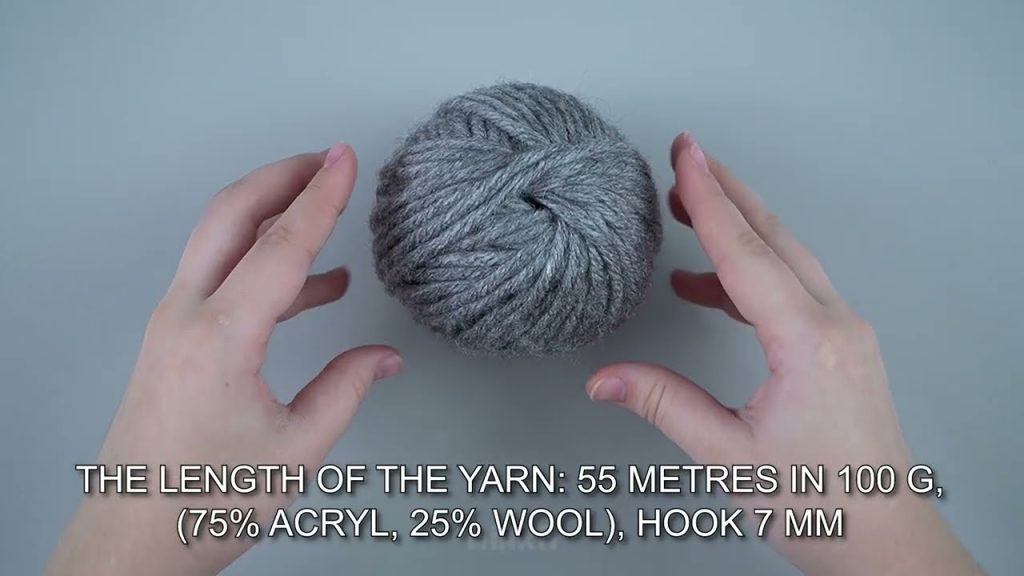
- Yarn: Medium-weight (Category 4 / worsted weight) yarn
(Acrylic or wool blends are great for beginners) - Crochet Hook: Size H/5.0 mm or I/5.5 mm
- Scissors
- Yarn Needle (for weaving in ends)
- Stitch Marker (optional but helpful)
Basic Crochet Skills You’ll Use
Don’t worry—you only need a few stitches:
- Slip Knot
- Chain (ch)
- Single Crochet (sc) or Double Crochet (dc)
- Slip Stitch (sl st)
If you know how to chain and do single or double crochet, you’re ready!
Step-by-Step: Easy Crochet Hat (Top-Down Method)
This method starts at the top of the hat and works downward in rounds.
Step 1: Make a Magic Ring (or Chain Ring)
- Create a magic ring, or
- Chain 4 and join with a slip stitch to form a ring
This will be the center of the hat.
Step 2: Crochet the First Round
- Chain 2 (counts as your first stitch)
- Work 10–12 double crochets into the ring
- Join with a slip stitch to the top of the first stitch
👉 Tip: Use 10 stitches for a tighter hat, 12 for a looser fit.
Step 3: Increase to Shape the Crown
To make the hat lay flat, you’ll increase stitches evenly.
- Round 2: 2 double crochets in each stitch (20–24 stitches)
- Round 3: 1 double crochet, 2 double crochets in next stitch (repeat)
- Round 4: 2 double crochets, 2 double crochets in next stitch (repeat)
Continue increasing until the circle measures:
- 6–7 inches across for an adult hat
- 5–6 inches for a child
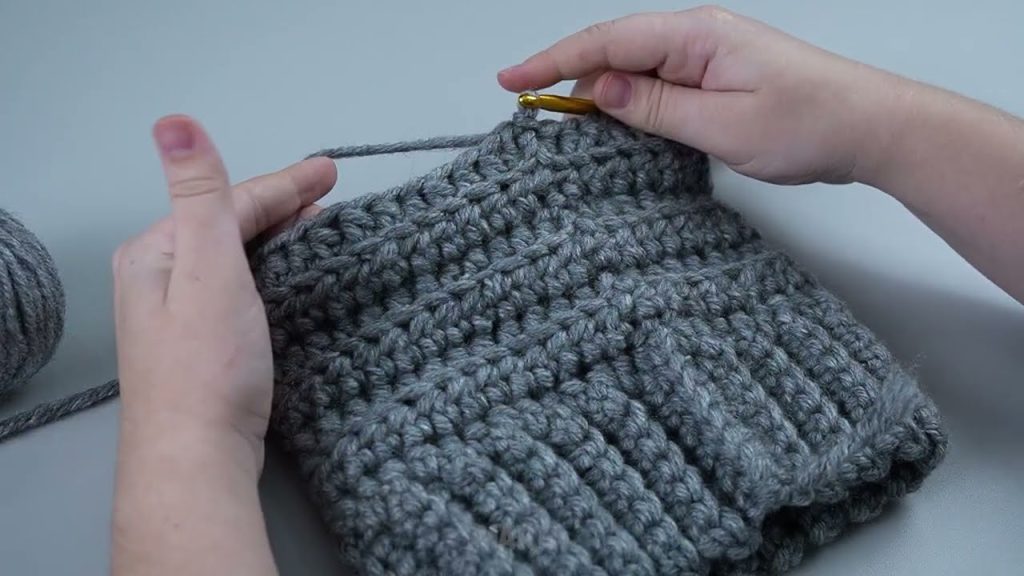
Step 4: Crochet the Body of the Hat
Now stop increasing.
- Crochet 1 double crochet in each stitch
- Continue working in rounds until the hat reaches the desired length:
- Adult: about 8–9 inches
- Child: about 6–7 inches
This forms the sides of the hat.
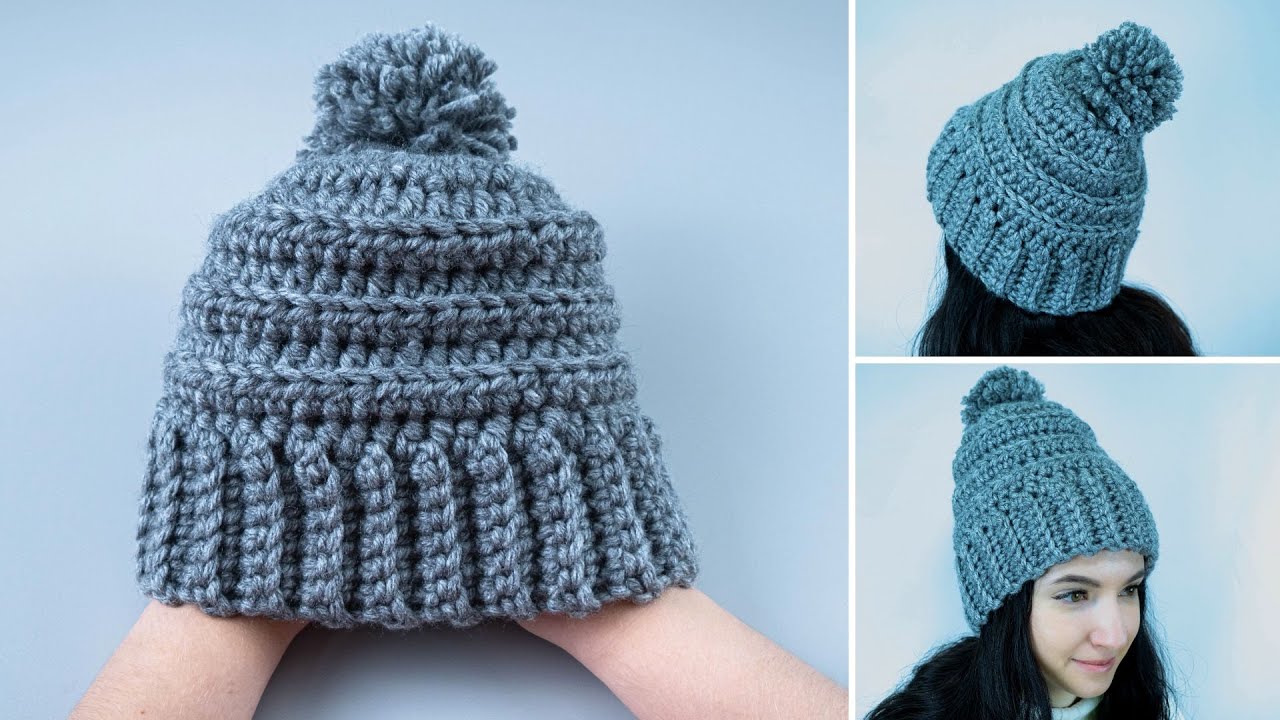
Step 5: Finish the Edge
For a clean look:
- Single crochet around the last round
or - Slip stitch around for a simple finish
Fasten off and cut the yarn.
Step 6: Weave in Ends
Use a yarn needle to weave in loose ends on the inside of the hat. Trim excess yarn.
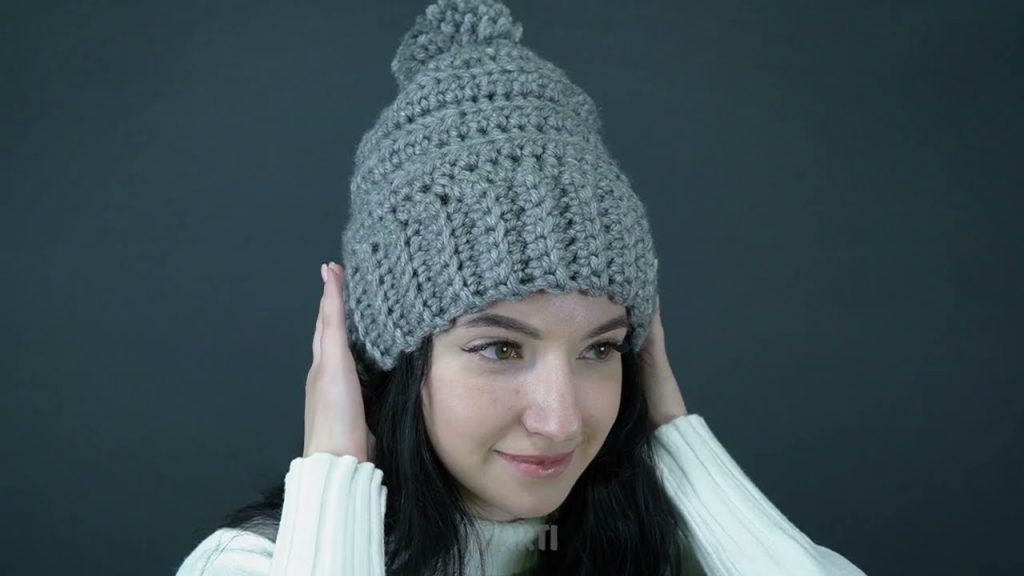
🎉 Your crochet hat is complete!
Beginner Tips for Success
- Use light-colored yarn so you can see stitches clearly
- Count stitches at the end of each round
- Relax your grip—tight stitches make crocheting harder
- Practice on a small swatch before starting
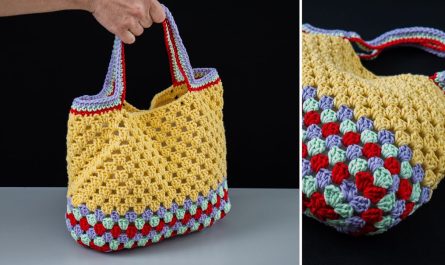
Easy Customization Ideas
Once you’re comfortable, try:
- Switching to single crochet for a tighter, warmer hat
- Adding a pom-pom on top
- Using striped or textured yarn
- Folding the brim for a trendy beanie look
Why This Project Is Perfect for Beginners
✔ Quick to finish
✔ Only basic stitches
✔ No complex shaping
✔ Great gift or personal item
With a little practice, you’ll be making crochet hats confidently—and maybe even selling or gifting them!
If you’d like, I can also:
- Simplify this into a one-page pattern
- Adjust it for kids or babies
- Rewrite it for a blog, ebook, or Etsy listing
Watch tutorial: