 by
by Absolutely! Let’s go step-by-step through how to crochet a headband or coletero hat (hair tie hat) — also known as a ponytail hat or messy bun hat. I’ll give you detailed instructions, from materials to stitches, and include tips for adjusting size and style.
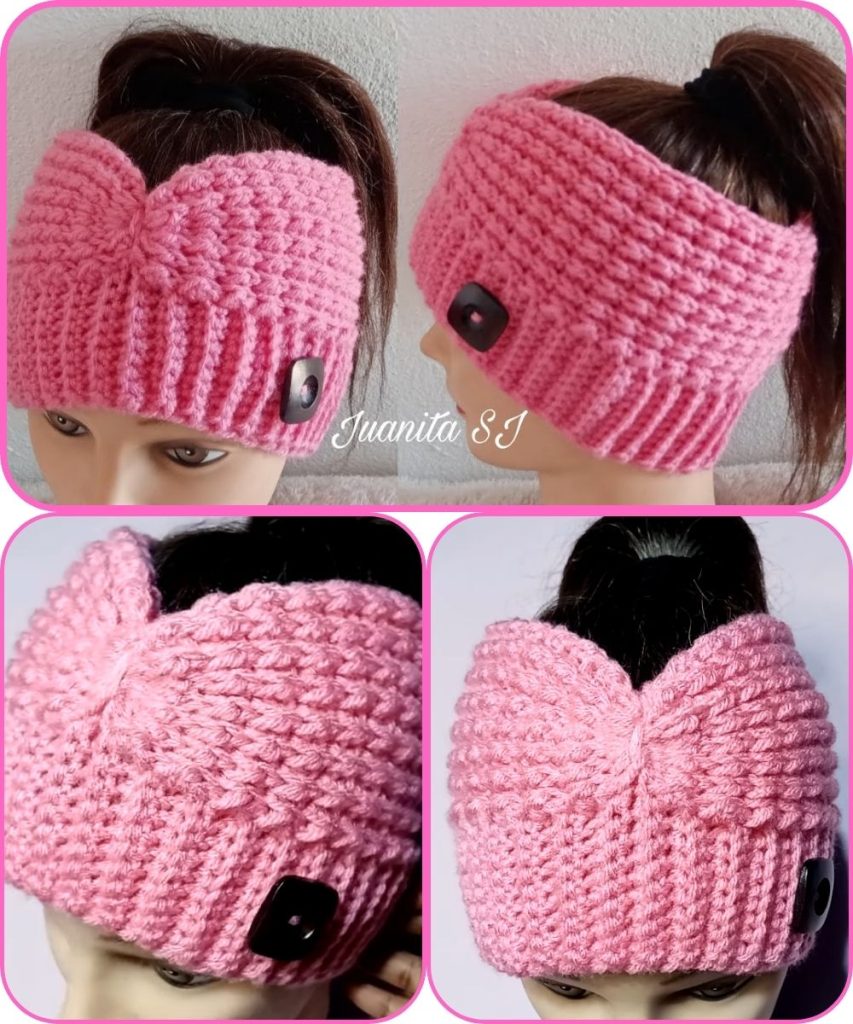
🧶 CROCHET HEADBAND OR COLETERO HAT (PONYTAIL HAT)
🪡 What You’ll Learn
- How to crochet a headband version
- How to extend it into a coletero (ponytail) hat
- How to adjust size, yarn, and pattern for different looks
🧰 MATERIALS
| Item | Details |
|---|---|
| Yarn | Medium-weight yarn (#4 worsted) or cotton/acrylic blend. (Example: Red Heart Soft, Caron Simply Soft) |
| Hook | 5 mm (H/8) crochet hook — adjust for your tension |
| Elastic hair tie (optional) | For the ponytail opening (if making the coletero hat) |
| Tapestry needle | For weaving in ends |
| Scissors | To cut yarn |
🪢 BASIC STITCHES USED
| Stitch | Abbreviation | Description |
|---|---|---|
| Chain | ch | Yarn over, pull through loop |
| Slip Stitch | sl st | Insert hook, yarn over, pull through both loops |
| Single Crochet | sc | Insert hook, yarn over, pull through, yarn over, pull through two loops |
| Half Double Crochet | hdc | Yarn over, insert hook, yarn over, pull through, yarn over, pull through three loops |
| Double Crochet | dc | Yarn over, insert hook, yarn over, pull through, yarn over, pull through two loops twice |
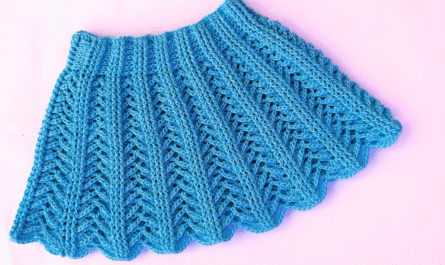
🌸 OPTION 1: CROCHET HEADBAND
STEP 1: Foundation Chain
- Chain 10–15 stitches depending on how wide you want the headband.
(For a wide band: 15 ch; for a slim one: 8–10 ch)
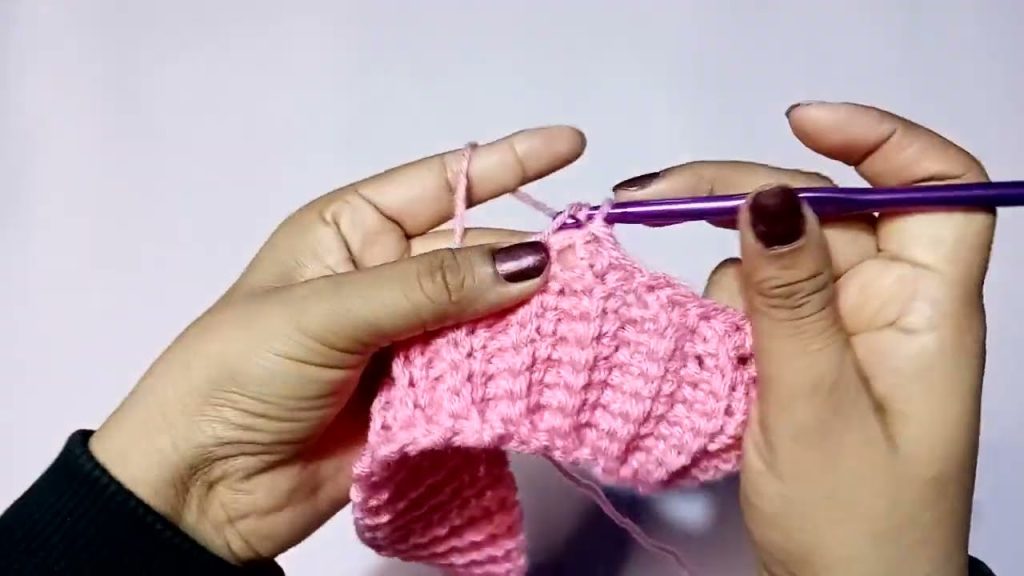
STEP 2: Row 1
- In the 2nd chain from hook, make hdc in each chain across.
- Chain 1, turn.
STEP 3: Repeat Rows
- Continue making hdc rows until the strip fits snugly around your head (measure around your head and subtract 1 inch for stretch).
- Common adult size: about 20–21 inches long.
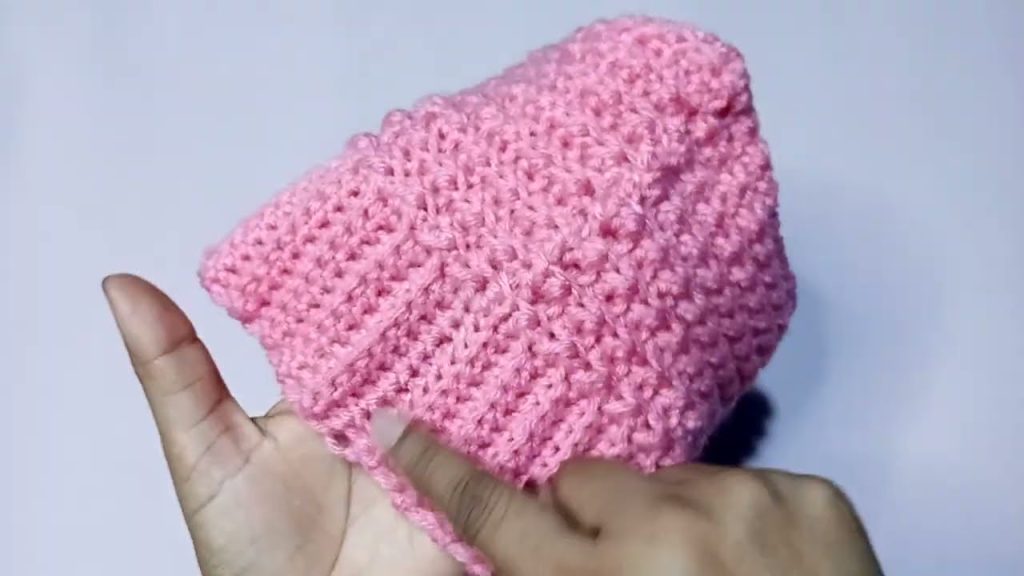
STEP 4: Join Ends
- Slip stitch or whip stitch the short ends together to form a loop.
STEP 5: Finishing Touches (Optional)
- Add a bow, flower, or button for decoration.
- You can also crochet a twist in the front by folding the strip before joining the ends.
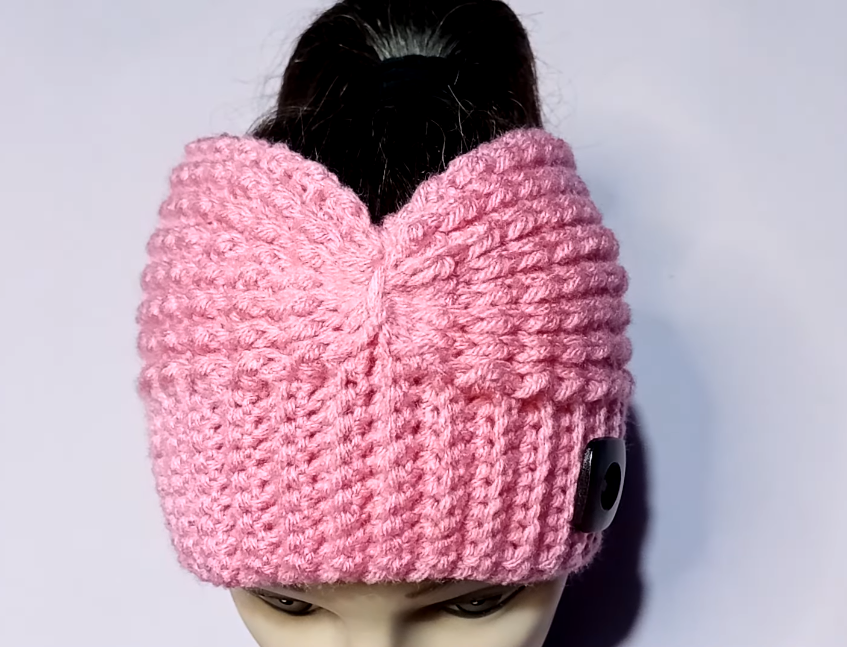
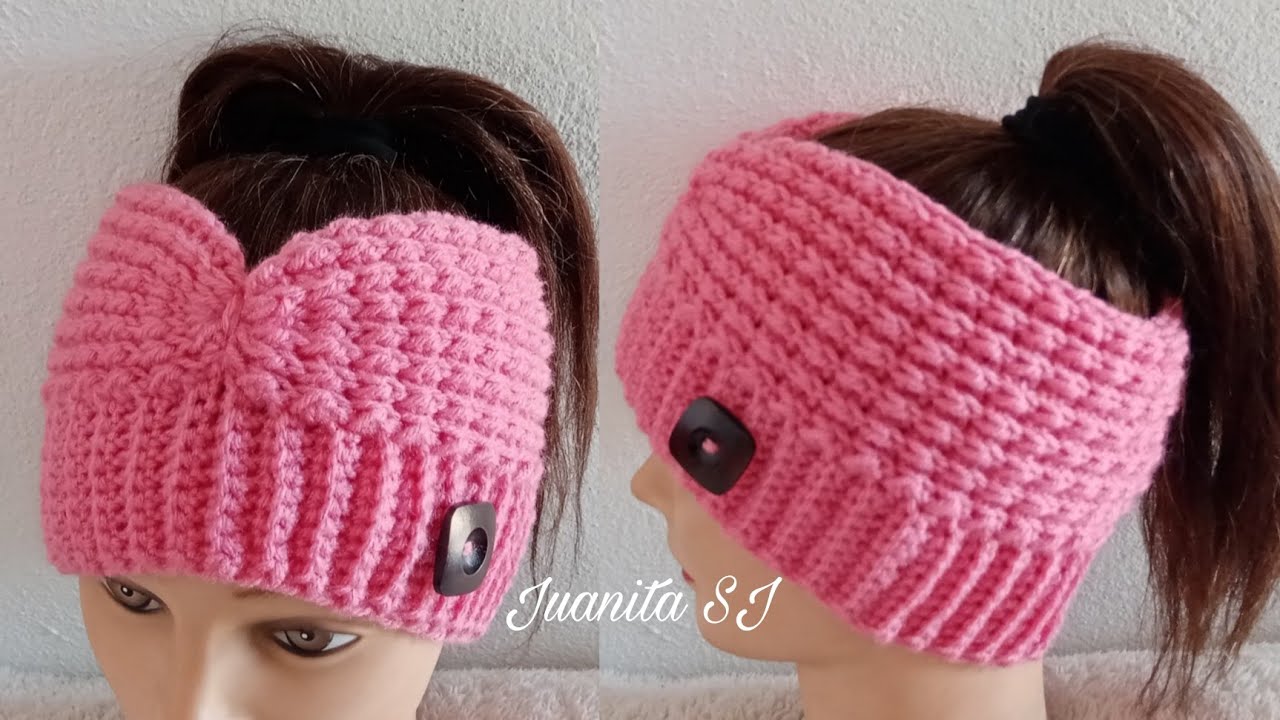
🎀 OPTION 2: CROCHET COLETERO HAT (PONYTAIL HAT)
This is like a beanie, but with a hole at the top for a bun or ponytail.
STEP 1: Magic Ring or Elastic Tie Base
- Start by crocheting around an elastic hair tie (or make a magic ring if you prefer the bun opening smaller).
- Work 10–12 hdc around the ring.
- Join with sl st, ch 1.
STEP 2: Increase Rounds
- Round 2: 2 hdc in each stitch around (20–24 sts total)
- Round 3: 1 hdc in next st, 2 hdc in next — repeat around (30–36 sts)
- Round 4: 1 hdc in next 2 sts, 2 hdc in next — repeat around (40–45 sts)
👉 Keep increasing until the circle measures about 5.5–6 inches in diameter for adults.
STEP 3: Body of the Hat
- Once you’ve reached the correct diameter, work 1 hdc in each stitch around (no increases).
- Continue until the hat measures about 6–7 inches from the ponytail hole to the bottom edge.
STEP 4: Ribbed Edge (Optional)
- For a stretchy band, switch to front post/back post double crochet (fpdc/bpdc) around for 3–4 rounds.
- This creates a nice ribbed look.
STEP 5: Finishing
- Fasten off and weave in all ends.
- Optionally, add a pom-pom or decorative edging.
🧵 SIZE ADJUSTMENTS
| Size | Hat Circumference | Diameter Before Stopping Increases |
|---|---|---|
| Child | 18 in (46 cm) | 5 in (13 cm) |
| Teen/Adult Small | 20 in (51 cm) | 5.5 in (14 cm) |
| Adult Medium | 21–22 in (53–56 cm) | 6 in (15 cm) |
| Adult Large | 23–24 in (58–61 cm) | 6.5 in (16.5 cm) |
💡 TIPS & VARIATIONS
- Textured band: Use front post/back post stitches or puff stitches for unique looks.
- Summer headband: Use cotton yarn and fewer rows.
- Winter coletero hat: Use soft acrylic or wool for warmth.
- Decorations: Add crochet flowers, buttons, or ribbons.
Would you like me to include a photo reference or chart pattern diagram for this project? I can generate one to show how the stitches look and where the ponytail hole goes.
Watch tutorial: