 by
by Below is a detailed, beginner-friendly tutorial you can use for a blog post, written pattern, or video script.
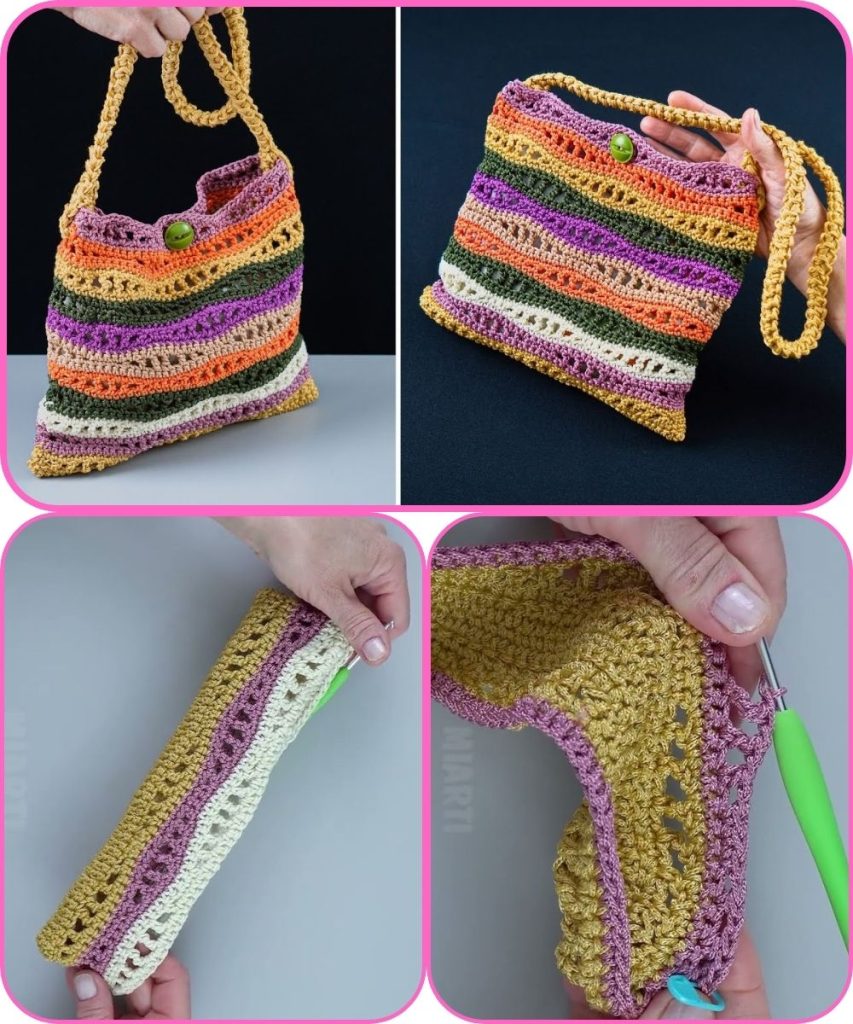
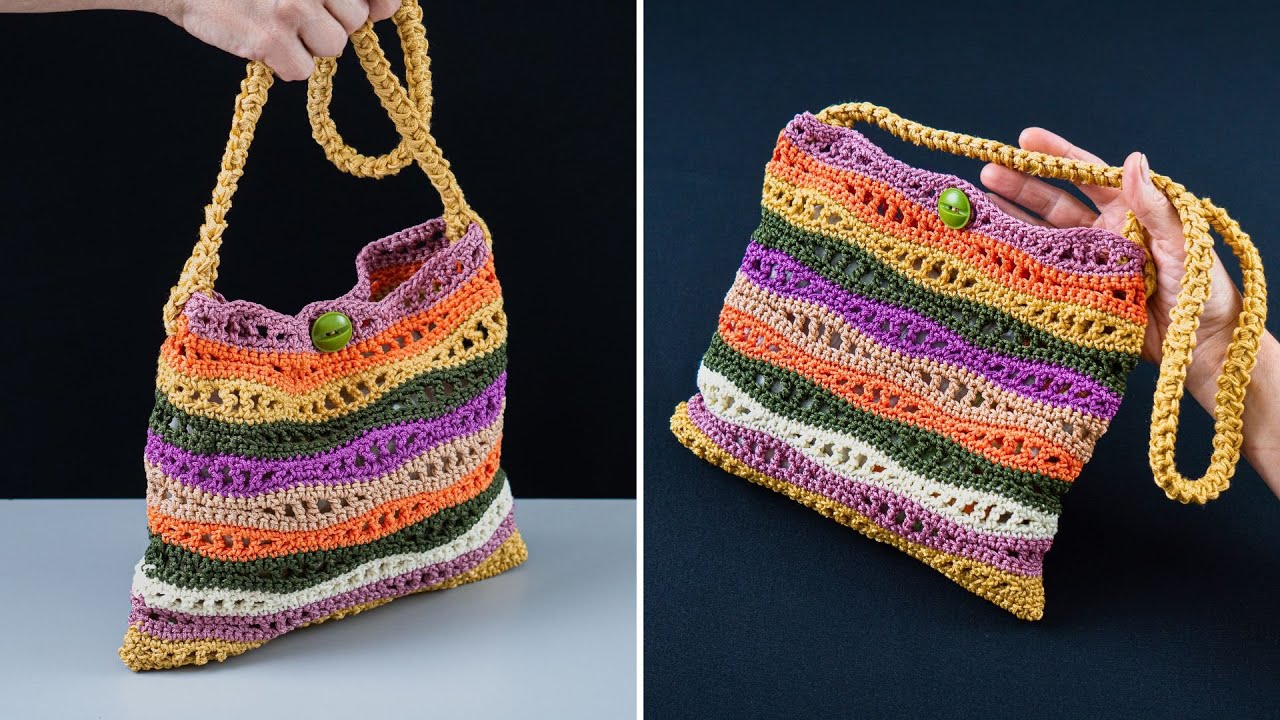
How to Make an Easy Multicolor Crochet Waves Bag
A simple and fun crochet project for beginners
The Multicolor Crochet Waves Bag is a bright, stylish, and practical accessory made using an easy wave (ripple) stitch pattern. This bag is perfect for using leftover yarn and looks impressive while still being simple enough for beginners. The repeating wave design creates a beautiful flowing texture and allows endless color combinations.
Skill Level
Beginner
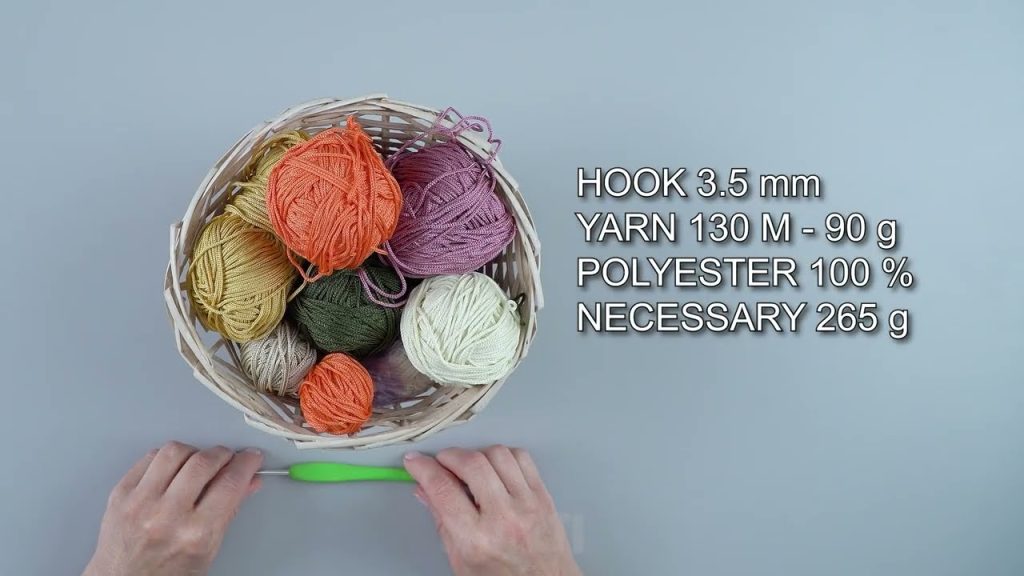
Materials Needed
- Medium-weight yarn (Category 4) in 3–5 different colors
- Crochet hook: 5.0 mm (H-8)
- Scissors
- Yarn needle
- Stitch markers (optional)
- Fabric lining (optional, for strength)
Crochet Abbreviations (US Terms)
- ch – chain
- sc – single crochet
- dc – double crochet
- sl st – slip stitch
- st(s) – stitch(es)
- rep – repeat
Finished Size (Approx.)
- Width: 12 inches
- Height: 13 inches (without handles)
Size can be adjusted by adding or reducing wave repeats.
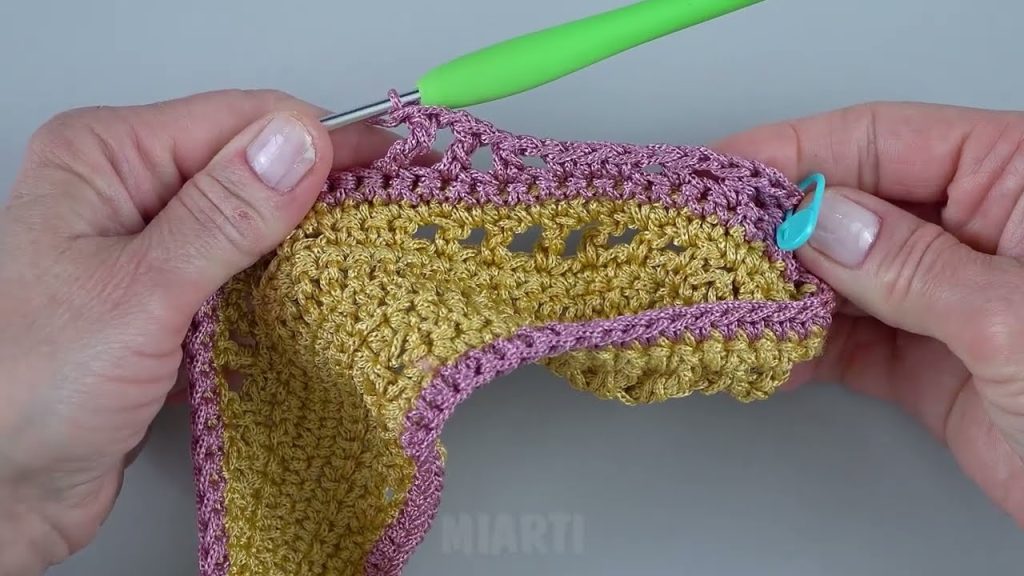
Step 1: Understanding the Wave Stitch
This easy wave stitch is made by combining:
- Increases (multiple dc in one stitch)
- Decreases (skipping stitches)
This creates a smooth, flowing wave effect.
Step 2: Crochet the Base Chain
- Chain a multiple of 12 + 2 (for example, ch 38).
- Dc in the 3rd chain from the hook.
Step 3: Row 1 – Create the First Wave
- Dc 2 in next stitch (increase)
- Dc in next 3 stitches
- Skip 2 stitches
- Dc in next 3 stitches
- Dc 2 in next stitch
Repeat this pattern across the row.
Ch 2, turn.
Step 4: Row 2 – Continue the Wave Pattern
- Dc 2 in first stitch
- Dc in next 3 stitches
- Skip 2 stitches
- Dc in next 3 stitches
- Dc 2 in next stitch
Repeat across.
Ch 2, turn.
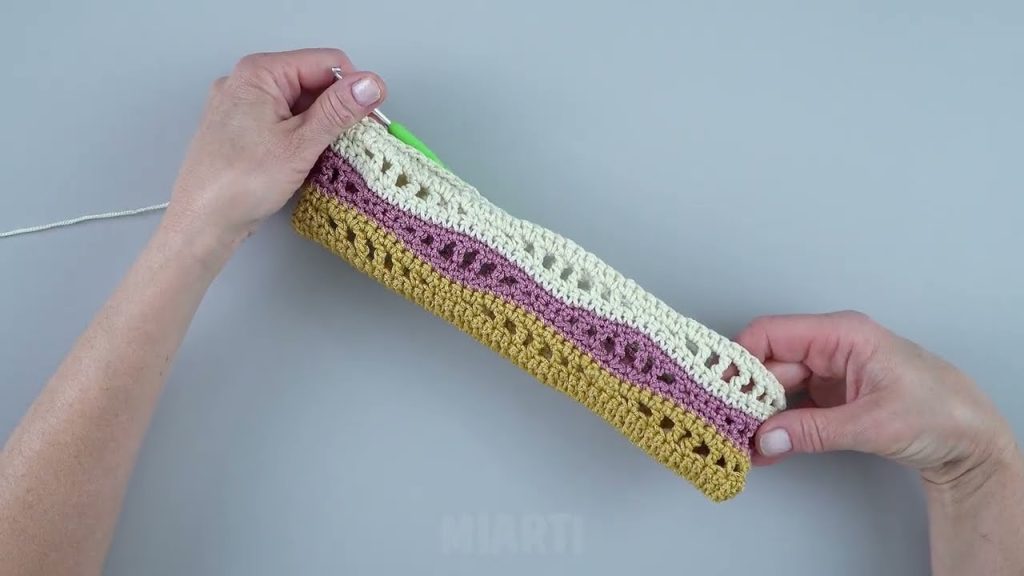
Step 5: Color Changes
- Change yarn color every 2 rows for bold stripes
- Or change color every row for a playful look
- Always complete the last yarn-over of the final stitch with the new color
Continue crocheting until the panel measures about 26 inches long.
Step 6: Form the Bag Shape
- Fold the long rectangle in half (right sides facing).
- Sc or sl st along both side edges to join.
- Turn the bag right side out.
Step 7: Crochet the Top Border
- Attach yarn at the top opening.
- Sc evenly around the edge.
- Join with sl st.
- Repeat for 2–3 rounds to strengthen the top.
Step 8: Make the Handles
Option 1: Crochet Handles
- Attach yarn to one side of the bag.
- Ch 60 (or desired handle length).
- Sc in the 2nd chain from hook and across.
- Attach to the opposite side with sl st.
- Repeat for the second handle.
Option 2: Sew-On Handles
- Attach leather, wooden, or bamboo handles for a modern look.
Step 9: Optional Lining
- Cut fabric slightly larger than the bag
- Sew by hand or machine
- Attach lining to the inside top edge
Finishing Touches
- Weave in all ends carefully
- Block lightly to smooth wave stitches
- Add tassels, beads, or labels if desired
Final Result
You now have a beautiful Easy Multicolor Crochet Waves Bag—perfect for shopping, beach days, or casual outings. This project is a great way to practice color changes while creating a stylish handmade accessory.
If you’d like, I can:
- Simplify this into a very beginner version
- Convert it into a PDF pattern
- Write a step-by-step video script
- Adjust size for a mini or tote bag
Watch tutorial: