 by
by Below is a clear, detailed, and beginner-friendly tutorial you can use as a blog post, written pattern, or video narration.
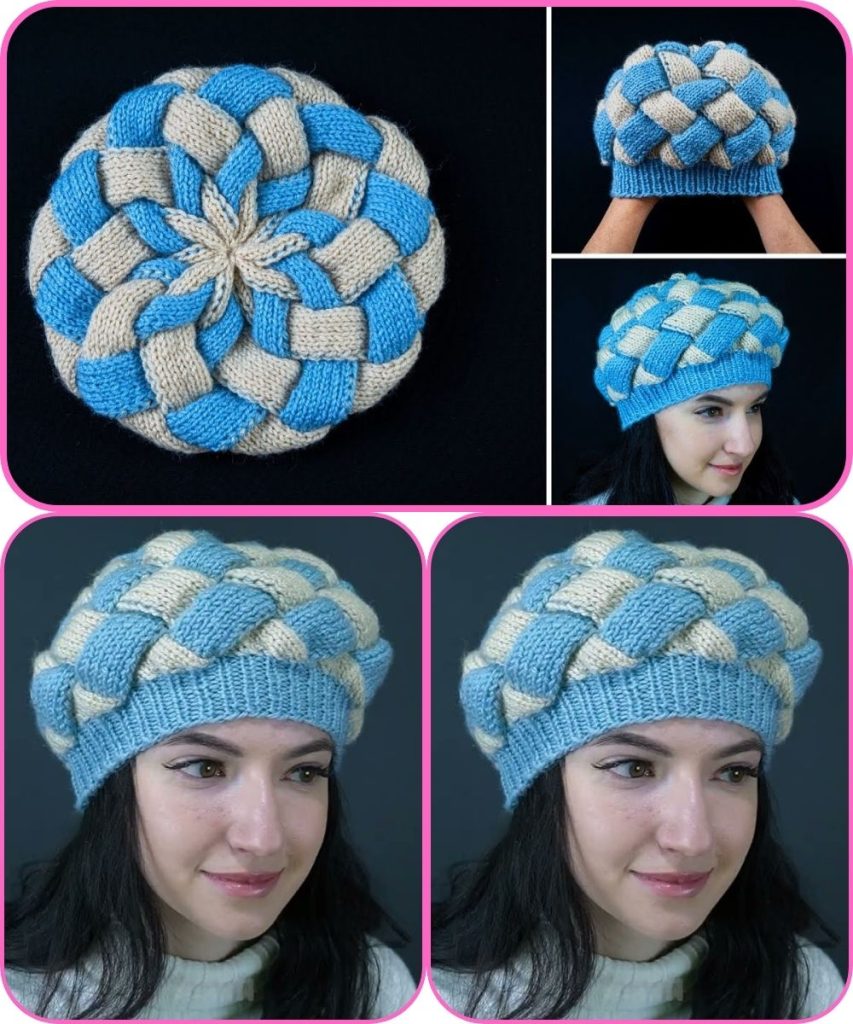
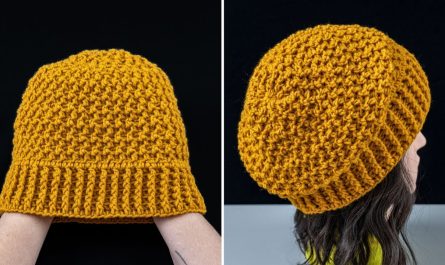
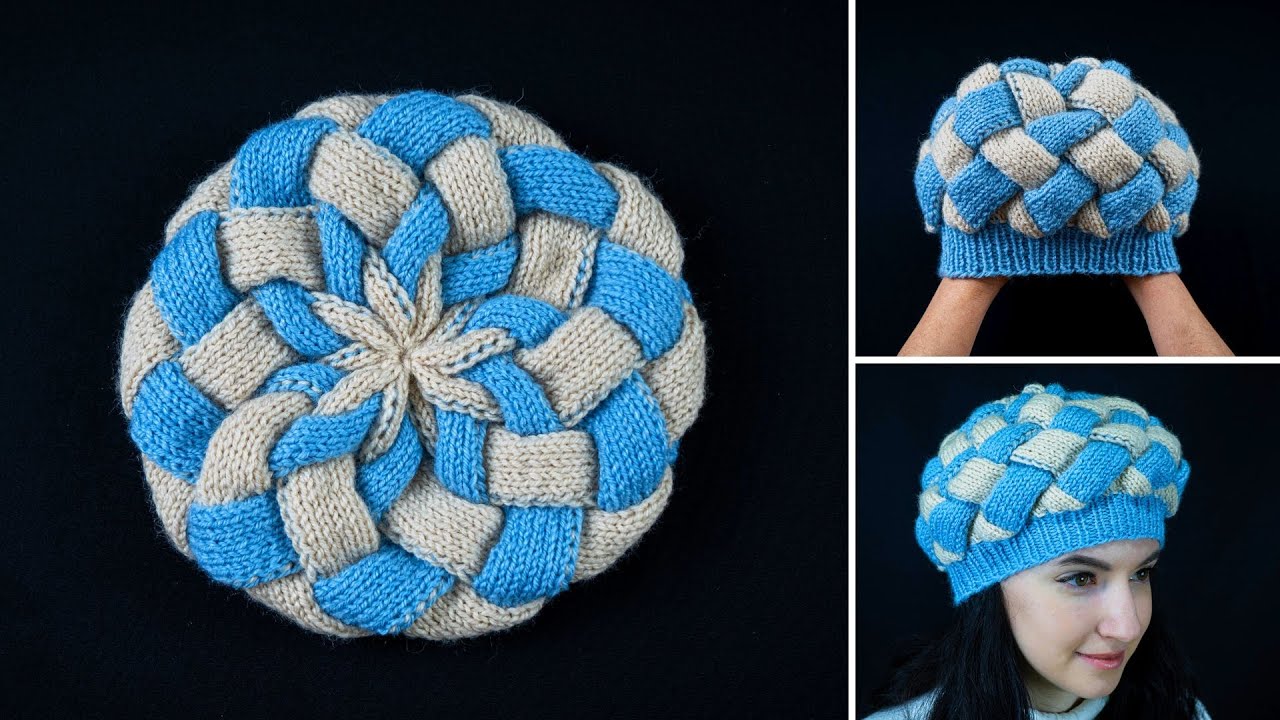
How to Knit a Chic Beret Hat – A Detailed Tutorial
A knitted beret is a timeless, elegant accessory that never goes out of style. This chic beret-hat is soft, stylish, and surprisingly easy to make. The design is worked from the bottom up, starting with a ribbed brim and gradually increasing to create the classic beret shape before decreasing at the crown.
Skill Level
Beginner to Easy Intermediate
Materials Needed
- Medium-weight yarn (Worsted / Category 4) – approx. 150–180 g
- Knitting needles: 4.5 mm (US 7) and 5.5 mm (US 9)
- Stitch marker
- Tapestry needle
- Scissors
Knitting Abbreviations
- CO – cast on
- k – knit
- p – purl
- kfb – knit front and back (increase)
- k2tog – knit two together (decrease)
- st(s) – stitch(es)
- rep – repeat
- rnd – round
Finished Size (Adult – Adjustable)
- Head circumference: 20–22 inches
- Beret diameter: approx. 10–11 inches
Size can be adjusted by changing needle size or number of increase rounds.
Step 1: Cast On and Knit the Ribbed Brim
- Using 4.5 mm needles, CO 88 stitches (multiple of 8).
- Join to knit in the round, being careful not to twist stitches.
- Place a stitch marker to mark the beginning of the round.
Ribbing Pattern
- k2, p2 — repeat around.
Continue ribbing for 2–2.5 inches.
Step 2: Transition to the Body
- Switch to 5.5 mm needles.
- Knit 1 round plain to prepare for increases.
Step 3: Increase Rounds (Create the Beret Shape)
Increase Round
- k10, kfb — repeat around.
You will add stitches evenly, creating a gradual flare.
Total stitches after this round: 96 sts.
Knit Round
- Knit all stitches.
Repeat these 2 rounds (increase + knit) 4–5 times until:
- Total stitches reach 136–152 sts, and
- The beret lies flat when placed on a table.
Step 4: Knit the Body
- Knit all stitches in the round for 1–1.5 inches.
This section defines the fullness of the beret.
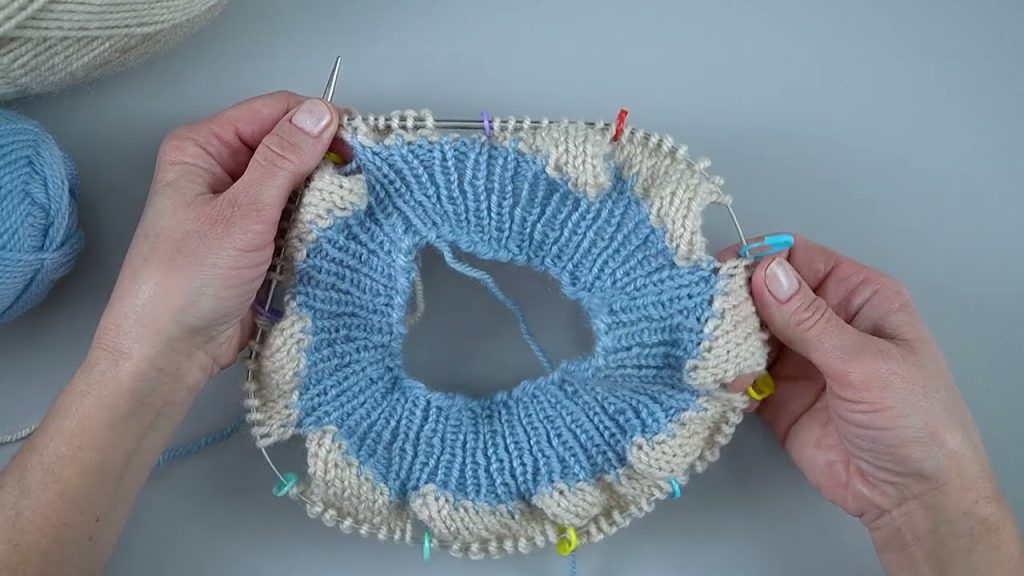
Step 5: Decrease the Crown
Decrease Round 1
- k8, k2tog — repeat around.
Knit Round
- Knit all stitches.
Decrease Round 2
- k7, k2tog — repeat around.
Continue decreasing in this way, knitting one fewer stitch between each k2tog, until:
- Fewer than 16 stitches remain.
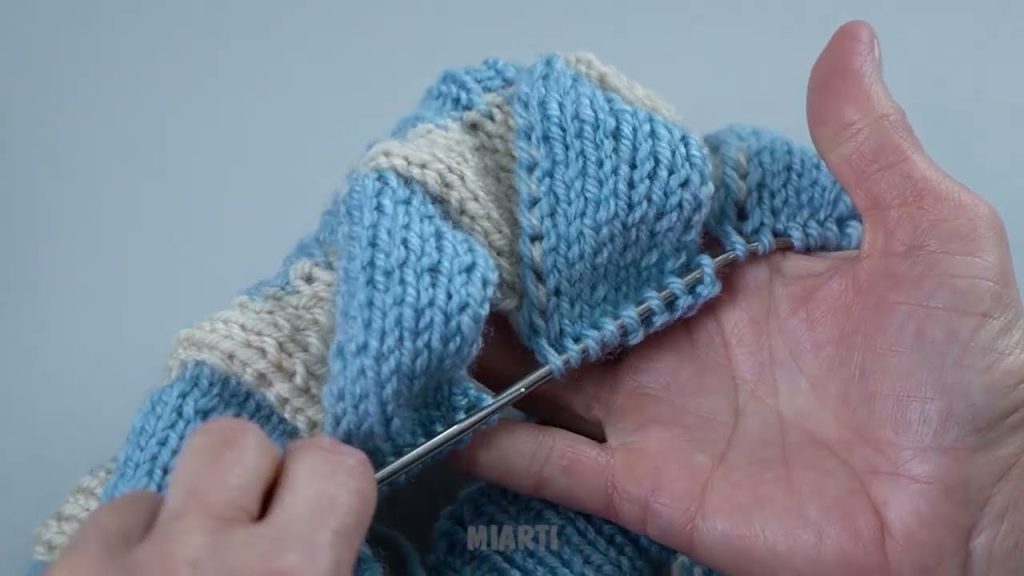
Step 6: Finish the Top
- Cut yarn, leaving a 6-inch tail.
- Thread tail through remaining stitches using a tapestry needle.
- Pull tight to close the crown.
- Secure and weave in all ends.
Optional Styling Touches
- Add a small stem at the top (crochet or knit i-cord)
- Sew on a decorative button or brooch
- Block the beret for a smooth, professional finish
- Tilt to one side for a classic Parisian look
Blocking Tips
- Lightly wet the beret
- Lay flat and gently shape into a circle
- Allow to dry completely
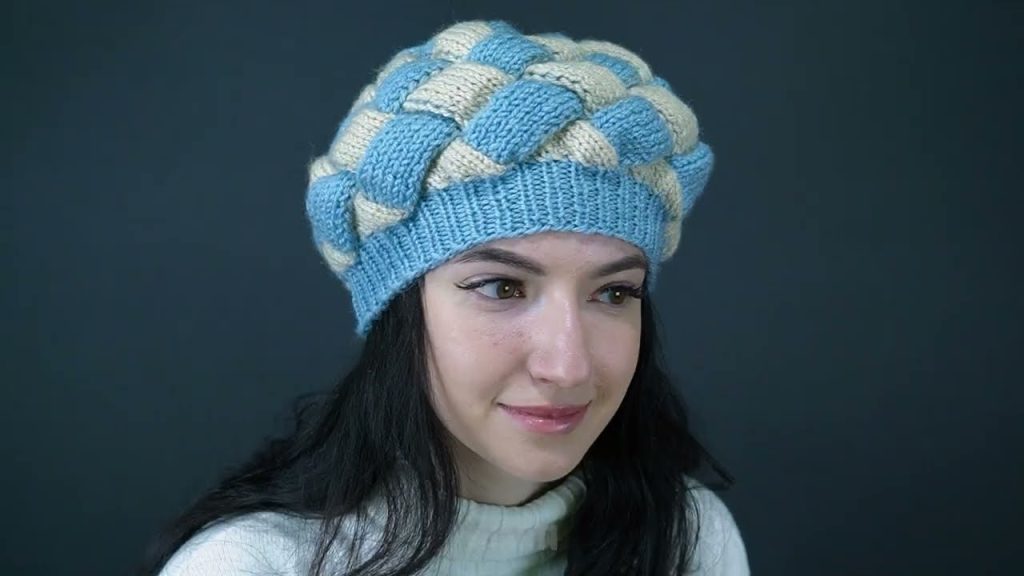
Final Result
You now have a chic, handmade knitted beret—perfect for everyday wear, gifts, or stylish seasonal outfits. This pattern is versatile and can easily be customized with different yarns, textures, or stitch patterns.
If you’d like, I can:
- Simplify this for absolute beginners
- Rewrite it as a printable PDF pattern
- Convert it into a step-by-step video script
- Adjust sizing for kids or toddlers
Watch tutorial: