 by
by Absolutely! Here’s a detailed, beginner-friendly step-by-step tutorial for making an easy crochet bag. This bag is simple, practical, and perfect for beginners who want a quick project.
How to Make an Easy Crochet Bag for Beginners – Step by Step Tutorial
A handmade crochet bag is stylish, practical, and customizable. This simple bag uses basic stitches and is quick to make, making it ideal for beginners. You can carry your essentials, use it as a market bag, or even gift it to someone special.
Skill Level
Beginner
Materials Needed
- Medium-weight yarn (Category 4 – cotton or acrylic recommended)
- Crochet hook: 5.0 mm (H-8)
- Scissors
- Yarn needle
- Stitch markers (optional)
- Optional: Button, drawstring, or lining
Crochet Abbreviations (US Terms)
- ch – chain
- sc – single crochet
- dc – double crochet
- sl st – slip stitch
- st(s) – stitch(es)
- rep – repeat
Finished Size (Approx.)
- Width: 10–12 inches
- Height: 10–12 inches
- Strap length: 20–24 inches
Size can be adjusted by adding or reducing stitches and rows.
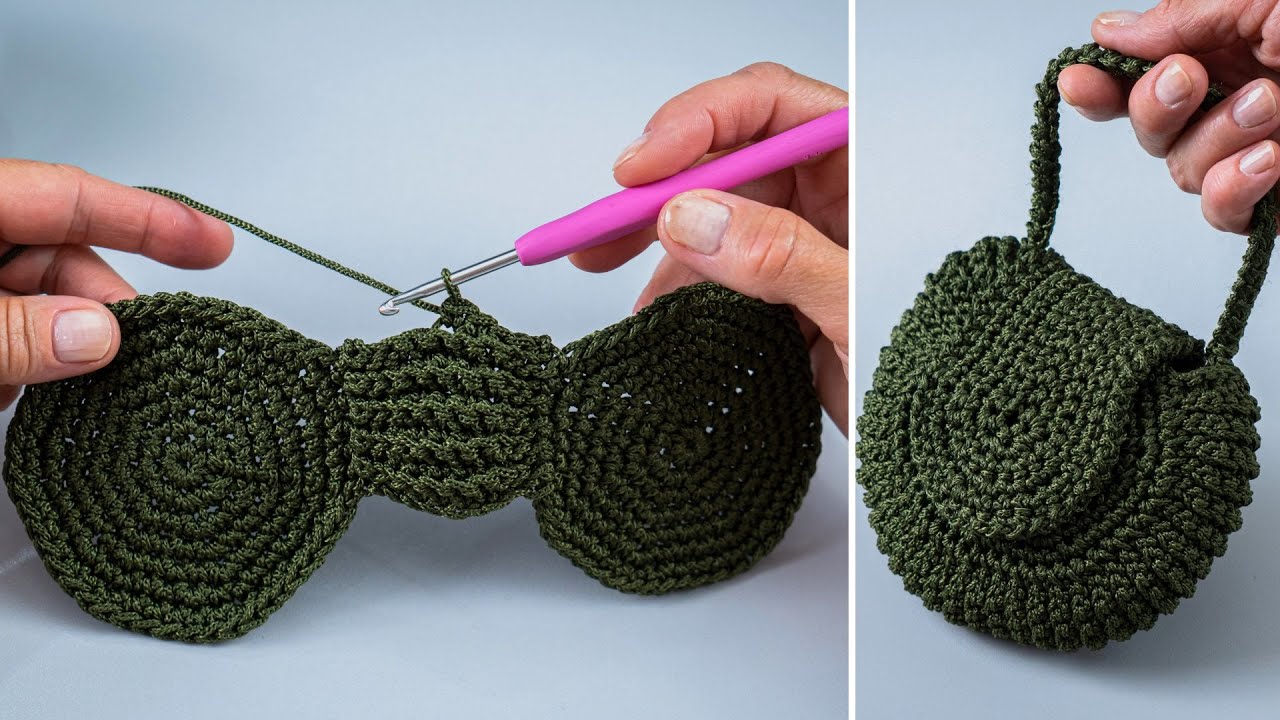
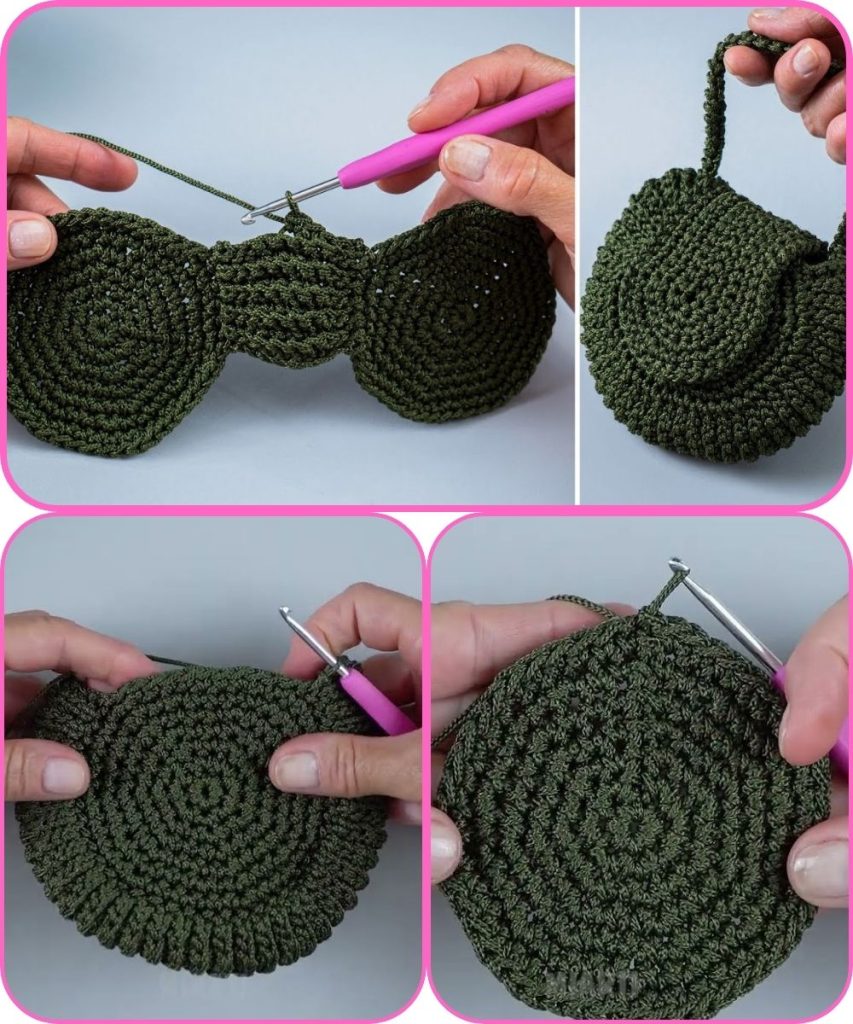
Step 1: Make the Base
- Chain 30 (or desired width).
- Row 1: Sc in 2nd chain from hook and across.
- Ch 1, turn.
Rows 2–6
- Sc in each stitch across.
- Ch 1, turn.
This creates a sturdy rectangular base for your bag.
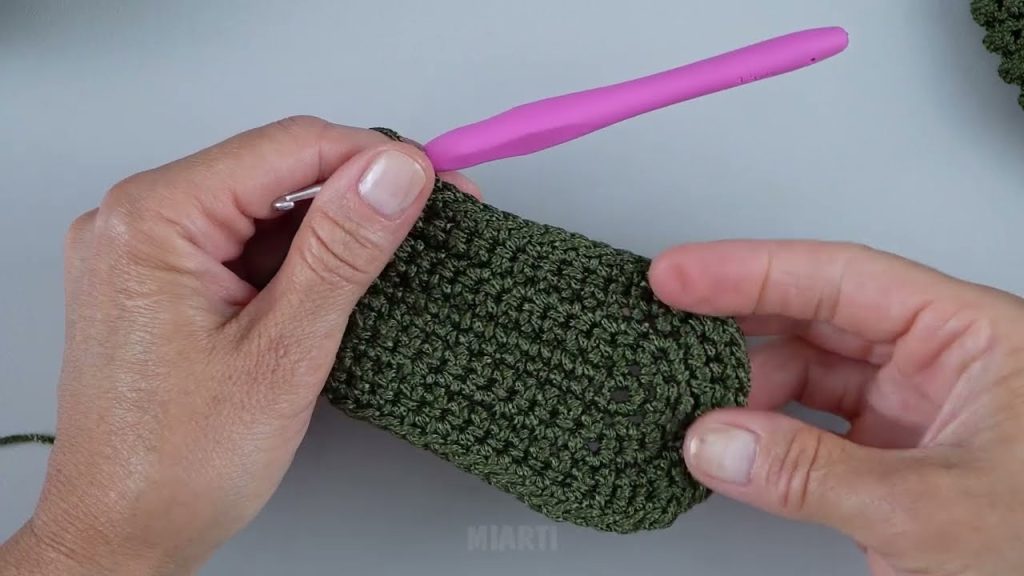
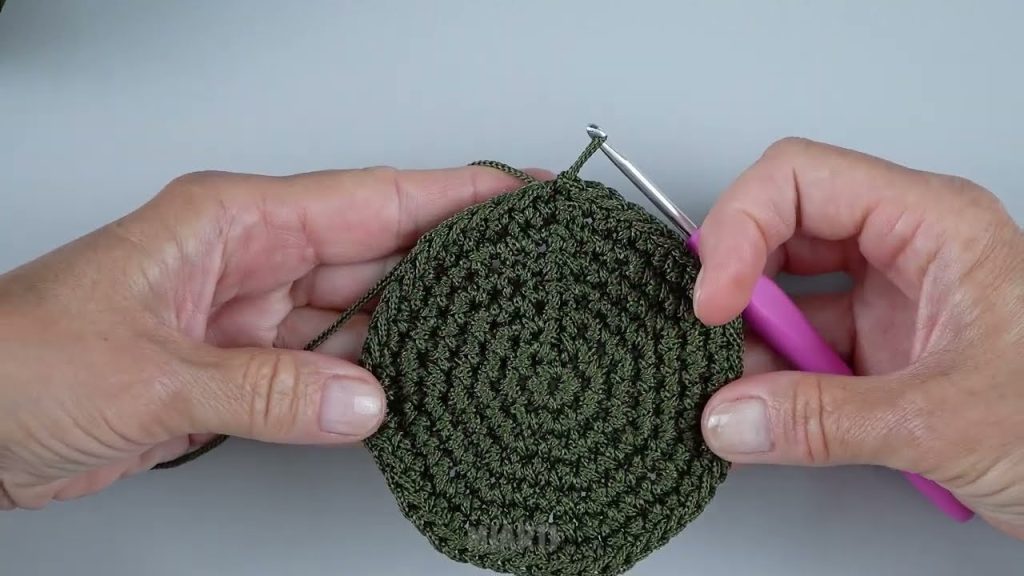
Step 2: Form the Bag Body
- Turn the base rectangle upright.
- Work sc in each stitch along the sides and bottom edges, creating a “tube” shape.
- Continue sc around the bag body until you reach the desired height (about 8–10 inches).
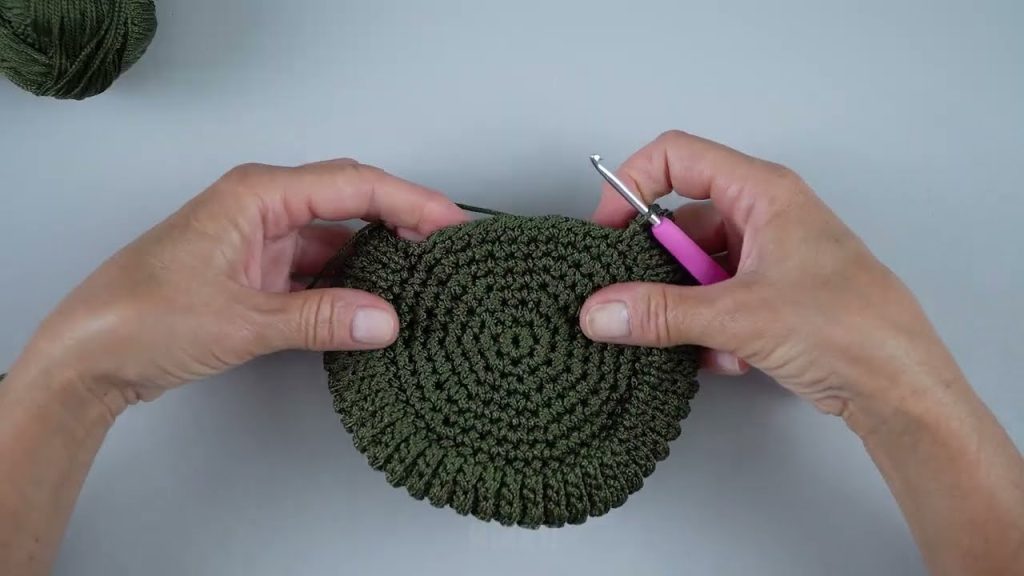
Step 3: Create the Top Border
- Ch 1.
- Sc evenly around the top edge.
- Join with sl st.
- Repeat for 1–2 more rounds to make a neat, sturdy edge.
Step 4: Make the Strap
Option 1: Crochet Strap
- Attach yarn to one side of the bag.
- Ch 60–80 (depending on desired strap length).
- Sc in the 2nd chain from hook and across.
- Attach to the opposite side of the bag.
- Repeat for the second strap if you want a double-strap bag.
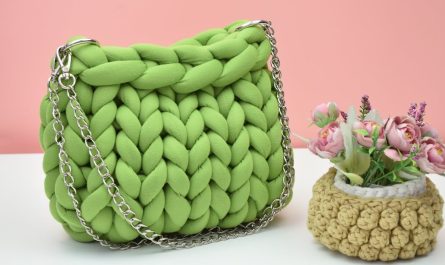
Option 2: Use Ready-Made Handles
- Sew on leather, wooden, or rope handles for a stylish upgrade.
Step 5: Optional Drawstring
- Ch 60–80.
- Sl st through each chain for strength.
- Weave the drawstring through the top sc round of the bag.
- Tie ends together.
Step 6: Optional Lining
- Cut fabric slightly larger than the bag’s interior.
- Sew by hand or machine.
- Attach lining to the inside top edge.
Step 7: Finishing Touches
- Weave in all loose ends.
- Lightly block the bag if needed to shape it.
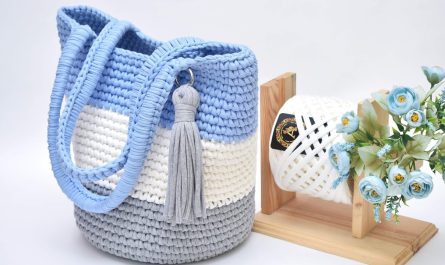
- Add decorations like tassels, beads, or a button.
Final Result
You now have a simple, stylish crochet bag—perfect for everyday use, market trips, or gifts. This beginner-friendly project is quick, easy, and highly customizable in size, color, and design.
Tips for Beginners
- Use cotton yarn for a sturdy bag.
- Adjust stitches or rows for larger or smaller bags.
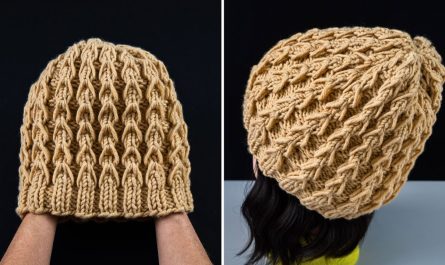
- Try different stitch patterns (dc, hdc, or a simple wave stitch) for variety.
- Make it multicolor for a playful look.
If you want, I can also:
- Make a PDF printable beginner crochet bag pattern
- Write a step-by-step photo or video tutorial
- Suggest a granny square or striped variation for more style
Do you want me to create a granny square style beginner bag tutorial next?
Watch tutorial: